Are you craving a refreshing and delicious treat? Look no further than the classic banana milkshake! In this article, we’ll guide you through the step-by-step process of making this creamy and flavorful beverage. Whether you’re a seasoned chef or a novice in the kitchen, this recipe is sure to impress. So grab your blender and let’s get started on this delightful journey!
There’s something irresistible about the combination of ripe bananas and creamy milk. With just a few simple ingredients, you can whip up a homemade banana milkshake that rivals any you’ve tasted before. From selecting the perfect bananas to achieving the ideal consistency, we’ll cover it all. Get ready to indulge in a smooth and luscious drink that will satisfy your sweet tooth and leave you craving more.
Ingredients

Making a delicious banana milkshake is incredibly simple, and all you need are a few basic ingredients. Here’s what you’ll need to gather before you get started:
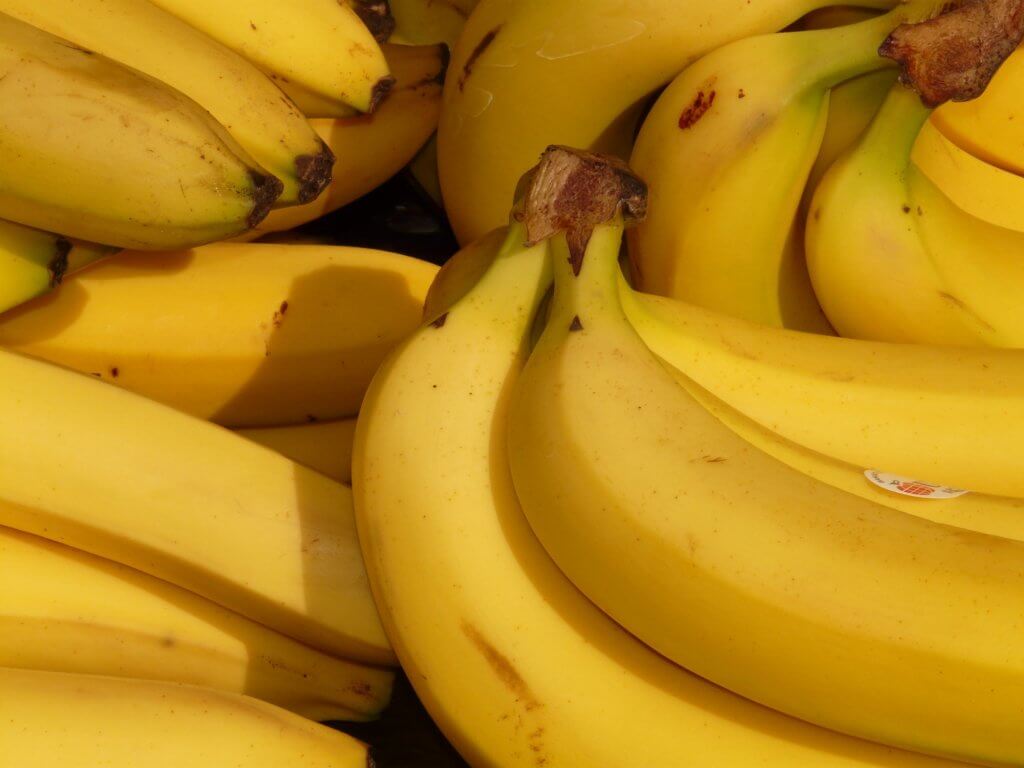
- Ripe Bananas: Choose bananas that are nice and yellow with a few brown spots. These bananas are sweeter and will add a rich flavor to your milkshake.
- Milk: Opt for whole milk for a creamier texture. If you prefer a lighter milkshake, you can use low-fat or skim milk.
- Ice Cream: Adding a scoop or two of your favorite vanilla ice cream will give your milkshake a luscious creaminess. You can also experiment with other flavors like chocolate or strawberry if you’re feeling adventurous.
- Sweetener (Optional): If you like your milkshake on the sweeter side, you can add a touch of honey, sugar, or maple syrup to taste.
- Extra Flavorings (Optional): If you want to take your banana milkshake to the next level, you can add a pinch of cinnamon, a splash of vanilla extract, or even a dollop of peanut butter.
Now that you have all the ingredients ready, it’s time to move on to the next step: blending everything together to create a smooth and creamy banana milkshake.
Step 1: Peel and Slice the Bananas
Bananas are a versatile fruit that can be enjoyed in a variety of ways. Whether you prefer them raw or incorporated into your favorite recipes, bananas are a delicious and nutritious addition to any meal. In this step-by-step guide, we will walk you through the process of making a delectable banana milkshake.
To begin, you’ll need to gather a few ripe bananas. Look for bananas that are slightly yellow with a few brown spots. These bananas are at their peak ripeness, ensuring a sweet and flavorful milkshake.
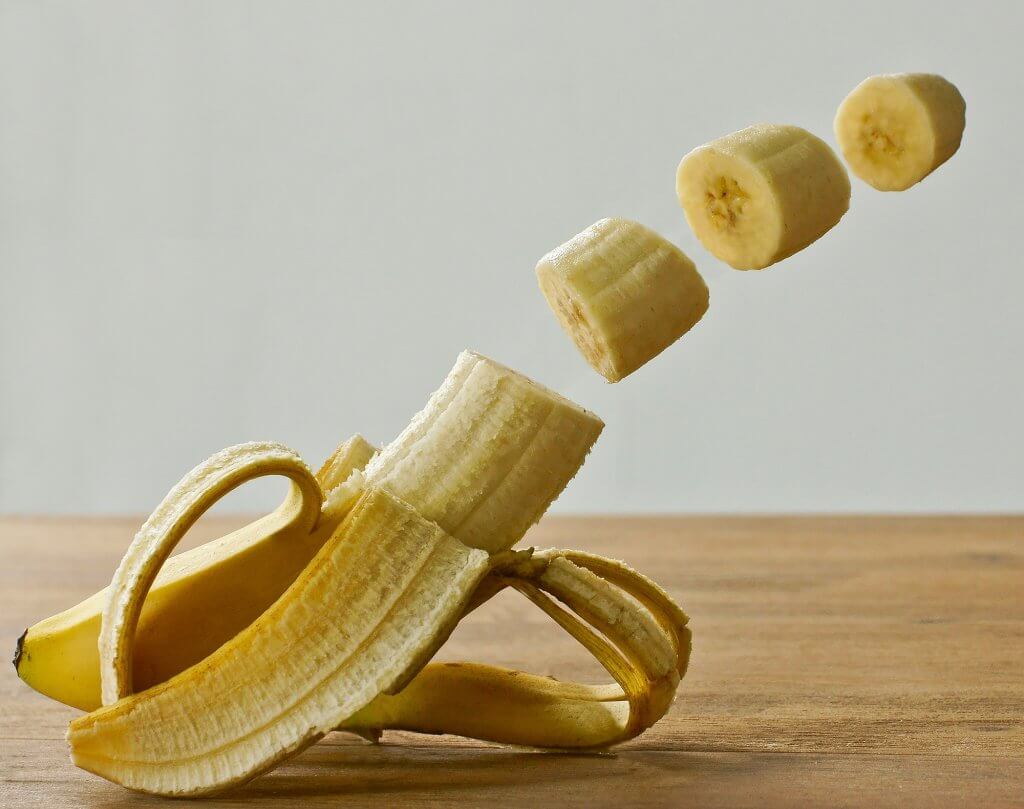
Once you have your bananas, it’s time to peel and slice them. Start by holding the banana firmly and gently pulling down on the stem. The peel should come off easily, revealing the creamy fruit inside. Repeat this process for each banana you plan to use.
After peeling the bananas, it’s time to slice them. Take a sharp knife and carefully cut the bananas into small, evenly sized pieces. This will make blending them into a smooth milkshake much easier.
Now that you have peeled and sliced your bananas, you’re ready to move on to the next step in creating your delicious banana milkshake. Stay tuned for the next section where we’ll show you how to achieve the perfect consistency by combining the bananas with creamy milk and other delightful ingredients.
Remember, bananas are not only tasty but also packed with essential nutrients like potassium, vitamin C, and dietary fiber. So, don’t be afraid to indulge in this delightful fruit and explore the endless possibilities it offers in the kitchen.
Step 2: Blend the bananas with milk
Now that you have your ripe and sliced bananas ready, it’s time to blend them with milk to create a smooth and creamy base for your banana milkshake. This step is crucial in achieving the perfect consistency and ensuring that all the flavors are well incorporated.
To begin, you’ll need a blender. If you don’t have one, you can use a food processor or even a hand blender. Just make sure to choose a tool that can effectively blend the bananas into a silky texture.

Next, add the sliced bananas into the blender. Remember, the riper the bananas, the sweeter and more flavorful your milkshake will be. So, if you have overripe bananas lying around, this is the perfect opportunity to put them to good use.
After adding the bananas, pour in the milk. You can use any type of milk you prefer, whether it’s dairy milk, almond milk, or even coconut milk for a tropical twist. The amount of milk will depend on how thick or thin you like your milkshake. Start with a small amount and gradually add more until you reach your desired consistency.
Once everything is in the blender, it’s time to blend away! Turn on the blender and let it work its magic. Blend until the mixture is smooth and all the ingredients are well combined. This usually takes about 30 seconds to a minute, but it may vary depending on the power of your blender.
And that’s it! You’ve successfully blended the bananas with milk to create the base of your delicious banana milkshake. Now, it’s time to move on to the next step and add some extra flavorings or sweeteners if desired. But for now, take a moment to appreciate the creamy goodness you’ve just created.
Stay tuned for the next step where we’ll explore how to enhance the flavor of your banana milkshake and make it even more irresistible.
Step 3: Add Sweetener and Additional Flavorings
Now that you have blended the ripe bananas with milk to create a smooth and creamy base for your banana milkshake, it’s time to take it to the next level. In this step, you will have the opportunity to add some sweetener and additional flavorings to enhance the taste of your milkshake.

Sweeten it up!
« Expert Tips for Delicious Banana Nut Bread without Vanilla Extract
Joanna Gaines’ Delicious Banana Pudding Recipe: A Heavenly Delight »
If you prefer your milkshake on the sweeter side, adding a sweetener is the way to go. You can choose from a variety of options, depending on your taste preferences. Here are a few popular choices:
- Honey: Adding a drizzle of honey will not only add sweetness but also give your milkshake a rich and unique flavor.
- Maple syrup: For a touch of natural sweetness, maple syrup is a fantastic option. It pairs wonderfully with the creamy banana flavor.
- Sugar: If you like to keep things simple, a spoonful of sugar can do the trick. Just be sure to mix it well to ensure it dissolves completely.
Remember, the amount of sweetener you add will depend on how sweet you want your milkshake to be. Start with a small amount and gradually add more until it reaches your desired level of sweetness.
Amp up the flavor!
If you’re feeling adventurous and want to experiment with different flavors, here are some additional flavorings you can consider adding to your banana milkshake:
- Vanilla extract: A few drops of vanilla extract can add a delightful aroma and depth of flavor to your milkshake.
- Cocoa powder: For all the chocolate lovers out there, adding a spoonful of cocoa powder will transform your milkshake into a decadent treat.
- Cinnamon: Sprinkling a pinch of cinnamon into your milkshake will give it a warm and comforting taste that pairs perfectly with the sweetness of bananas.
Remember to start with small amounts of these flavorings and adjust according to your taste preferences. You can always add more if needed.
Congratulations! You have now reached the third step in creating your perfect banana milkshake. Stay tuned for the next step, where we will explore creative ways to garnish and serve your delicious creation.
Step 4: Blend until smooth
Now that you have all the ingredients in the blender, it’s time to bring them together in perfect harmony. This step is crucial in achieving the smooth and creamy texture that makes a banana milkshake irresistible.
1. Start the blender: Secure the lid tightly and turn on the blender. Begin with a low speed to get the ingredients moving, then gradually increase to a higher speed. This will ensure that everything is blended evenly.
2. Blend until smooth: Let the blender do its magic and blend everything until you achieve a smooth consistency. This usually takes about 1-2 minutes, but it may vary depending on the power of your blender. Keep an eye on the mixture and stop blending once you have a velvety texture with no lumps or chunks.
3. Check for desired thickness: If you prefer a thicker milkshake, you can add more ice cream or frozen banana slices and blend again. On the other hand, if you like a thinner consistency, you can add a splash of milk and blend until well incorporated. Remember, it’s all about personal preference, so don’t be afraid to experiment!

4. Taste and adjust: Before you’re ready to serve, take a moment to taste your creation. If you feel like it needs a little more sweetness, you can add a bit of sweetener like honey or maple syrup. If you want to elevate the flavor, consider adding a pinch of cinnamon or a dash of vanilla extract. Start with small amounts and adjust according to your taste preferences.
5. Blend again (optional): If you’ve made any adjustments, give the blender a quick whirl to incorporate the new additions. This will ensure that all the flavors are well blended and evenly distributed throughout the milkshake.
Step 5: Serve and Enjoy
Now that your delicious banana milkshake is ready, it’s time to serve and enjoy the fruity goodness! Here are a few tips to make the most of your refreshing creation:
- Presentation is key: Pour your banana milkshake into a tall glass and add a fun straw or a slice of banana on the rim for an extra touch. Remember, we eat with our eyes first, so make it visually appealing!
- Garnish it up: Sprinkle a pinch of cinnamon, a drizzle of chocolate syrup, or a handful of crushed nuts on top of your milkshake to add some extra flavor and texture. Get creative and experiment with different toppings to find your favorite combination.
- Pair it with a treat: A banana milkshake is delicious on its own, but it also makes a perfect companion to a sweet treat. Serve it alongside a slice of banana bread, a warm chocolate chip cookie, or a scoop of vanilla ice cream for the ultimate indulgence.
- Share the joy: Invite your friends and family to join in on the banana milkshake experience. Whip up a batch of milkshakes and create a DIY milkshake bar with various toppings and mix-ins. It’s a fun and interactive way to enjoy this creamy delight together.
- Experiment with flavors: While a classic banana milkshake is delightful, don’t be afraid to add a twist of flavor. Try blending in a handful of fresh berries, a spoonful of peanut butter, or a dash of vanilla extract for a unique twist. Let your taste buds guide you to new and exciting combinations.
Conclusion
Now that you have all the steps to make a delicious banana milkshake, you’re ready to blend up your own creamy creation! By following this recipe, you can enjoy the perfect combination of ripe bananas and creamy milk, resulting in a refreshing and satisfying treat. Whether you’re an experienced chef or a kitchen beginner, this recipe is sure to impress.
Remember, the key to achieving the perfect consistency is to blend the ingredients until smooth, adjusting the thickness and taste to your preference. Feel free to get creative and experiment with different additions and flavors to make your banana milkshake unique to your taste.

When it comes to serving and enjoying your banana milkshake, don’t forget about presentation. Consider garnishing with a dollop of whipped cream, a sprinkle of cinnamon, or a few slices of fresh banana. You can also pair your milkshake with other treats like cookies or brownies for an extra indulgence.
Lastly, don’t be afraid to share your delicious creation with others. Whether it’s a family gathering, a summer picnic, or a casual get-together, a homemade banana milkshake is always a crowd-pleaser. So grab your blender and start blending your way to a creamy and flavorful banana milkshake that will leave everyone wanting more. Cheers!


