Are you looking for a delicious and tropical twist on traditional banana bread? Look no further! In this article, we’ll share with you a mouthwatering recipe for Hawaiian banana bread that will transport you straight to the beautiful islands of Hawaii. With its combination of ripe bananas, coconut, and pineapple, this bread is bursting with flavor and will surely become a family favorite. So grab your apron and get ready to bake a taste of paradise!
There’s something truly special about the flavors of Hawaii, and this recipe for Hawaiian banana bread captures them perfectly. Imagine biting into a slice of moist and tender bread, with the sweet aroma of ripe bananas and the tropical taste of coconut and pineapple dancing on your taste buds. It’s a delightful treat that is perfect for breakfast, brunch, or as a snack any time of the day. Whether you’re a fan of traditional banana bread or simply love trying new flavors, this recipe is a must-try.
Ingredients

Making Hawaiian banana bread is a delightful way to enjoy the tropical flavors of Hawaii. To create this scrumptious treat, you’ll need a few key ingredients:
- Ripe Bananas: The star of the show, ripe bananas add natural sweetness and moisture to the bread. Look for bananas with brown spots on the skin, as they are the perfect ripeness for baking.
- Coconut: Coconut adds a tropical flair to the bread, enhancing the overall flavor and texture. You can use either shredded coconut or coconut flakes, depending on your preference.
- Pineapple: Fresh or canned pineapple chunks are a must-have ingredient for that authentic Hawaiian taste. The pineapple adds a burst of tanginess and juiciness to the bread.
- Flour: Use all-purpose flour as the base for the bread. It provides structure and helps bind the ingredients together.
- Sugar: A touch of sweetness is necessary to balance the flavors. Granulated sugar works well in this recipe.
- Eggs: Eggs are essential for binding the ingredients and adding moisture to the bread. They also contribute to the bread’s texture.
- Butter: Butter adds richness and a buttery flavor to the bread. Make sure to use unsalted butter for better control over the salt content.
- Baking Powder: Baking powder helps the bread rise and gives it a light, fluffy texture.
- Salt: A pinch of salt enhances the flavors of the other ingredients and balances the sweetness.
With these ingredients at hand, you’re ready to create a delicious Hawaiian banana bread that will transport you to the sunny shores of Hawaii. Let’s move on to the next section to learn how to put them all together.
Step 1: Preparing the Bananas
Bananas are not only a delicious and versatile fruit, but they also play a crucial role in many recipes, including the delightful Hawaiian banana bread. In this section, we will guide you through the process of preparing the bananas for your bread, ensuring that they are perfectly ripe and ready to be incorporated into the batter.
1. Selecting the Bananas
When it comes to making banana bread, it’s important to use ripe bananas. Look for bananas that have a vibrant yellow color with a few brown spots. These spots indicate that the bananas are at their peak ripeness and will add a natural sweetness and depth of flavor to your bread. Avoid using overly green or unripe bananas, as they will not provide the desired level of sweetness.
2. Peeling the Bananas
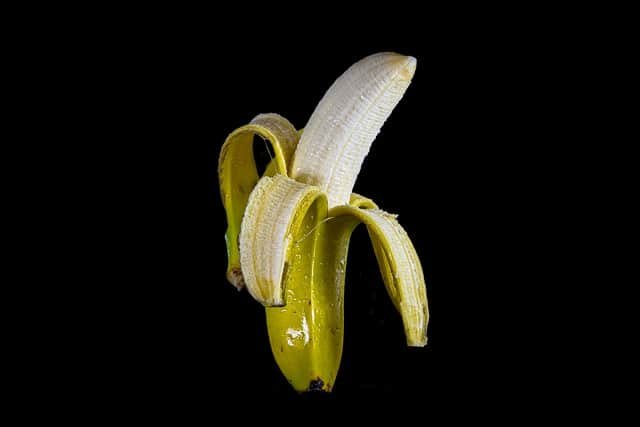
Once you have selected the perfect bananas, it’s time to peel them. Gently hold the banana in one hand and use your other hand to peel back the skin. The peel should come off easily, revealing the soft and creamy flesh of the fruit. If you encounter any stubborn bits of peel, you can use a knife or your fingers to remove them. Make sure to discard the peels in a compost bin or dispose of them properly.
3. Mashing the Bananas
Now that your bananas are peeled, it’s time to mash them. Place the ripe bananas in a bowl and, using a fork or a potato masher, gently mash them until they reach a smooth and creamy consistency. Some small lumps are perfectly fine, as they will add a pleasant texture to your bread. Mashing the bananas will not only make it easier to incorporate them into the batter but also release their natural sweetness and flavor.
By following these simple steps, you are now ready to move on to the next stage of creating your delicious Hawaiian banana bread. Stay tuned for Step 2, where we will explore the other key ingredients that make this bread truly tropical and irresistible.
Step 2: Mixing the Dry Ingredients

Now that you have prepared the ripe bananas for your Hawaiian banana bread, it’s time to move on to the next step: mixing the dry ingredients. This step is crucial in creating a moist and flavorful bread that will transport you to the tropical shores of Hawaii.
To begin, gather the following dry ingredients:
- 2 cups of all-purpose flour: This is the base of your bread and provides structure and texture.
- 1 teaspoon of baking soda: The baking soda helps the bread rise and gives it a light and fluffy texture.
- 1/2 teaspoon of salt: Salt enhances the flavors in the bread and balances the sweetness of the bananas and pineapple.
- 1/2 cup of shredded coconut: The coconut adds a delightful tropical flavor and a hint of sweetness to the bread.
Once you have all the ingredients ready, it’s time to mix them together. In a large mixing bowl, combine the flour, baking soda, salt, and shredded coconut. Use a whisk or a fork to ensure that the ingredients are evenly distributed.
Mixing the dry ingredients thoroughly is important as it helps to evenly distribute the leavening agents and flavors throughout the bread. This ensures that every bite is filled with the delicious taste of Hawaii.
Now that you have successfully mixed the dry ingredients, it’s time to move on to the next step: combining the wet and dry ingredients. But before we do that, let’s take a moment to appreciate the aroma of the ripe bananas and the tropical scent of the coconut. It’s these little details that make Hawaiian banana bread so special.
So, get ready for the next step and let’s continue our journey to creating a mouthwatering Hawaiian banana bread. Stay tuned for Step 3, where we will bring all the ingredients together to form the perfect batter.

Step 3: Mixing the Wet Ingredients
« Quick and Easy Banana Bread Recipe Using Cake Mix
Delicious & Healthy Banana Oatmeal Recipe for Weight Loss »
Now that you have prepared the ripe bananas and mixed the dry ingredients, it’s time to move on to the next step: mixing the wet ingredients. This is where the magic happens and all the flavors come together to create a deliciously moist and tender Hawaiian banana bread.
To begin, gather the following ingredients for the wet mixture:
- 1/2 cup of melted butter
- 1/2 cup of granulated sugar
- 2 large eggs
- 1 teaspoon of vanilla extract
- 1/2 cup of crushed pineapple (drained)
In a large mixing bowl, combine the melted butter and granulated sugar. Use a whisk or a spoon to stir them together until well combined. Next, add the eggs one at a time, mixing well after each addition. The eggs help to bind the ingredients together and add richness to the bread.
It’s time to add a touch of tropical flavor. Pour in the vanilla extract and the crushed pineapple. The pineapple adds a subtle sweetness and a hint of tanginess that pairs perfectly with the bananas. Mix everything together until well incorporated.
Next, it’s time to bring the wet and dry ingredients together. Add the wet mixture into the bowl with the mashed bananas and shredded coconut. Stir gently until all the ingredients are fully combined and no streaks of flour remain. Be careful not to overmix, as this can lead to a dense and tough bread.
Congratulations! You have successfully mixed the wet ingredients for your Hawaiian banana bread. The batter should be smooth and slightly thick, with a delightful aroma of tropical fruits. Now, it’s time to move on to the final step – baking the bread to perfection.
Step 4: Combining the Wet and Dry Ingredients
Now that you have prepared the ripe bananas and mixed the dry ingredients, it’s time to move on to the next step: combining the wet and dry ingredients. This is where all the flavors and textures come together to create a delicious Hawaiian banana bread.
To start, gather the wet ingredients you’ll need for this recipe. This includes melted butter, granulated sugar, eggs, vanilla extract, and crushed pineapple. These ingredients not only add moisture to the bread but also enhance its tropical flavors.
In a separate bowl, whisk together the dry ingredients you mixed earlier. This includes all-purpose flour, baking soda, and a pinch of salt. Whisking them together ensures that the ingredients are evenly distributed, resulting in a well-balanced bread.

Next, it’s time to combine the wet and dry ingredients. Pour the wet mixture into the bowl with the dry ingredients. Using a spatula or wooden spoon, gently fold the ingredients together. Be careful not to overmix the batter, as this can lead to a dense and tough texture.
The goal is to have a batter that is just combined, with no streaks of flour remaining. It’s okay if there are a few lumps in the batter. Overmixing will activate the gluten in the flour, resulting in a tougher bread.
Once the wet and dry ingredients are combined, it’s time to add in the mashed bananas and shredded coconut. These ingredients will add moisture and a tropical twist to the bread. Gently fold them into the batter until everything is evenly distributed.
Step 5: Adding the Mix-Ins
Now that you have combined the wet and dry ingredients to create a smooth batter, it’s time to take your Hawaiian banana bread to the next level by adding some delicious mix-ins. These extra ingredients will add flavor, texture, and a tropical twist to your bread.
Here are a few mix-in options that will elevate your Hawaiian banana bread:
- Macadamia Nuts: For a delightful crunch and a hint of nuttiness, chop up some macadamia nuts and fold them into the batter. They pair perfectly with the sweetness of the bananas and add a touch of Hawaii to your bread.
- Pineapple Chunks: If you want to enhance the tropical flavor, add some pineapple chunks to the batter. Make sure to drain them well before adding to prevent the bread from becoming too moist.
- Coconut Flakes: To enhance the coconut flavor in your bread, sprinkle some coconut flakes into the batter. It will give your banana bread a delightful tropical twist.
- Chocolate Chips: For the chocolate lovers out there, why not add some chocolate chips to your banana bread? The combination of rich chocolate and sweet bananas is simply irresistible.

When adding the mix-ins, be sure to gently fold them into the batter. This will ensure that they are evenly distributed without overmixing the batter. Overmixing can result in a dense and tough texture, which is not what we want for our delicious Hawaiian banana bread.
Once you have added your desired mix-ins, it’s time to move on to the final step – baking the bread to perfection. But before we get into that, let’s take a moment to appreciate the aroma of the ripe bananas, the sweetness of the pineapple, and the tropical flavors that are about to come together in this mouthwatering treat.
Step 6: Baking the Bread
Once you have prepared your Hawaiian banana bread batter, it’s time to bake it to perfection. Baking is an important step in the process that will transform your mixture into a delicious loaf of bread. Here’s how you can do it:
- Preheat your oven to 350°F (175°C). This temperature will ensure that your bread bakes evenly and develops a golden crust.
- Grease a 9×5-inch loaf pan with butter or cooking spray to prevent the bread from sticking to the pan.
- Pour the banana bread batter into the prepared loaf pan, spreading it out evenly with a spatula. You can tap the pan gently on the countertop to remove any air bubbles.
- Place the pan on the center rack of your preheated oven. This will allow for even heat distribution and ensure that the bread bakes evenly.
- Bake the bread for approximately 55-60 minutes, or until a toothpick inserted into the center comes out clean. Keep an eye on the bread towards the end of the baking time to avoid overbaking.
- Once the bread is done, remove it from the oven and let it cool in the pan for about 10 minutes. This step allows the bread to set before transferring it to a wire rack to cool completely.
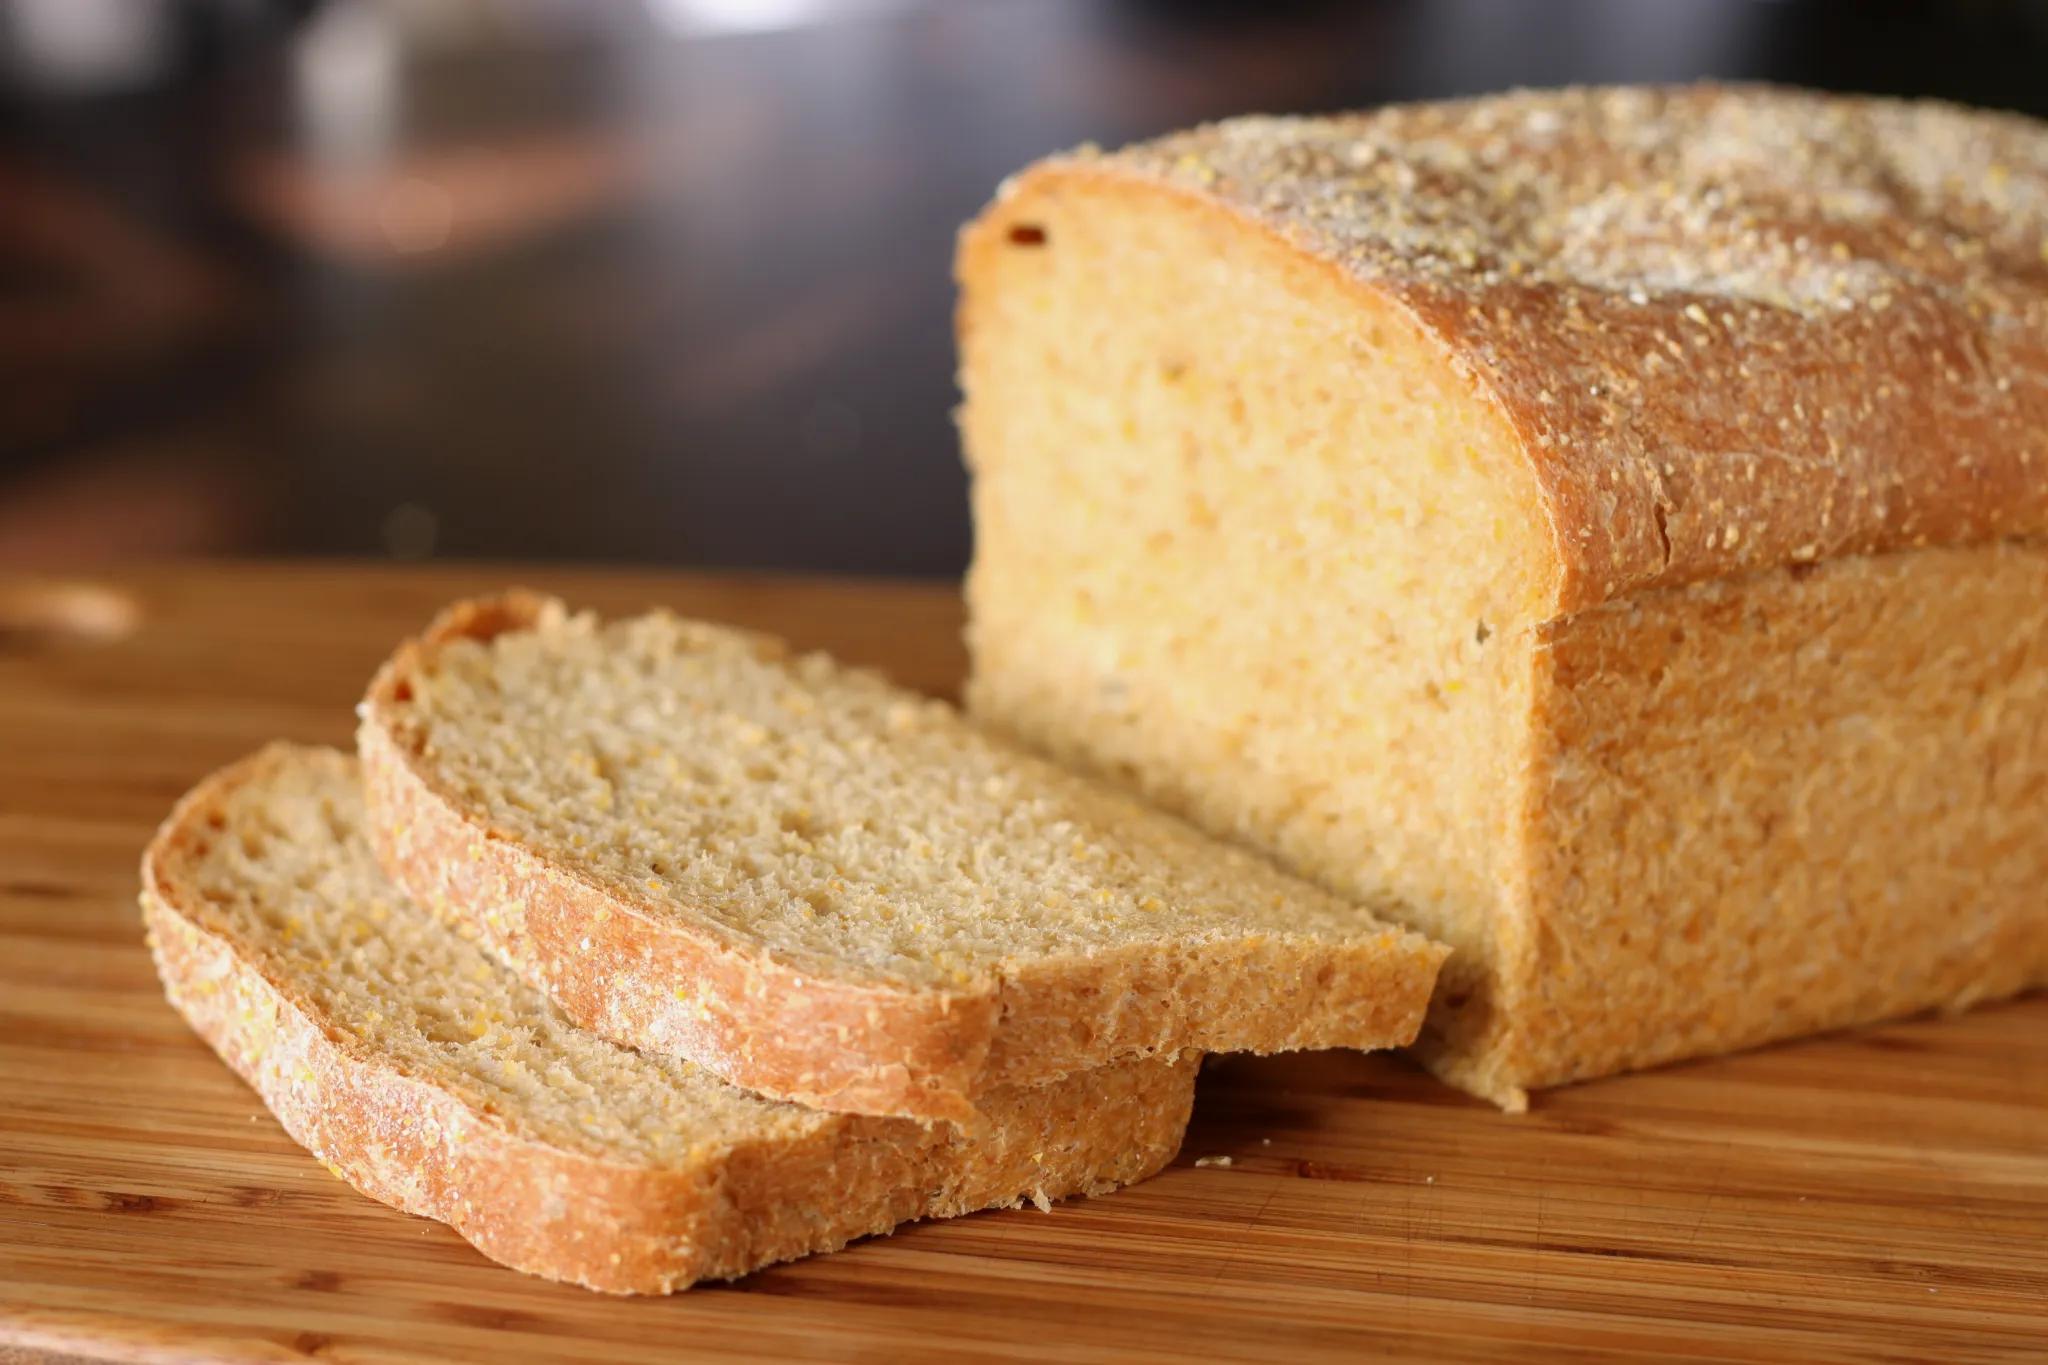
- Once the bread has cooled, you can slice it and enjoy your homemade Hawaiian banana bread. The bread can be stored in an airtight container at room temperature for up to 3-4 days, or you can freeze it for longer storage.
Baking the Hawaiian banana bread brings out the flavors of the ripe bananas and other delicious ingredients, creating a moist and tender loaf. The aroma that fills your kitchen as it bakes is simply irresistible! So, go ahead and follow these steps to bake your own mouthwatering Hawaiian banana bread.
Step 7: Cooling and Serving
Now that your delicious Hawaiian banana bread is out of the oven, it’s time to let it cool and get ready to enjoy the fruits of your labor! This final step is crucial to ensure that your bread is moist and flavorful. Here’s what you need to do:
- Cooling: Allow the bread to cool in the pan for about 10 minutes. This will make it easier to remove from the pan without it falling apart. After 10 minutes, carefully transfer the bread to a wire rack to cool completely.
- Slicing: Once the bread has cooled completely, it’s time to slice it. Use a sharp serrated knife to ensure clean, even slices. You can slice it thick or thin, depending on your preference.
- Serving: Hawaiian banana bread is delicious on its own, but you can take it to the next level by serving it in different ways. Here are a few ideas:
- Plain: Enjoy a slice of warm banana bread as it is, savoring the tropical flavors of ripe bananas, pineapple, and coconut.
- Butter and Jam: Spread a little butter and your favorite jam on a slice of banana bread for a delightful breakfast or snack.
- Cream Cheese: For a creamy and tangy twist, spread some cream cheese on your banana bread. It adds a delicious richness that pairs perfectly with the tropical flavors.
- Toasted: If you prefer a slightly crispy texture, lightly toast your banana bread in a toaster or toaster oven. It adds a delightful crunch to each bite.

Remember, Hawaiian banana bread is best enjoyed fresh. However, if you have any leftovers, you can store them in an airtight container for 3-4 days. To extend the shelf life even further, you can also freeze the bread for longer storage. Simply wrap individual slices or the whole loaf tightly in plastic wrap and place them in a freezer-safe bag.
So, go ahead and savor the tropical goodness of your homemade Hawaiian banana bread. Whether you enjoy it plain or with a creative twist, this delightful treat is sure to bring a taste of the islands to your kitchen.
Conclusion
Now that you have all the necessary information and steps to make your very own Hawaiian banana bread, it’s time to get baking! Remember, the key to a delicious loaf lies in using ripe bananas and following the mixing and baking instructions carefully.
Once your bread is out of the oven, be patient and allow it to cool completely before slicing. This will ensure that you get perfectly moist and tender slices every time.
When it comes to serving, the options are endless. You can enjoy a slice of this delightful bread on its own, or get creative by adding a spread of butter and jam. For a creamier twist, try topping it with some cream cheese. And if you’re in the mood for a warm and toasty treat, pop a slice in the toaster for a few minutes.

Lastly, if you have any leftovers, make sure to store them properly to maintain their freshness. Wrap the bread tightly in plastic wrap or store it in an airtight container at room temperature for up to three days. Alternatively, you can freeze individual slices for up to three months.
Now that you’re armed with all the knowledge, it’s time to put it into practice and enjoy the taste of homemade Hawaiian banana bread. Happy baking!


