Are you craving a delicious and creamy dessert that will satisfy your sweet tooth? Look no further than a homemade banana cream pie with pudding and vanilla wafers! This classic dessert is a crowd-pleaser and a perfect way to showcase the natural sweetness of ripe bananas. Whether you’re hosting a dinner party or simply want to treat yourself, this recipe is sure to impress. Get ready to indulge in layers of smooth pudding, sliced bananas, and a buttery crust made with vanilla wafers.
If you’re a fan of banana desserts, then this banana cream pie recipe is a must-try. With its velvety pudding filling and crunchy vanilla wafer crust, it’s a delightful combination of flavors and textures. The best part? It’s incredibly easy to make! Whether you’re an experienced baker or a novice in the kitchen, you’ll be able to whip up this delicious pie in no time. So grab your apron and get ready to dive into a slice of heaven.
Step-by-Step Instructions for Making Banana Cream Pie

If you’re a fan of bananas and love indulging in sweet treats, then you’re in for a treat with this homemade banana cream pie recipe. With its velvety pudding filling and crunchy vanilla wafer crust, this pie is a delightful dessert that will satisfy your cravings. Let’s dive into the step-by-step instructions for making this delicious banana cream pie:
- Prepare the Crust: Start by crushing vanilla wafers until they form fine crumbs. You can do this by placing the wafers in a plastic bag and gently crushing them with a rolling pin. In a bowl, combine the crushed wafers with melted butter until the mixture becomes crumbly. Press the mixture into the bottom and sides of a pie dish, creating an even layer. Place the crust in the refrigerator to chill while you prepare the filling.
- Make the Pudding Filling: In a medium saucepan, whisk together sugar, cornstarch, and salt. Gradually whisk in milk until the mixture is smooth. Cook over medium heat, stirring constantly, until the mixture thickens and comes to a boil. Remove the saucepan from the heat and slowly pour a small amount of the hot mixture into beaten egg yolks, whisking constantly. This will temper the eggs and prevent them from scrambling. Gradually add the egg mixture back into the saucepan, whisking constantly. Return the saucepan to the heat and cook for an additional 2 minutes, stirring constantly, until the pudding has thickened. Remove from heat and stir in vanilla extract. Let the pudding cool for a few minutes.
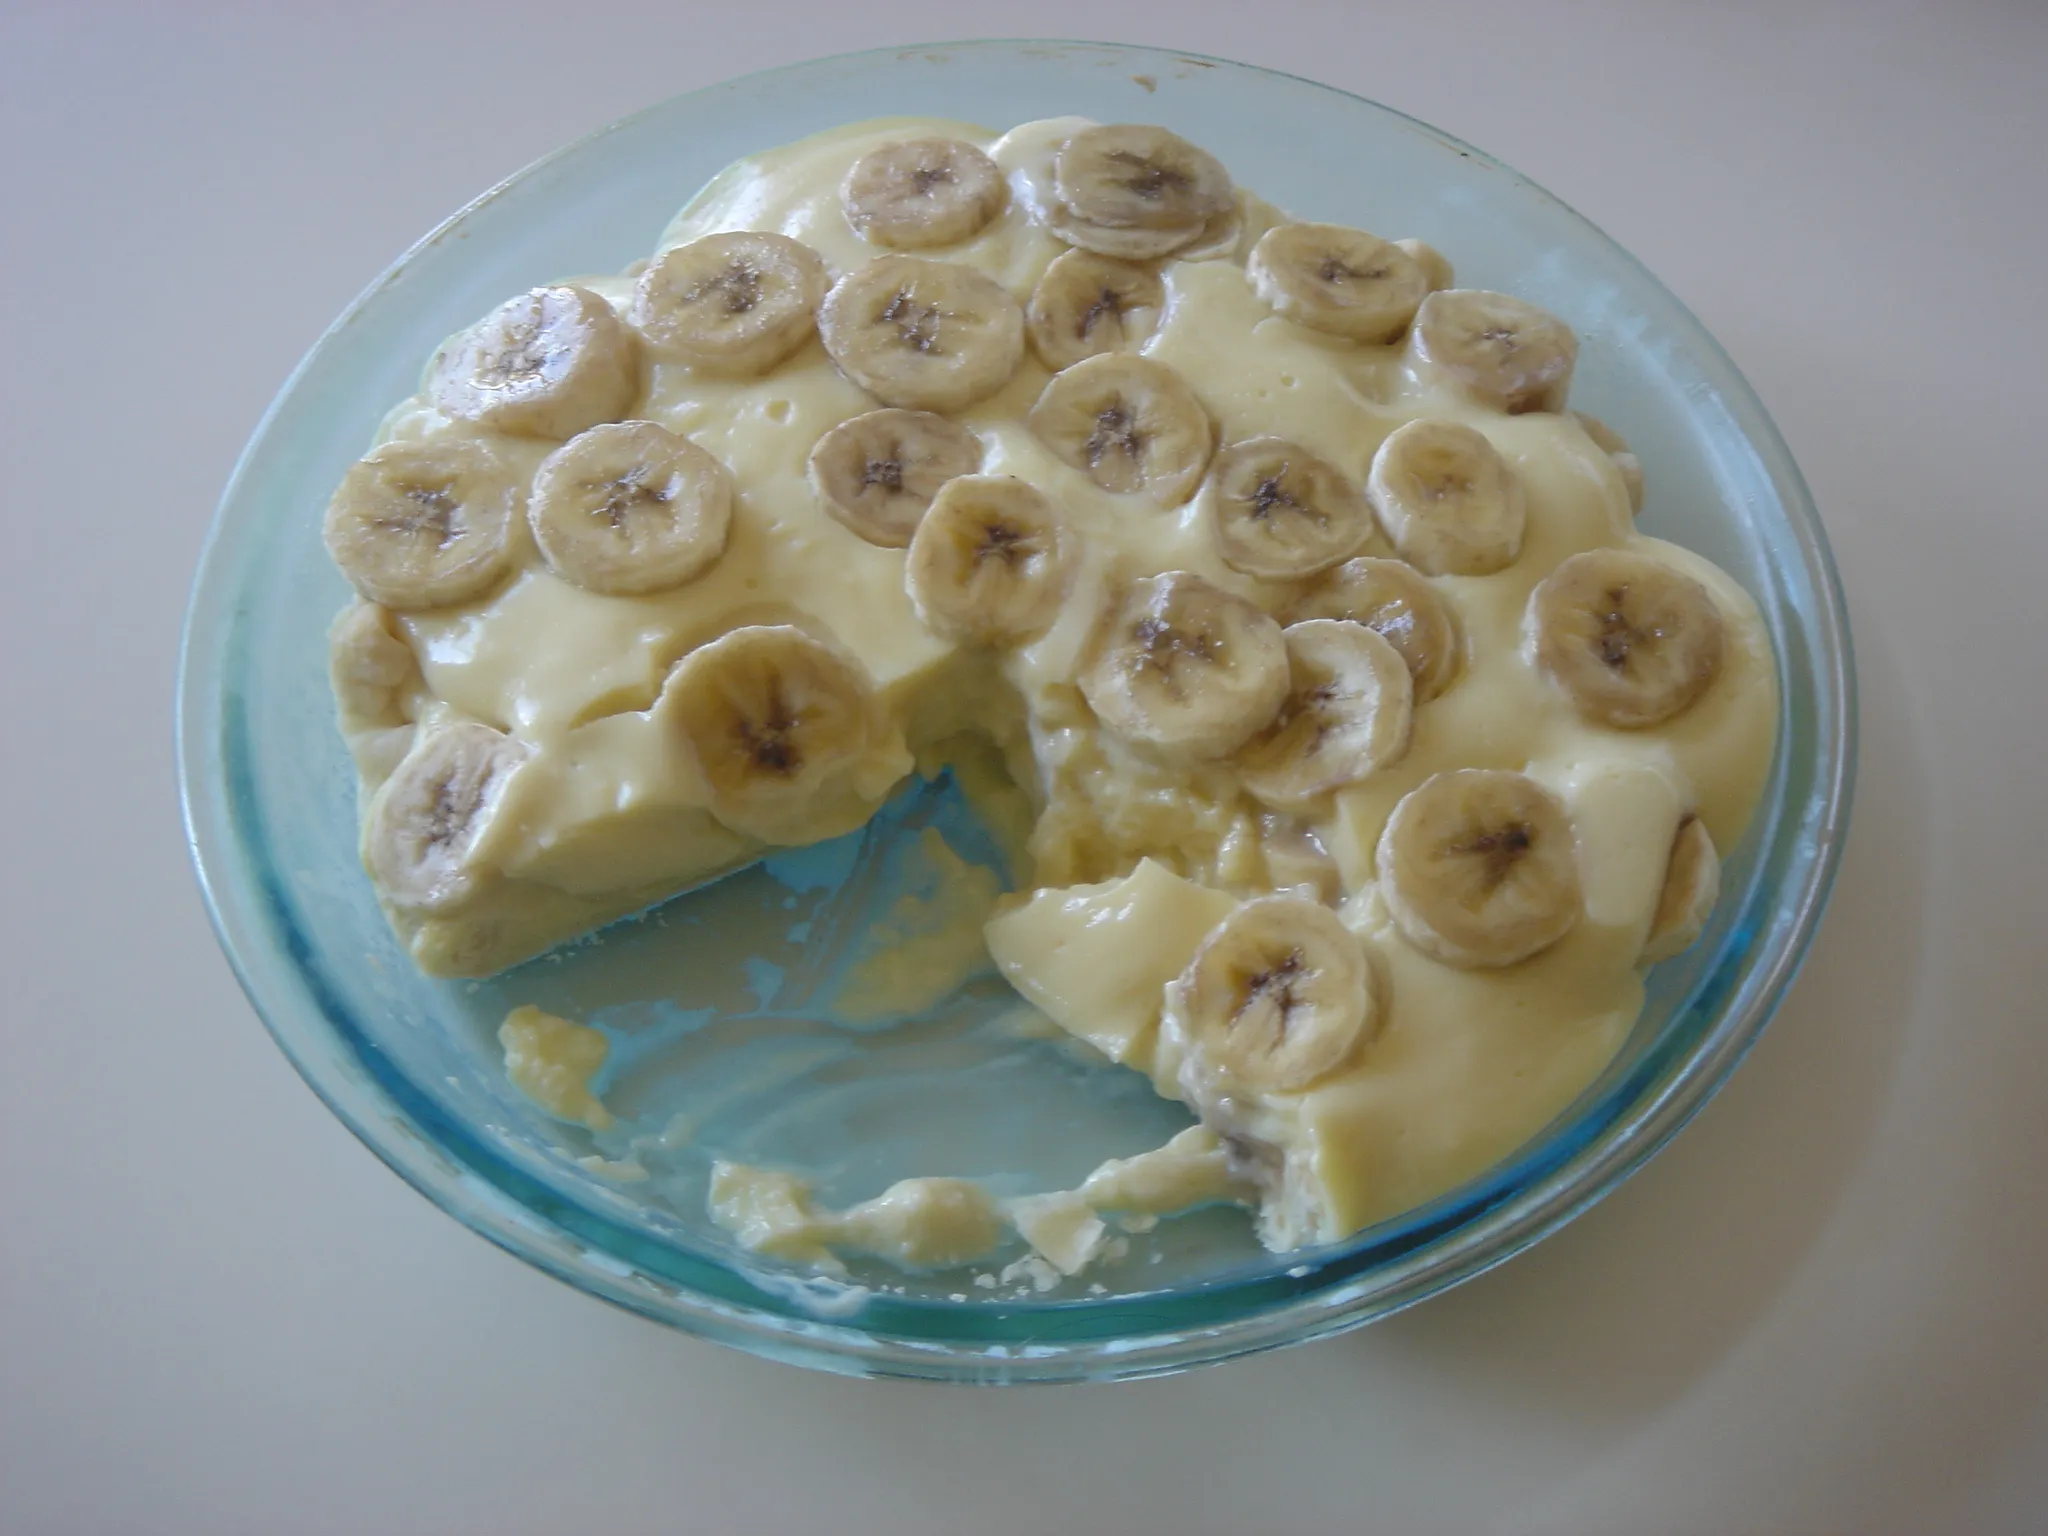
- Assemble the Pie: Slice ripe bananas into thin rounds and arrange them in a single layer on the bottom of the chilled crust. Pour the cooled pudding filling over the bananas, spreading it evenly. Top the pie with another layer of sliced bananas, arranging them in a decorative pattern if desired. Cover the pie with plastic wrap, ensuring that the plastic wrap touches the surface of the pudding to prevent a skin from forming. Refrigerate the pie for at least 4 hours, or overnight, to allow it to set.
- Serve and Enjoy: Once the pie has chilled and set, it’s time to enjoy this delectable dessert. Slice the pie into wedges and serve it chilled. You can also garnish each slice with a dollop of whipped cream and a sprinkle of crushed
Gathering Ingredients
Now that you’re ready to embark on your banana cream pie adventure, let’s start by gathering all the ingredients you’ll need. Don’t worry, it’s a simple list of items that can be easily found at your local grocery store. Here’s what you’ll need:
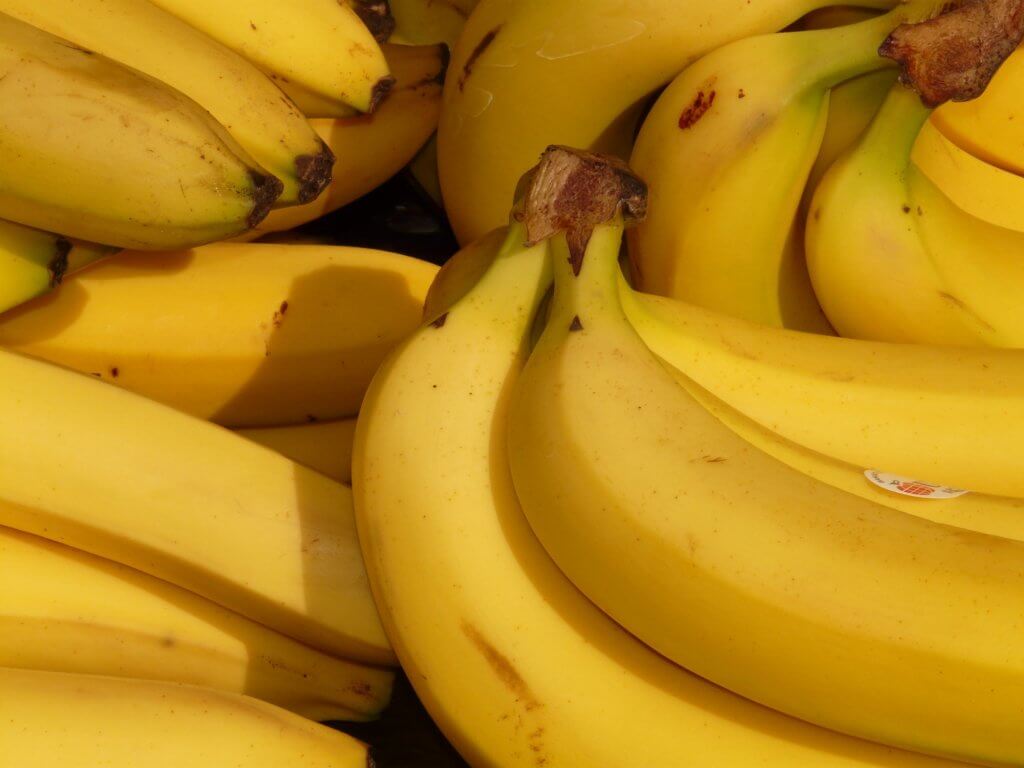
- Ripe Bananas: The star of the show! Look for bananas that are yellow with a few brown spots. They should be soft to the touch but not overly mushy.
- Vanilla Wafers: These crispy and sweet cookies will form the base of your pie crust. You’ll need about 2 cups of crushed vanilla wafers.
- Unsalted Butter: You’ll need melted butter to bind the crushed vanilla wafers together for the crust.
- Granulated Sugar: A touch of sweetness to balance the flavors.
- Cornstarch: This will help thicken the pudding filling.
- Salt: Just a pinch to enhance the flavors.
- Milk: You’ll need whole milk to create a creamy and smooth pudding filling.
- Egg yolks: These will give the pudding a rich and velvety texture.
- Vanilla Extract: A hint of vanilla will elevate the flavors of the pudding.
- Whipped Cream: Optional, but highly recommended for serving. It adds a light and airy touch to each slice.
Now that you have your shopping list, it’s time to head to the store and gather all your ingredients. Remember to choose ripe bananas for the best flavor, and don’t forget to grab some extra whipped cream for serving. Once you have everything you need, it’s time to get started on making your delicious banana cream pie.
Making the Pie Crust
When it comes to making a delicious banana cream pie, the crust is just as important as the filling. A crunchy and flavorful crust can elevate the overall taste and texture of the pie. In this section, I’ll guide you through the process of making a delectable vanilla wafer crust that perfectly complements the creamy banana filling.
To start, gather all the necessary ingredients for the crust: vanilla wafers, unsalted butter, and granulated sugar. The vanilla wafers will serve as the base for the crust, providing a delightful hint of vanilla flavor. You’ll need about 2 cups of crushed vanilla wafers, which is roughly equivalent to one 12-ounce box.
Next, melt 1/2 cup of unsalted butter in a microwave-safe bowl or on the stovetop. Once melted, set it aside to cool slightly. Meanwhile, place the crushed vanilla wafers in a mixing bowl and add 1/4 cup of granulated sugar. Stir the mixture until the sugar is evenly distributed.
Now it’s time to combine the melted butter with the crushed vanilla wafers. Pour the melted butter over the wafer mixture and use a fork or your hands to mix everything together. Make sure all the crumbs are coated with butter and the mixture becomes moist and crumbly.
Once the crust mixture is ready, transfer it to a 9-inch pie dish. Use your fingers or the back of a spoon to press the mixture firmly onto the bottom and sides of the dish, creating an even layer. Make sure the crust is compact and well-distributed to prevent it from crumbling when serving.
Now that you’ve prepared the perfect crust for your banana cream pie, it’s time to move on to making the luscious pudding filling. But before we do, let’s quickly recap the steps for making the crust:
- Crush vanilla wafers to make 2 cups of crumbs.
- Melt 1/2 cup of unsalted butter and set it aside to cool slightly.
- Combine the melted butter with the crushed vanilla wafers and 1/4 cup of granulated sugar.
- Press the crust mixture firmly into a 9-inch pie dish.
With the crust ready to go, let’s dive into creating the creamy and dreamy banana pudding filling.
Preparing the Pudding Filling

Now that you have the crust ready, it’s time to move on to creating the creamy banana pudding filling. This is the heart and soul of your banana cream pie, so let’s get started!
1. Gather your ingredients: To make the pudding filling, you’ll need the following ingredients:
- 2 cups of milk
- 1/2 cup of granulated sugar
- 1/4 cup of cornstarch
- 1/4 teaspoon of salt
- 4 egg yolks
- 2 tablespoons of unsalted butter
- 1 teaspoon of vanilla extract
- 2 ripe bananas, sliced
2. Cook the pudding: In a medium saucepan, combine the milk, sugar, cornstarch, and salt. Whisk until the mixture is smooth and well combined. Place the saucepan over medium heat and cook, stirring constantly, until the mixture thickens and comes to a boil. This should take about 5-7 minutes.
3. Temper the egg yolks: In a separate bowl, whisk the egg yolks until they are well beaten. Slowly pour about 1/4 cup of the hot milk mixture into the beaten egg yolks while whisking constantly. This step is important to prevent the eggs from scrambling when added to the hot pudding.
4. Combine the pudding: Pour the tempered egg yolks back into the saucepan with the remaining hot milk mixture. Cook the pudding over medium heat, stirring constantly, until it thickens to a pudding-like consistency. This should take about 2-3 minutes.
5. Add the butter and vanilla: Remove the saucepan from the heat and add the butter and vanilla extract. Stir until the butter is melted and fully incorporated into the pudding.

« Light and Tender Banana Bread Recipe Using Oil
Delicious and Moist Banana Cake Recipe: Perfect for Beginners and Experts »
6. Assemble the pie: Once the pudding has cooled slightly, it’s time to assemble your banana cream pie. Start by layering the sliced bananas on top of the prepared crust. Then, pour the warm pudding over the bananas, making sure to spread it evenly.
Remember, the pudding will continue to thicken as it cools, so don’t worry if it seems a bit runny at this stage. Place the pie in the refrigerator and let it chill for at least 2-3 hours, or until the pudding is set.
You’re now one step closer to enjoying a slice of luscious banana cream pie! The
Layering the Pie
Now that you have prepared the delicious vanilla wafer crust and the creamy banana pudding filling, it’s time to layer them together to create the ultimate banana cream pie. This step is crucial to achieve the perfect balance of flavors and textures in every bite. Here’s how you can do it:
- Slice the Bananas: Start by slicing ripe bananas into thin rounds. Make sure to use ripe bananas as they will add a natural sweetness to the pie. Aim for slices that are about 1/4 inch thick.
- Arrange the Slices: Take the prepared vanilla wafer crust and arrange a layer of the sliced bananas on top. Make sure to cover the entire surface evenly. The bananas will add a refreshing and fruity element to the pie, complementing the creamy pudding filling.
- Pour the Pudding: Carefully pour the warm banana pudding over the sliced bananas. Ensure that the pudding is evenly distributed and covers the entire surface of the pie. The warmth of the pudding will help it seep into the nooks and crannies of the crust, creating a delectable combination of flavors.
- Smooth the Surface: Use a spatula or the back of a spoon to gently spread the pudding and create a smooth surface. This will ensure that each slice of the pie is visually appealing and enticing.
- Repeat the Layers: If desired, you can create multiple layers of sliced bananas and pudding. Simply repeat the process of arranging the bananas, pouring the pudding, and smoothing the surface until you have achieved the desired number of layers. This will add an extra dimension to the pie and elevate its presentation.
Remember, it’s important to work quickly while layering the pie to prevent the bananas from turning brown. Once you have completed the layering process, it’s time to let the pie chill in the refrigerator for at least 2-3 hours. This will allow the pudding to set and the flavors to meld together, resulting in a perfect slice of banana cream pie.
By layering the pie with sliced bananas and the creamy pudding filling, you are creating a delightful dessert that showcases the natural sweetness of bananas. So, go ahead and enjoy the process of layering this scrumptious pie, and get ready to savor the indulgent flavors it offers.
Adding Vanilla Wafers
Now that you have the perfect crust for your banana cream pie, it’s time to take it up a notch by adding some delicious vanilla wafers. These crispy, sweet cookies will add an extra layer of flavor and texture to your pie, making it even more irresistible. Here’s how you can incorporate vanilla wafers into your banana cream pie recipe:
- Prepare the Wafers: Start by gathering your favorite brand of vanilla wafers. You can find them in the cookie aisle of your local grocery store. Make sure to have enough to cover the entire bottom of your pie crust.
- Crush or Layer: There are two ways you can add the vanilla wafers to your pie. The first option is to crush them into fine crumbs. This will create a more evenly distributed layer of wafers throughout the pie. Alternatively, you can layer the whole wafers on top of the crust for a more visually appealing presentation. Choose the method that suits your preference.
- Spread the Wafers: If you decide to crush the wafers, gently spread the crumbs over the bottom of the pie crust. Use the back of a spoon or your fingers to press them down firmly, creating a solid layer. Make sure the crumbs reach all the way to the edges of the crust.
- Layer the Wafers: If you prefer to layer the wafers, arrange them in a single layer on top of the crust. You can overlap them slightly to ensure full coverage. Press them down gently to make sure they adhere to the crust.
Finalizing the Pie
Now that you’ve prepared the crust, layered the sliced bananas, and poured the warm banana pudding over them, it’s time to finalize your delicious banana cream pie. The next step is crucial in achieving the perfect texture and flavor. Here’s what you need to do:
Chilling the Pie
After assembling the pie, it’s important to let it chill in the refrigerator for at least 2-3 hours. This will allow the pudding to set and firm up, giving the pie a creamy and luscious consistency. The chilling process also allows the flavors to meld together, creating a harmonious balance of banana and vanilla.

While it may be tempting to dive right into your pie, patience is key. Allowing it to chill thoroughly will result in a more enjoyable eating experience. The wait will definitely be worth it!
Adding a Crunchy Topping
To take your banana cream pie to the next level, consider adding a crunchy topping of vanilla wafers. There are two ways you can do this:
- Crushed Vanilla Wafers: Take a handful of vanilla wafers and crush them into fine crumbs using a food processor or by placing them in a plastic bag and gently crushing them with a rolling pin. Sprinkle the crumbs over the top of the pie just before serving. This will add a delightful crunch to each bite.
- Layered Vanilla Wafers: Alternatively, you can decorate the top of the pie with whole or halved vanilla wafers. This not only adds a visual appeal but also provides a satisfying crunch when you bite into them.
The choice is yours! Whichever method you choose, the addition of vanilla wafers will elevate your banana cream pie and add a delightful contrast to the smooth and creamy filling.
Tips and Variations for Banana Cream Pie
Now that you have learned how to make a delicious homemade banana cream pie with pudding and vanilla wafers, let’s explore some tips and variations to take your pie to the next level. Whether you want to add a twist to the classic recipe or experiment with different flavors, these tips and variations will help you create a pie that is uniquely yours.
1. Experiment with Different Pudding Flavors
While banana pudding is the traditional choice for banana cream pie, don’t be afraid to get creative and try different pudding flavors. Vanilla pudding is a great alternative that pairs well with the bananas and adds a subtle sweetness. If you’re feeling adventurous, you can even try flavors like chocolate, coconut, or butterscotch to give your pie a unique twist.
2. Add a Hint of Citrus

To add a refreshing twist to your banana cream pie, consider incorporating a hint of citrus. You can zest a lemon or an orange and mix it into the pudding before pouring it over the bananas. The citrus flavor will complement the sweetness of the bananas and add a bright, tangy note to your pie.
3. Enhance the Crunch with Nuts
If you enjoy a bit of crunch in your desserts, consider adding some chopped nuts to your banana cream pie. Walnuts, pecans, or almonds are great options that will add texture and a nutty flavor to your pie. Sprinkle the chopped nuts on top of the pudding layer or mix them into the crust for an extra crunch in every bite.
4. Try Different Crust Options
While the classic vanilla wafer crust is delicious, don’t be afraid to experiment with different crust options. A graham cracker crust or a chocolate cookie crust can add a new dimension of flavor to your pie. You can also try a shortbread crust for a buttery and rich base that complements the creamy filling.
5. Garnish and Decorate
To make your banana cream pie visually appealing, don’t forget to garnish and decorate it. You can top your pie with whipped cream, chocolate shavings, or even fresh fruit slices. Get creative and have fun with different toppings to make your pie look as good as it tastes.
Remember, these tips and variations are meant to inspire you to get creative in the kitchen and make a banana cream pie that suits your taste preferences. Don’t be afraid to experiment and have fun
Conclusion

You now have all the tools and knowledge you need to create a mouthwatering banana cream pie with pudding and vanilla wafers. By following the step-by-step instructions provided in this article, you can easily whip up a delicious dessert that will impress your family and friends.
But don’t stop there! Use the tips and variations mentioned in this article to take your banana cream pie to new heights. Experiment with different pudding flavors to add an unexpected twist, or try adding a hint of citrus for a burst of freshness. Enhance the crunch of the vanilla wafer crust by incorporating nuts, or get creative with different crust options altogether. And don’t forget to garnish and decorate your pie to make it even more visually appealing.
The possibilities are endless, so let your imagination run wild and create a banana cream pie that is truly unique and personalized. Whether you’re a seasoned baker or a beginner in the kitchen, this recipe is sure to be a hit. So grab your ingredients and get ready to indulge in a slice of creamy, dreamy banana goodness. Enjoy!


