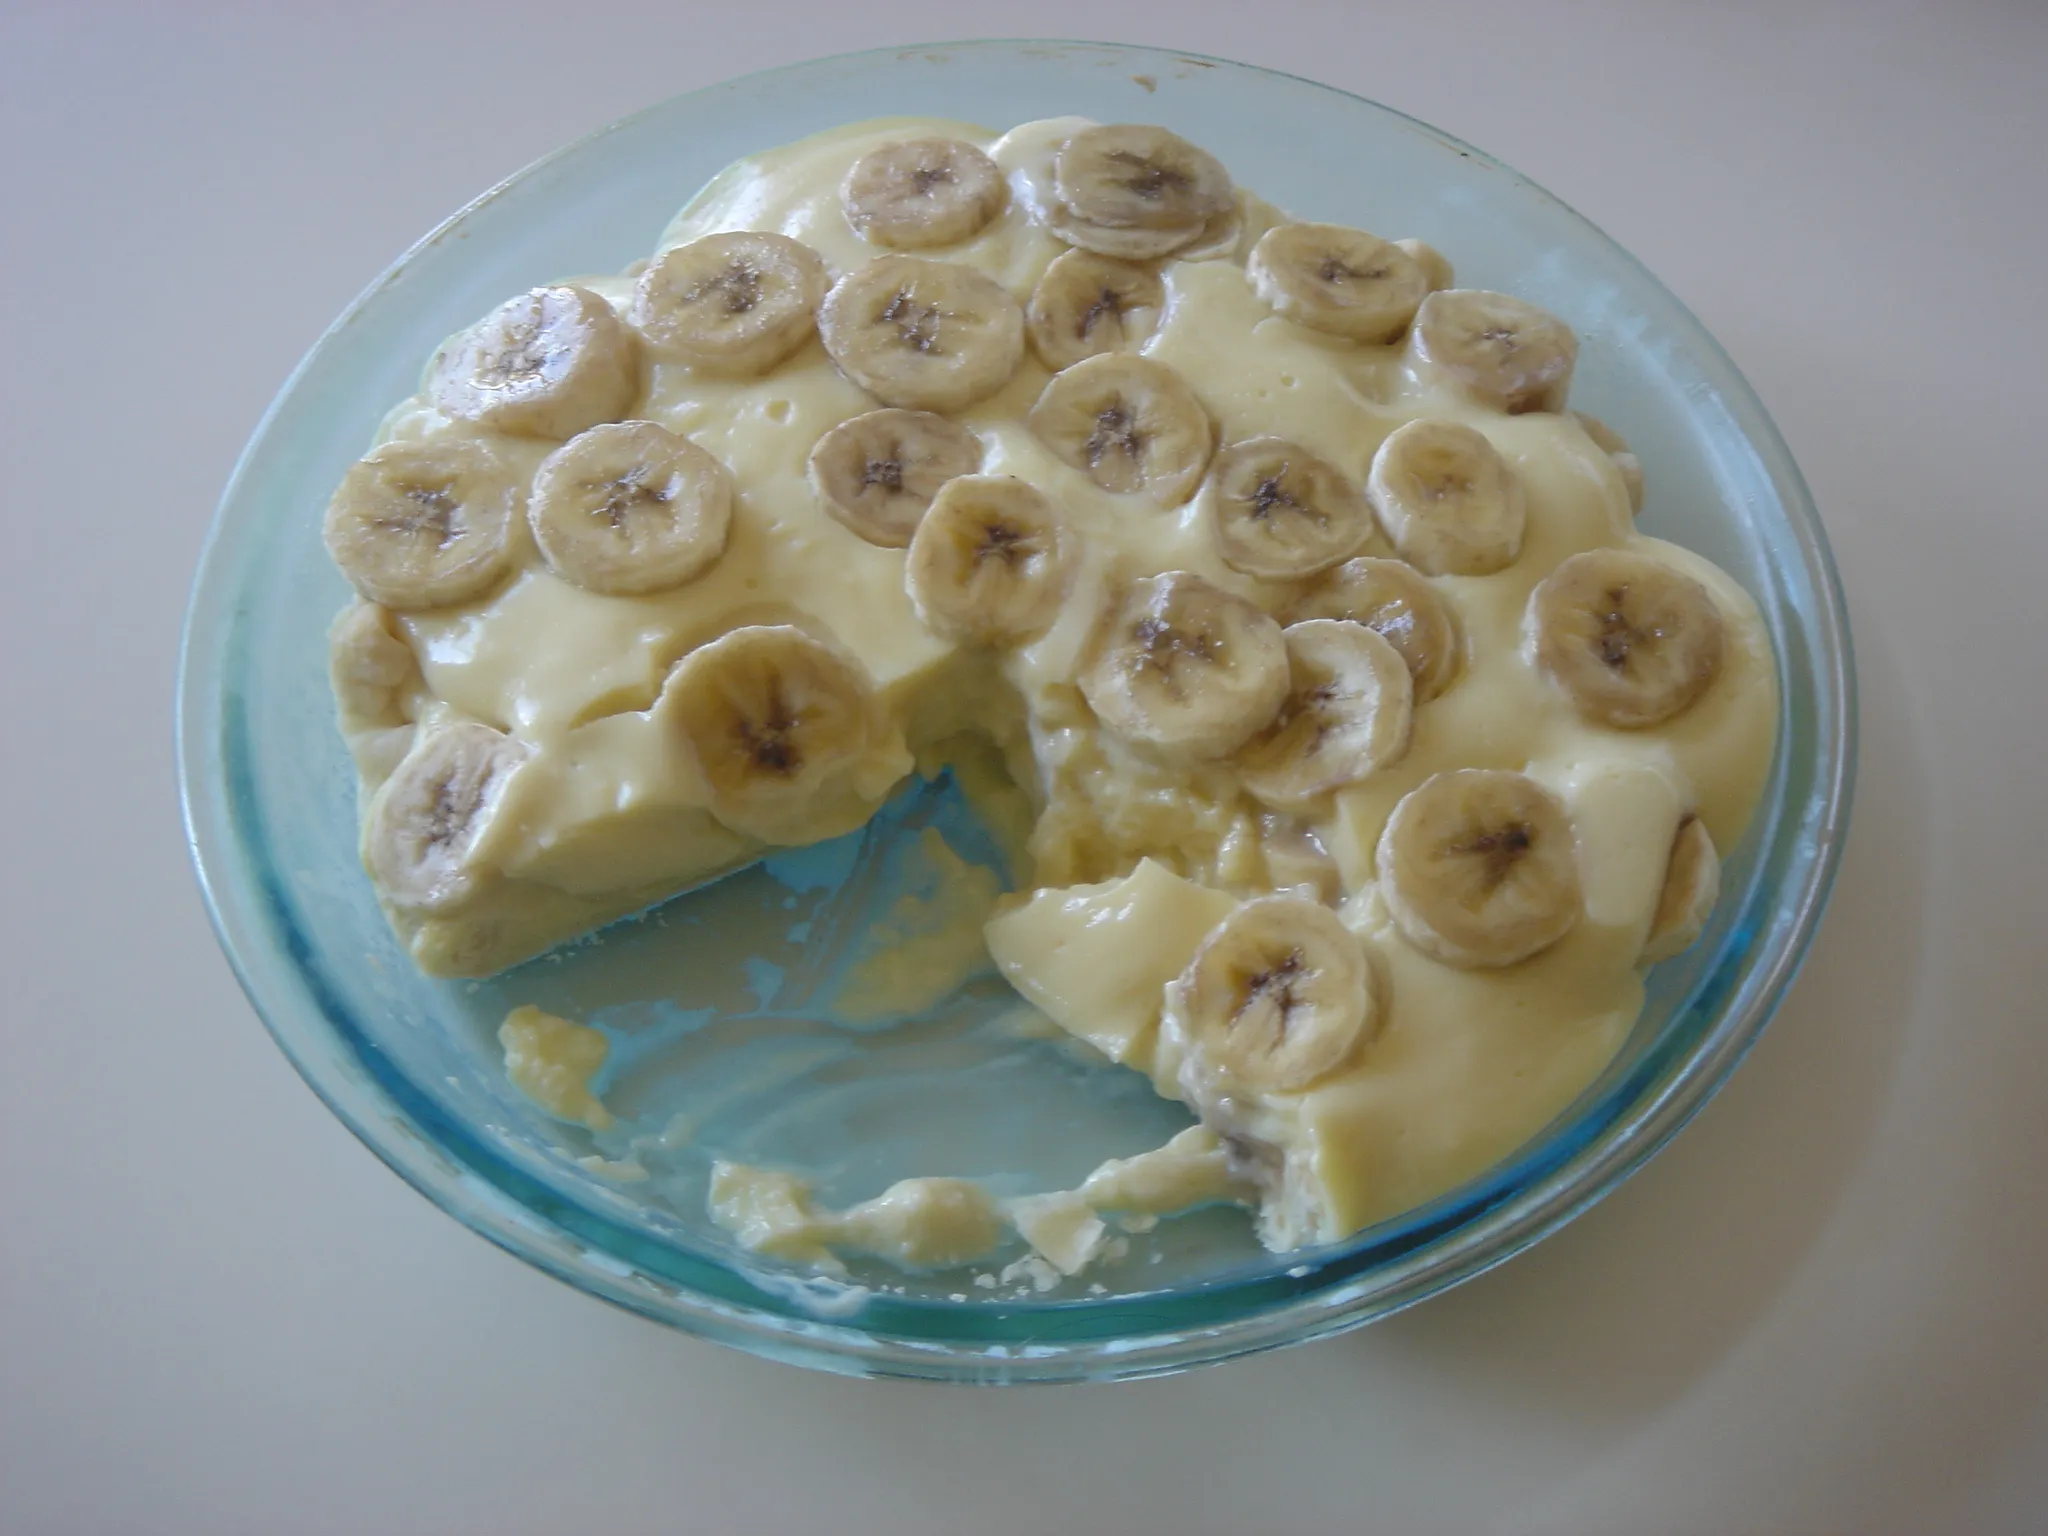
Are you craving a delicious and creamy dessert that will satisfy your sweet tooth? Look no further than the best banana pudding recipe from scratch! This classic Southern treat is a crowd-pleaser and perfect for any occasion. With just a few simple ingredients, you can whip up a homemade dessert that will have everyone asking for seconds. Say goodbye to store-bought pudding and hello to a homemade delight that will leave your taste buds wanting more.
When it comes to making banana pudding from scratch, the secret lies in using ripe bananas and homemade vanilla pudding. The combination of these two ingredients creates a rich and flavorful dessert that is hard to resist. Don’t worry if you’ve never made pudding from scratch before – it’s easier than you think! With a little bit of patience and some simple steps, you’ll have a creamy and dreamy dessert in no time.
Benefits of Making Banana Pudding from Scratch

Making banana pudding from scratch has a multitude of benefits that you simply can’t get from store-bought alternatives. Not only does it allow you to have complete control over the ingredients, but it also lets you customize the flavor to suit your taste preferences. Here are some of the key benefits of making banana pudding from scratch:
- Freshness: By making banana pudding from scratch, you ensure that you are using the freshest ingredients available. Ripe bananas are the star of this dessert, and using ones that are perfectly ripe will result in a more intense and flavorful pudding.
- No artificial additives: Store-bought banana pudding often contains artificial additives, preservatives, and artificial flavors. By making it from scratch, you can avoid these unnecessary additives and enjoy a dessert that is free from any artificial ingredients.
- Customization: Making banana pudding from scratch allows you to customize the flavor to your liking. Whether you prefer a more intense banana flavor or want to add a hint of vanilla or cinnamon, you have the freedom to experiment and create a pudding that suits your taste buds perfectly.
- Creaminess: Homemade banana pudding is incredibly creamy and luxurious. When you make it from scratch, you can control the consistency and texture of the pudding. Whether you prefer a slightly thicker or a lighter pudding, you have the power to make it just the way you like it.
- Satisfaction: There’s something incredibly satisfying about making a dessert from scratch. The process of peeling and mashing the bananas, making the pudding from simple ingredients like milk, sugar, and eggs, and layering it all together creates a sense of accomplishment and pride.
Choosing the Right Bananas for Your Pudding
When it comes to making the best banana pudding from scratch, the first step is choosing the right bananas. The flavor and texture of your pudding will greatly depend on the ripeness of the bananas you use. Here are a few tips to help you select the perfect bananas for your pudding:
- Go for Ripe Bananas: It’s important to use fully ripened bananas for your pudding. Look for bananas that have a vibrant yellow color with a few brown speckles. These bananas are at their sweetest and will add a rich flavor to your dessert.
- Avoid Overripe Bananas: While ripe bananas are essential, you want to steer clear of bananas that are too mushy or have blackened skins. Overripe bananas can turn your pudding into a mushy mess and overpower the other flavors.
- Check for Firmness: When selecting bananas, give them a gentle squeeze. You want them to be firm but not too hard. If they are too soft, they may be overripe. If they are too firm, they may not have developed enough sweetness.
- Consider the Ripening Time: If you’re planning to make your pudding in a few days, choose bananas that are slightly less ripe. This will give them time to ripen to the perfect stage by the time you’re ready to use them.
Remember, the quality of your bananas will directly impact the taste of your pudding. So take your time to choose the best ones available. Now that you know how to select the right bananas, let’s move on to the next step in creating the perfect homemade banana pudding: making the vanilla pudding from scratch.
Making the Perfect Vanilla Pudding Base
Now that you have selected the best bananas for your homemade banana pudding, it’s time to focus on creating the perfect vanilla pudding base. This is a crucial step in achieving that creamy and flavorful dessert that will have everyone asking for seconds.
Here are some tips to help you make the best vanilla pudding base:
- Choose high-quality ingredients: Opt for fresh and high-quality ingredients, such as whole milk, egg yolks, sugar, cornstarch, and pure vanilla extract. Using these premium ingredients will enhance the flavor and texture of your pudding.
- Balancing sweetness: Finding the right balance of sweetness is important. Too much sugar can overpower the natural sweetness of the bananas, while too little can result in a bland pudding. Start with a moderate amount of sugar and adjust it according to your taste preferences.
- Tempering the eggs: When adding the eggs to the hot milk mixture, it’s important to temper them first. This prevents the eggs from curdling and ensures a smooth pudding. To temper the eggs, gradually whisk a small amount of the hot milk mixture into the beaten eggs, then slowly add the tempered eggs back into the pot, whisking continuously.
- Cooking the mixture: Cook the pudding mixture over medium heat, stirring constantly with a whisk or spatula. This will prevent lumps from forming and ensure that the pudding thickens evenly. Be patient and continue stirring until the mixture thickens to a custard-like consistency.
- Straining the pudding: After the cooking process, strain the pudding through a fine-mesh sieve to remove any lumps or cooked egg bits. This will result in a smoother and silkier pudding texture.
- Chilling and setting: Once the pudding is strained, cover it with plastic wrap directly touching the surface to prevent a skin from forming. Chill the pudding in the refrigerator for at least two hours, or until it is completely set. This will allow the flavors to meld together and the pudding to firm up.
By following these tips, you’ll be well on your way to creating a velvety and luscious vanilla pudding base for your homemade banana pudding. Remember, the key is to use high-quality ingredients, temper the eggs, cook and strain the mixture properly, and allow the pudding to chill and set before serving.
Next, we’ll move on to the final step: assembling the banana pudding layers.
Assembling the Layers of Banana and Pudding
Now that you have your ripe bananas and homemade vanilla pudding ready, it’s time to assemble the layers of banana and pudding to create the ultimate banana pudding from scratch. Get ready to indulge in a heavenly dessert that will satisfy your taste buds!
- Begin by selecting a deep glass dish or individual serving bowls. This will allow you to showcase the beautiful layers of bananas and pudding.
- Take a spoonful of the vanilla pudding and spread it evenly at the bottom of the dish. This will create a smooth and creamy base for the layers to come.
- Now, it’s time to add the star of the show – the bananas. Slice the ripe bananas into thin rounds and place a layer of them on top of the pudding. Make sure to cover the entire surface, creating a generous layer of banana goodness.
- Repeat the process by adding another layer of vanilla pudding on top of the bananas. This will create a delightful contrast of flavors and textures.
- Continue alternating layers of bananas and pudding until you run out of ingredients or reach the desired height of your pudding. Remember, the more layers you create, the more delicious each bite will be!
- Finish off by topping the final layer with a dollop of whipped cream. This will add a light and airy touch to the rich and creamy dessert.
- If you’re feeling fancy, you can garnish the top with some additional banana slices or a sprinkle of crushed cookies for added crunch.
- Once assembled, cover the dish with plastic wrap and refrigerate for at least 2 hours, or preferably overnight. This will allow the flavors to meld together and the pudding to set perfectly.
Now that you know how to assemble the layers of banana and pudding, you’re just a few steps away from enjoying the best banana pudding you’ve ever tasted! Get ready to dive into a dessert that’s bursting with flavor, creaminess, and the natural sweetness of ripe bananas. So grab a spoon and savor every mouthwatering bite of this homemade treat.
Adding a Twist: Optional Ingredients and Flavors
Now that you’ve mastered the art of making the best banana pudding from scratch, it’s time to take it up a notch and add your own personal touch. Get ready to elevate the flavors and create a unique twist on this classic dessert. Here are some optional ingredients and flavors to consider:
1. Chocolate Lovers Delight

If you’re a chocolate enthusiast, why not incorporate some chocolate into your banana pudding? You can add a layer of chocolate ganache or chocolate pudding between the layers of banana and vanilla pudding. For an extra indulgent treat, sprinkle some chocolate shavings on top when serving. The combination of rich chocolate and creamy banana is simply irresistible.
2. Nutty Crunch
For those who enjoy a bit of crunch in their desserts, adding nuts can take your banana pudding to the next level. Consider adding a layer of chopped pecans or walnuts between the layers of pudding and banana slices. The nutty flavor and texture will add a delightful contrast to the smooth and creamy pudding.
3. Tropical Twist
If you’re looking to give your banana pudding a tropical twist, consider adding some fresh pineapple chunks or shredded coconut. These tropical flavors will transport you to a sunny beach paradise with every bite. Simply layer the pineapple or sprinkle the shredded coconut between the layers of pudding and banana for a taste of the tropics.
4. Caramel Drizzle
For a touch of decadence, drizzle some caramel sauce over your banana pudding. The sticky and sweet caramel will add a luxurious flavor and make your dessert even more indulgent. You can either drizzle the caramel on top or create a caramel layer between the pudding and banana slices. Either way, it will be a caramel lover’s dream come true.
Remember, these optional ingredients and flavors are just suggestions to get your creative juices flowing. Feel free to mix and match or come up with your own combinations. The beauty of making banana pudding from scratch is that you have the freedom to customize it to your liking.
Tips for Serving and Storing your Banana Pudding
Now that you’ve mastered the art of making the best banana pudding from scratch, it’s time to learn some tips on how to serve and store this delicious dessert. Whether you’re planning on enjoying it right away or saving some for later, these tips will ensure that your banana pudding stays fresh and flavorful.

« How to Make Homemade Banana Syrup
How to Make Homemade Banana Vinegar: A Tropical Burst of Flavor for Your Dishes »
Serving Tips:
- Chill it: Banana pudding is best served chilled, so make sure to refrigerate it for at least a couple of hours before serving. This will allow the flavors to meld together and give you a creamy and refreshing dessert experience.
- Garnish it: Add a touch of elegance and extra flavor to your banana pudding by garnishing it with some sliced bananas, a sprinkle of cinnamon, or a dollop of whipped cream. These simple additions can take your dessert to the next level and impress your guests.
- Customize it: Don’t be afraid to get creative with your banana pudding! You can add some crushed cookies, like vanilla wafers or graham crackers, on top for a crunchy texture. You can also drizzle some chocolate syrup or caramel sauce for a decadent twist. The possibilities are endless, so let your imagination run wild.
Storing Tips:
- Use an airtight container: To keep your banana pudding fresh for longer, transfer it to an airtight container. This will prevent any unwanted flavors or odors from seeping in and ensure that your dessert stays delicious.
- Refrigerate it: Banana pudding is best stored in the refrigerator. It will stay fresh for up to 3-4 days, giving you plenty of time to savor every spoonful. Just make sure to cover the container tightly to avoid any moisture buildup.
- Enjoy it within a week: While banana pudding can be stored for a few days, it’s best to enjoy it within a week for optimal taste and texture. The longer it sits, the softer the cookies or crust may become, and the bananas can turn slightly brown.
Conclusion
Now that you have all the information and step-by-step instructions, you are ready to make the best banana pudding from scratch. By using ripe bananas and homemade vanilla pudding, you can ensure a fresh and flavorful dessert. The benefits of making banana pudding from scratch include the ability to customize it to your liking and achieve a creamy texture that is unmatched.
Don’t be afraid to get creative and add your own twist to this classic dessert. Whether it’s chocolate, nuts, tropical fruits, or caramel, the options are endless.
Remember to chill the pudding before serving and garnish it with your favorite toppings for an extra touch. When it comes to storing the pudding, make sure to use an airtight container and refrigerate it. For the best taste and texture, enjoy the pudding within a week.
So, gather your ingredients, follow the instructions, and get ready to indulge in the most delicious homemade banana pudding. Your friends and family will be impressed with your culinary skills, and you’ll have a dessert that is sure to become a favorite. Enjoy!


