Are you craving a delicious and creamy dessert? Look no further than this mouthwatering banana pudding recipe with vanilla wafers. This classic Southern treat is sure to satisfy your sweet tooth and leave you wanting more. With just a few simple ingredients, you can whip up this delightful dessert in no time. Get ready to indulge in layers of fluffy pudding, ripe bananas, and crunchy vanilla wafers. Let’s dive into the recipe and discover how to make this irresistible treat at home.
Banana pudding is a beloved dessert that has been enjoyed for generations. This recipe takes the traditional flavors to a whole new level by incorporating vanilla wafers. The combination of the smooth and creamy pudding, the fresh bananas, and the crispy wafers creates a delightful texture and flavor profile. Whether you’re hosting a dinner party or simply treating yourself to a sweet treat, this banana pudding recipe is sure to impress. So grab your ingredients and let’s get started on this delectable dessert.
Get ready to savor the taste of nostalgia with this homemade banana pudding recipe. Made with simple and readily available ingredients, this dessert is perfect for any occasion. The layers of creamy pudding, sliced bananas, and vanilla wafers create a symphony of flavors that will transport you back to your childhood. Whether you’re a seasoned baker or a novice in the kitchen, this recipe is easy to follow and guarantees delicious results. So why wait? Let’s dive into the recipe and enjoy a bowl of comforting banana pudding today.
Ingredients
When it comes to making a delicious banana pudding with vanilla wafers, you’ll need a few key ingredients. Here’s what you’ll need to gather before you start:
- Ripe bananas: Look for bananas that are yellow with a few brown spots. The riper the bananas, the sweeter and more flavorful they will be in your pudding.
- Vanilla pudding mix: You can find this in the baking aisle of your local grocery store. Make sure to choose the instant version for quick and easy preparation.
- Milk: You’ll need milk to make the pudding. Whole milk will give your pudding a rich and creamy texture, but you can use any type of milk you prefer.
- Whipped topping: This will add a light and fluffy element to your pudding. You can use store-bought whipped topping or make your own using heavy cream and sugar.
- Vanilla wafers: These crispy, vanilla-flavored cookies are a classic addition to banana pudding. You can find them in the cookie aisle of your grocery store.
Now that you have all your ingredients ready, it’s time to dive into the process of making this delectable dessert. But before we do, let’s talk about the role bananas play in this recipe.
Bananas are not only delicious but also packed with nutrients. They are a great source of potassium, vitamin C, and dietary fiber. Including bananas in your diet can help support heart health, aid digestion, and provide a natural energy boost. In this recipe, bananas add a natural sweetness and a creamy texture to the pudding, making it even more irresistible.
So, now that you know why bananas are an essential ingredient in this recipe, let’s move on to the next step: preparing the pudding mixture.
Step 1: Make the Pudding
Now that you have gathered all the necessary ingredients, it’s time to dive into the delicious process of making the banana pudding. The first step is to make the pudding itself, which will serve as the creamy base for this delectable dessert.
To begin, gather your vanilla pudding mix, milk, and a medium-sized saucepan. Follow the instructions on the pudding mix package, as different brands may have slightly different preparation methods. Typically, you’ll need to combine the pudding mix with milk in the saucepan and whisk it together until well blended.
Once the mixture is smooth, place the saucepan over medium heat. Stir continuously while the pudding cooks, ensuring that it doesn’t stick to the bottom of the pan. Keep stirring until the pudding thickens to a creamy consistency. This will usually take about 5-7 minutes.
Once the pudding has thickened, remove it from the heat and set it aside to cool. Remember to give it an occasional stir to prevent a skin from forming on the surface. As the pudding cools, it will continue to thicken, so don’t worry if it’s still slightly runny at this stage.
While the pudding is cooling, you can take this time to prepare the other components of the banana pudding. Slice ripe bananas into thin rounds and set them aside. Crush some vanilla wafers, either by hand or using a food processor, to create a crunchy layer for your pudding.

Now that you’ve completed the first step of making the pudding, you’re well on your way to creating a delightful banana pudding dessert. The creamy, homemade pudding will provide the perfect base for the layers of bananas and vanilla wafers that will come together to create a truly irresistible treat. So, let’s move on to the next step and assemble our banana pudding masterpiece.
Step 2: Assemble the Pudding Layers
Now that you have prepared the creamy vanilla pudding and sliced the ripe bananas, it’s time to assemble the layers of this delectable banana pudding dessert. Get ready to create a dessert that will tantalize your taste buds!
- Begin by selecting a glass dish that is suitable for layering. This will not only showcase the beautiful layers of the dessert but also make it easier to serve.
- Start with a layer of vanilla wafers. These crispy cookies will provide a delightful crunch to each bite. Place them in a single layer at the bottom of the dish, covering the entire surface.
- Next, add a layer of sliced bananas. Make sure to distribute them evenly over the wafers. The bananas will bring a natural sweetness and a creamy texture to the pudding.
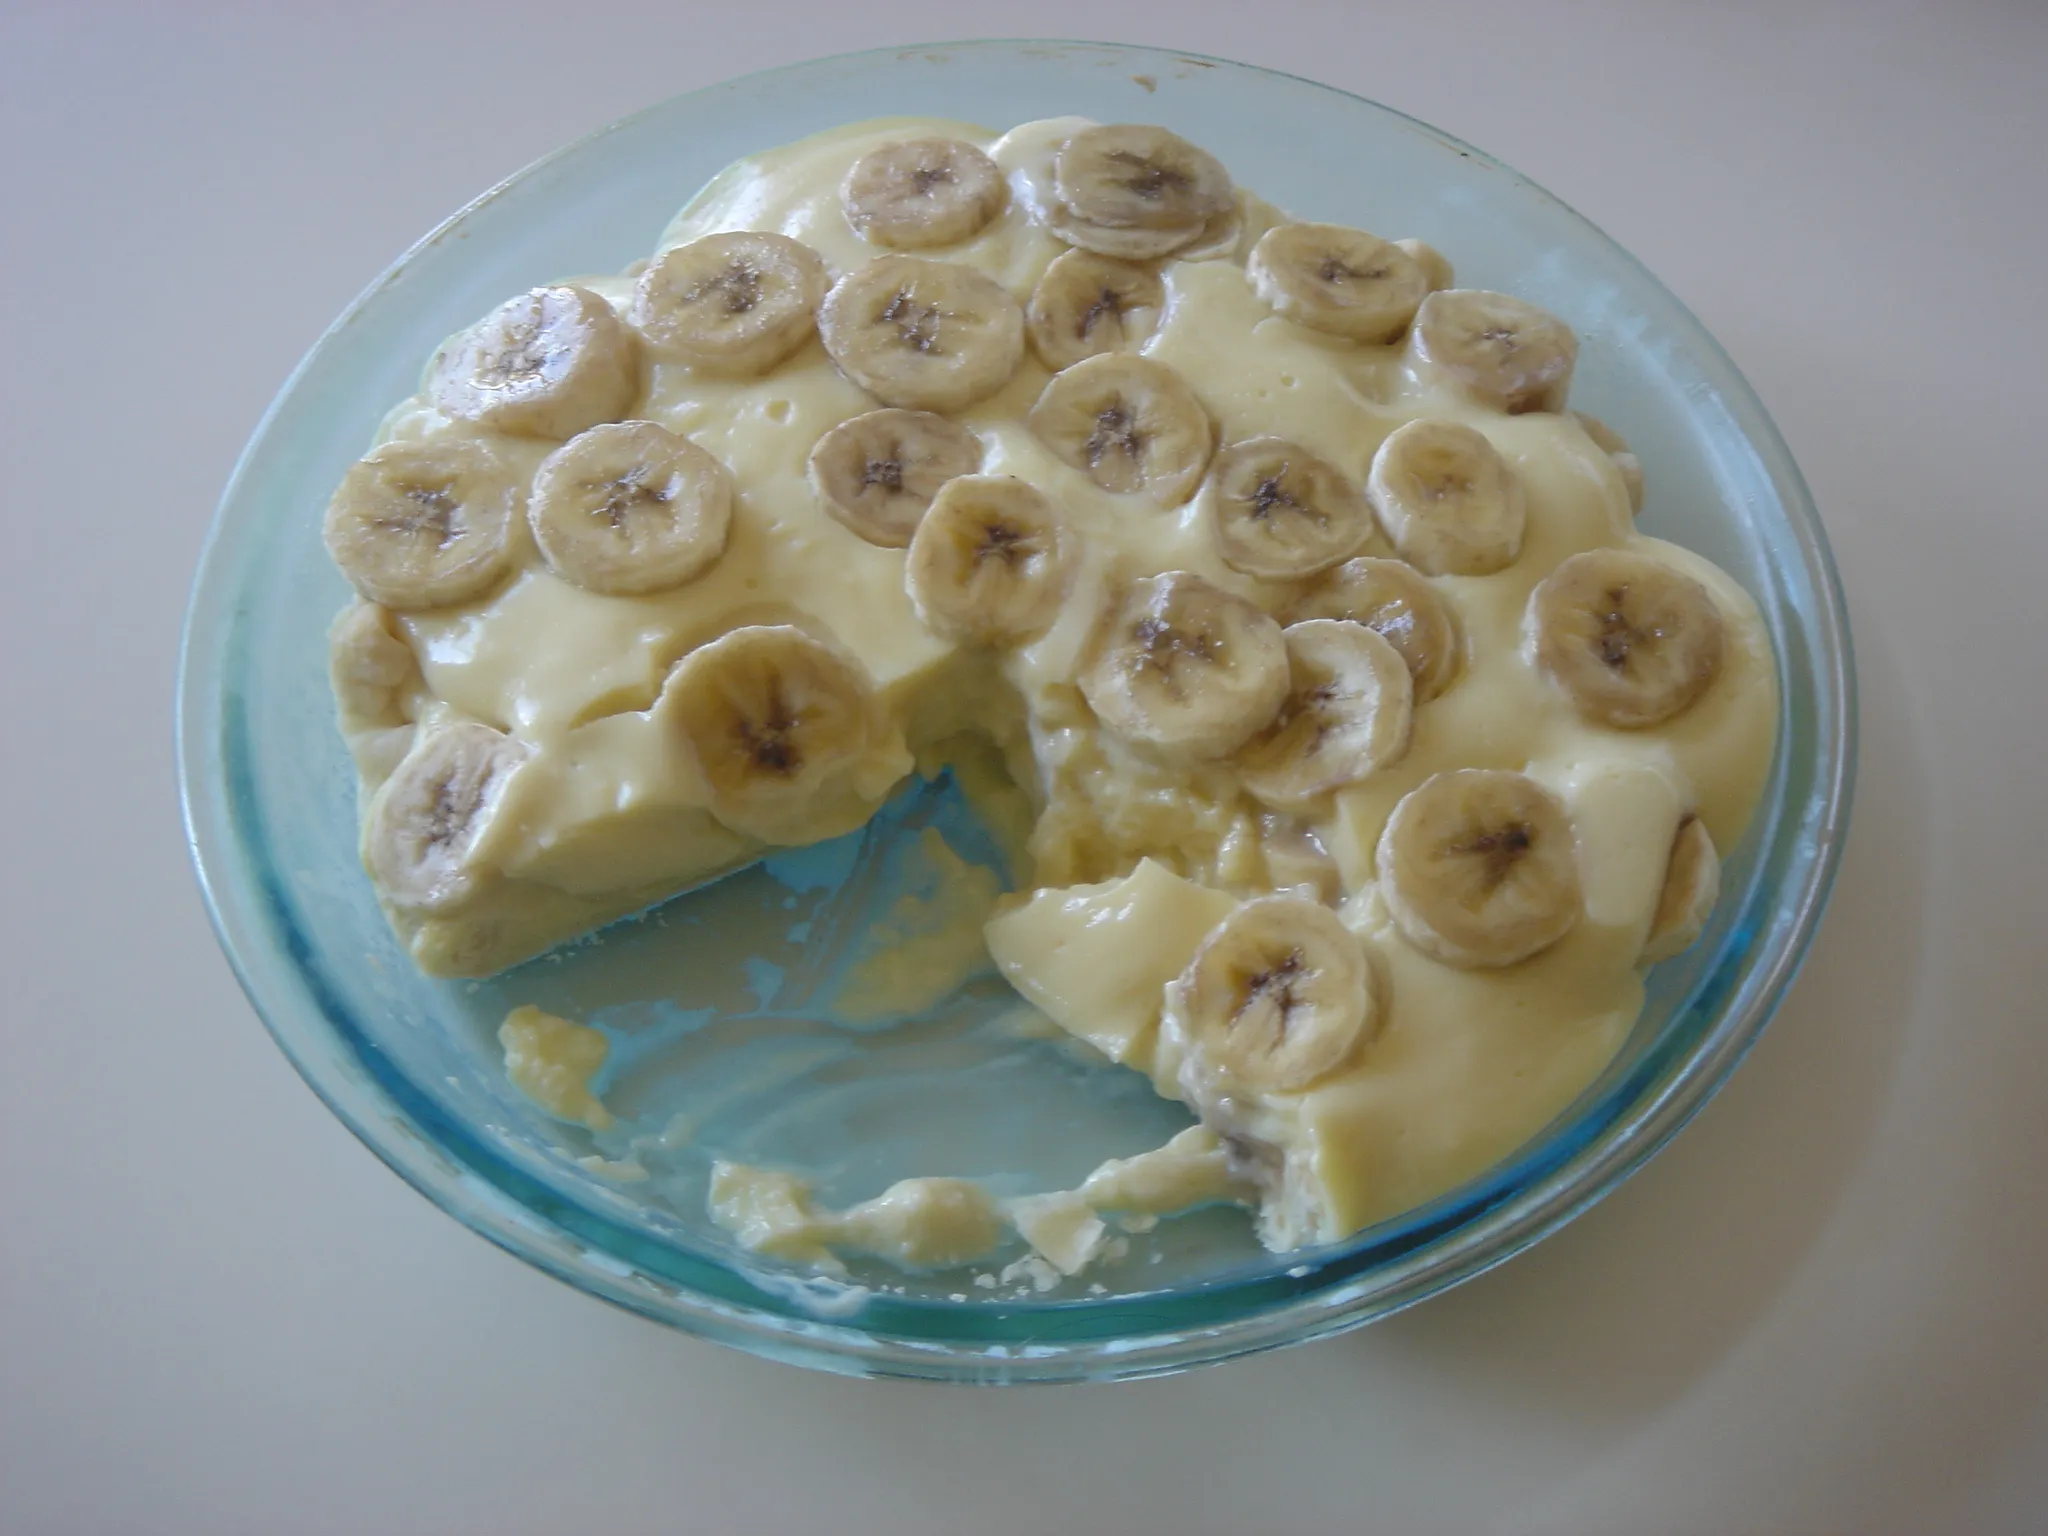
- Pour a generous amount of the vanilla pudding over the banana layer. Use a spoon or spatula to spread it evenly, ensuring that every slice is coated with the luscious pudding.
- Repeat the layers until you have used up all the ingredients, ending with a layer of pudding on top. This will give your dessert a beautiful and enticing appearance.
- To add an extra touch of indulgence, top off the pudding with a generous dollop of whipped topping. This will not only enhance the flavor but also create a light and fluffy texture.
- Lastly, for an added visual appeal, garnish the top with a few vanilla wafers and a sprinkle of cinnamon. These little touches will make your banana pudding look even more enticing.
Remember, the key to a perfect banana pudding is to create well-defined layers that showcase the different textures and flavors. Take your time and enjoy the process of assembling this delightful dessert. Your taste buds will thank you!
And there you have it! Your mouthwatering banana pudding with vanilla wafers is now ready to be enjoyed. It’s a classic dessert that is sure to bring back nostalgic memories and create new ones. So go ahead, grab a spoon, and indulge in the creamy, sweet goodness of this timeless treat.
Step 3: Chill and Serve
Now that you have assembled your delicious banana pudding with vanilla wafers, it’s time to let it chill and get ready for serving. This step is crucial as it allows all the flavors to meld together and creates a creamy and luscious texture. Here’s what you need to do:
- Cover the glass dish with plastic wrap or a fitted lid to prevent any air from getting in. This will help the pudding set properly and prevent a skin from forming on the surface.
- Place the pudding in the refrigerator and let it chill for at least 2 hours. However, if you can resist the temptation, I recommend letting it chill overnight. The longer it chills, the better the flavors will develop, and the more delicious it will taste.
- Once the pudding has chilled, it’s time to serve it up and enjoy! Remove the plastic wrap or lid and give it a good stir to make sure everything is well mixed. The pudding should be creamy, with the vanilla wafers softening slightly and blending beautifully with the bananas and pudding.
- You can serve the banana pudding in individual dessert bowls or in a large trifle dish for a stunning presentation. If you want to add a touch of elegance, garnish each serving with a vanilla wafer and a sprinkle of cinnamon. Trust me, it will add a lovely aroma and a hint of warmth to the dessert.
Remember, banana pudding is best enjoyed fresh, so try to serve it within a day or two of making it. However, if you have leftovers, you can store them in an airtight container in the refrigerator for up to 3 days. Just be aware that the bananas may brown slightly, but they’ll still taste delicious.

Variations and Tips
Making it your own
« Delicious Banana Nut Bread Recipe Using Self-Rising Flour: A Step-by-Step Guide
Master the Art of Making Homemade Banana Liqueur: A Step-by-Step Guide »
Banana pudding is a versatile dessert that can be customized to suit your taste preferences. Here are some variations you can try:
- Chocolate lovers: Add a layer of chocolate ganache or sprinkle cocoa powder between the layers of vanilla wafers and bananas for a decadent twist.
- Nutty goodness: Enhance the flavor and texture by adding a handful of chopped nuts, such as pecans or walnuts, to each layer of the pudding.
- Fruity twist: Experiment with different fruits alongside the bananas. Sliced strawberries or raspberries can add a refreshing burst of flavor to the classic banana pudding.
Tips for the perfect pudding
To ensure your banana pudding turns out perfectly every time, keep these tips in mind:
- Ripe bananas: Use ripe bananas with yellow peels and brown spots for the best flavor and texture. They are sweeter and mash easily, blending seamlessly into the pudding.
- Proper layering: Make sure to evenly distribute the vanilla wafers and sliced bananas between the layers of the pudding. This ensures each bite has a delightful combination of flavors and textures.
- Chilling time: While it may be tempting to dig into your banana pudding right away, chilling it for at least 2 hours (or overnight for even better flavor) is essential. This allows the flavors to meld together and creates a lusciously creamy pudding.
- Stir before serving: Before serving, give the pudding a gentle stir to ensure all the layers are well incorporated. This helps to distribute the flavors evenly and ensures a consistent texture throughout.
Enjoy your homemade banana pudding and don’t be afraid to get creative with your own variations. Whether you choose to stick with the classic recipe or put your own spin on it, this delightful dessert is sure to bring joy and nostalgia to any occasion.
Conclusion
Now that you have all the information and steps needed to create a delicious banana pudding with vanilla wafers, it’s time to put your skills to the test and enjoy the fruits of your labor. This recipe offers a perfect balance of creamy pudding, sweet bananas, and crispy wafers, creating a delightful dessert that will satisfy your taste buds.
Remember to gather all the necessary ingredients, including ripe bananas, vanilla pudding mix, milk, whipped topping, and of course, vanilla wafers. Layer them carefully in a glass dish, alternating between wafers, bananas, and pudding until you’ve used all the ingredients. Don’t forget to top it off with whipped topping and garnish with more wafers and a sprinkle of cinnamon for that finishing touch.
Once you’ve assembled your pudding, cover it and let it chill in the refrigerator for at least 2 hours, or even overnight for a more flavorful experience. Before serving, give it a good stir to ensure all the flavors are well combined. And if you have any leftovers, simply store them in the refrigerator for up to 3 days.
Feel free to get creative with your own variations, adding chocolate ganache or nuts, or experimenting with different fruits. The possibilities are endless!
So go ahead, indulge in your homemade banana pudding and share it with your loved ones. Enjoy!


