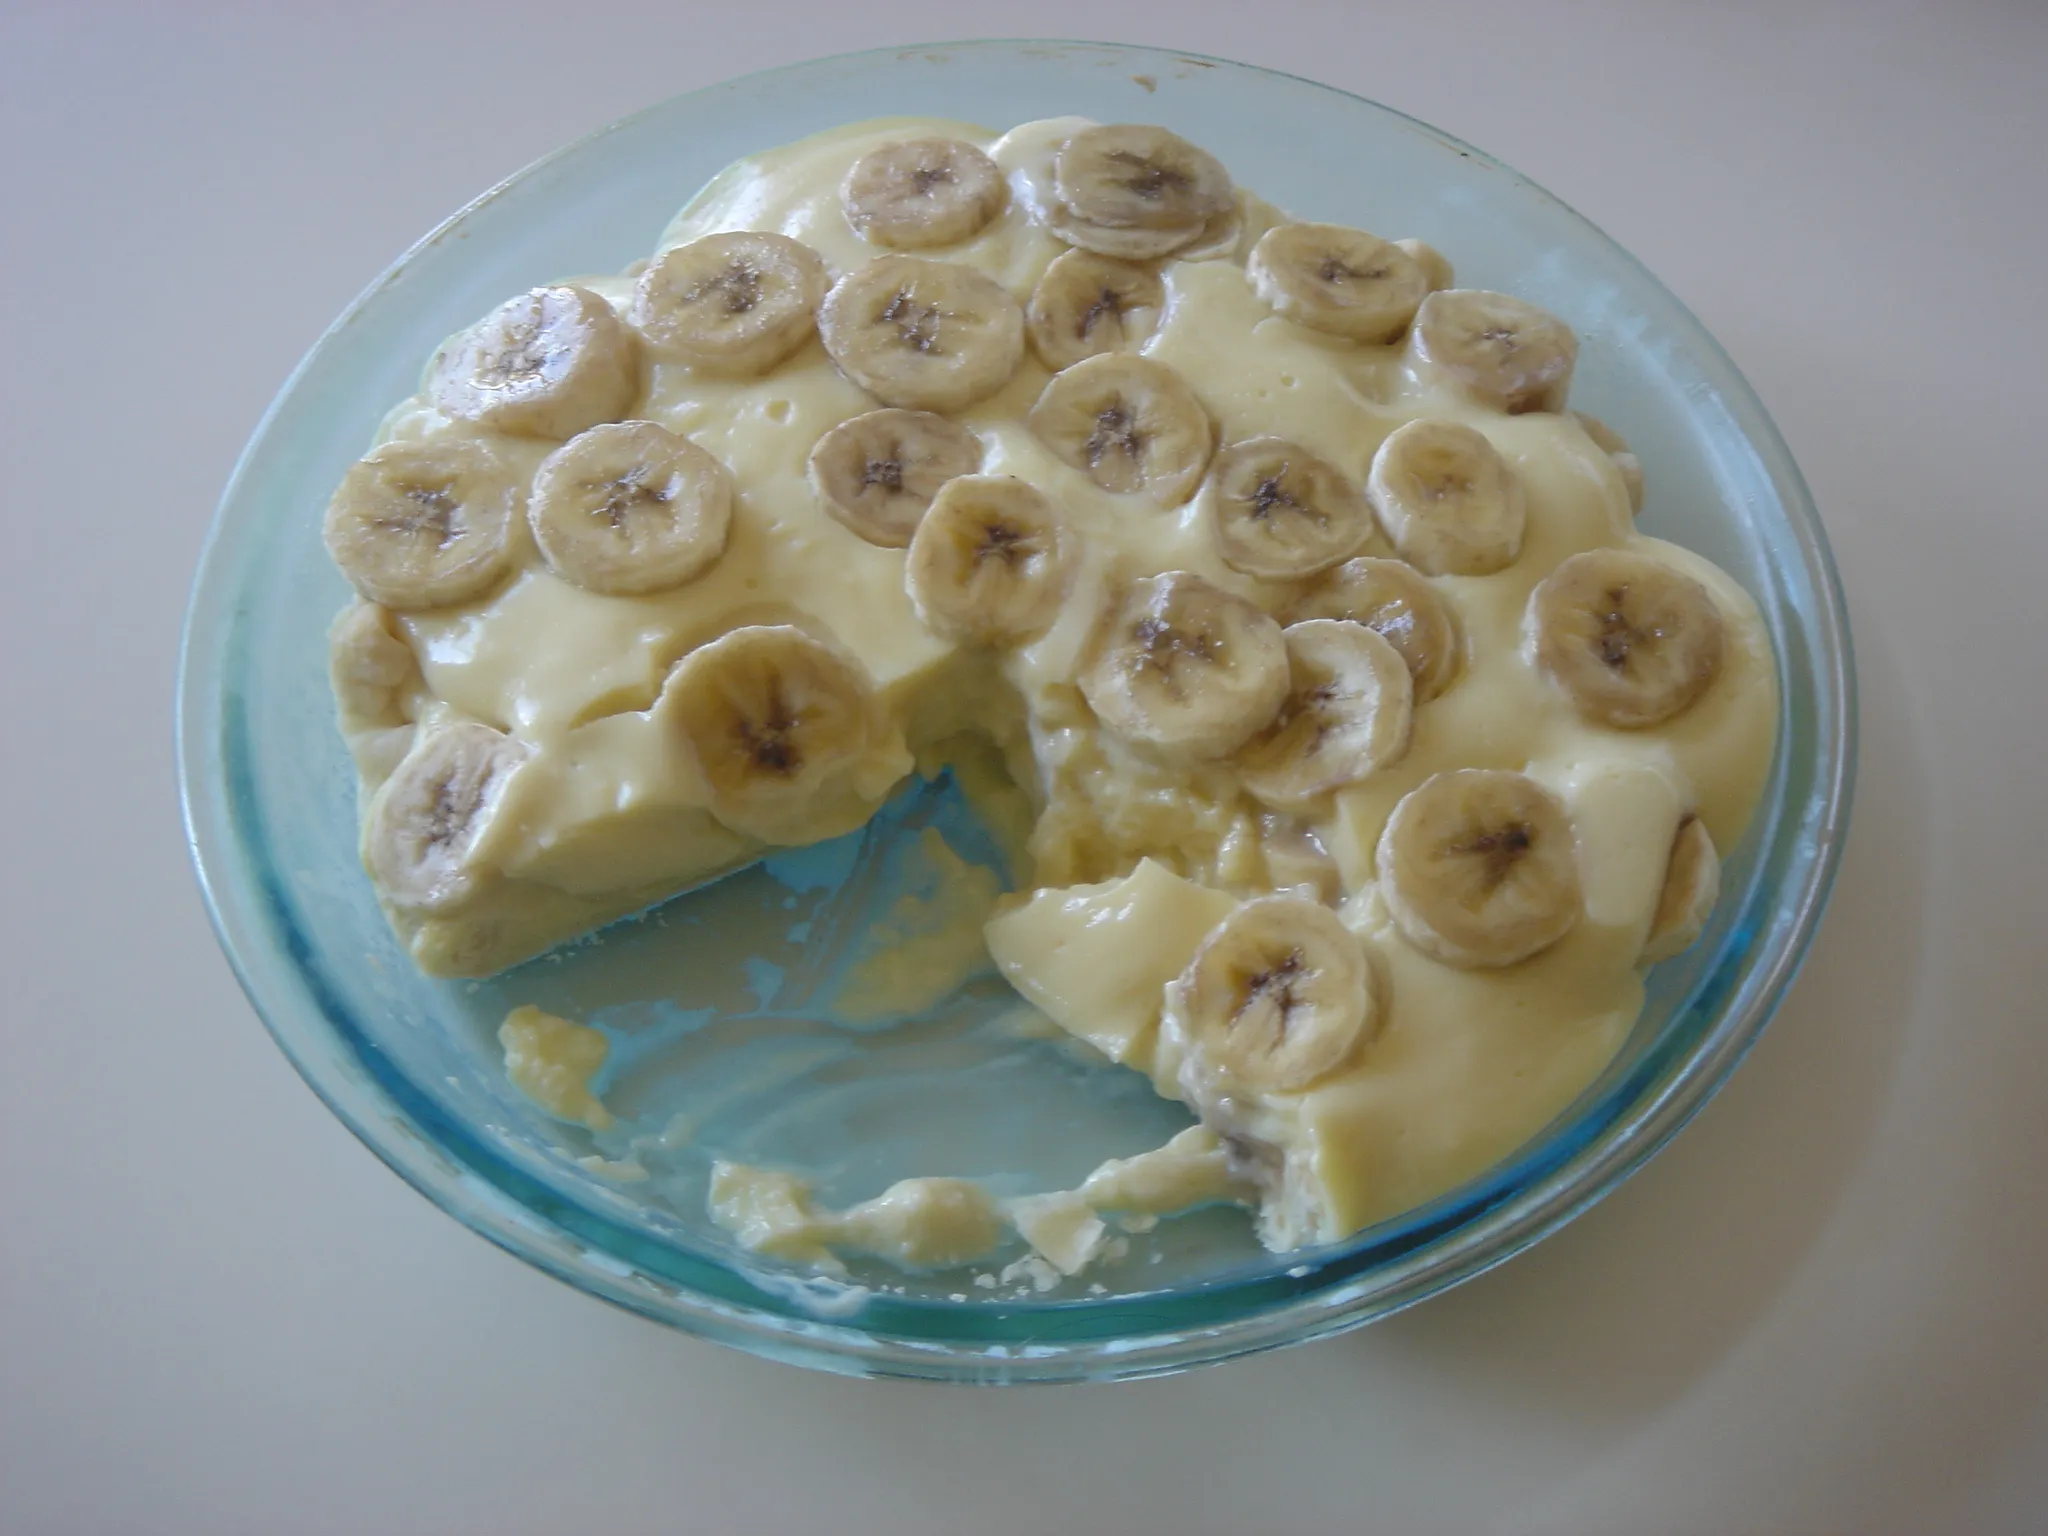
Are you craving a delicious and creamy dessert that will satisfy your sweet tooth? Look no further than homemade banana pudding! This classic dessert is not only easy to make, but it’s also a crowd-pleaser that will leave everyone asking for seconds. Whether you’re a seasoned baker or a beginner in the kitchen, this recipe is sure to be a hit. So gather your ingredients and get ready to indulge in a bowl of pure comfort and nostalgia.
There’s something about the combination of ripe bananas, creamy custard, and layers of vanilla wafers that makes homemade banana pudding simply irresistible. With just a few simple ingredients, you can whip up this delectable dessert in no time. Whether you’re hosting a dinner party or simply treating yourself to a sweet treat, this recipe is perfect for any occasion. So grab a mixing bowl and get ready to create a dessert that will have everyone asking for the recipe.
If you’ve never made homemade banana pudding before, you’re in for a treat. This classic Southern dessert is a staple at potlucks, family gatherings, and backyard barbecues. With its creamy texture and burst of banana flavor, it’s no wonder why this dessert has stood the test of time. So why not try your hand at making it yourself? With this easy recipe, you’ll be able to enjoy the taste of homemade banana pudding whenever the craving strikes.
Step 1: Gather the Ingredients
Now that you’re ready to embark on your homemade banana pudding adventure, it’s time to gather all the necessary ingredients. But before we dive into the recipe, let’s take a moment to appreciate the star of the show – the banana!
Bananas are not only delicious but also packed with essential nutrients. They are a great source of potassium, vitamin C, and dietary fiber. Plus, they’re naturally sweet, making them the perfect ingredient for a scrumptious dessert like banana pudding.
For this recipe, here’s what you’ll need:
- Ripe bananas: Look for bananas that are yellow with some brown speckles. These bananas are at their prime ripeness and will give your pudding a rich and flavorful taste.
- Vanilla wafers: These crispy, vanilla-flavored cookies are a classic element of banana pudding. They add a delightful crunch and complement the creamy custard and bananas perfectly.
- Milk: Opt for whole milk to ensure a creamy and velvety texture. You can also use 2% milk if you prefer a slightly lighter version.
- Sugar: A touch of sweetness is essential to balance the flavors. Granulated sugar works best for this recipe.
- Cornstarch: This ingredient helps thicken the custard and gives it a smooth and pudding-like consistency.
- Eggs: They play a crucial role in creating a rich and creamy custard base.
- Vanilla extract: A splash of vanilla extract enhances the overall flavor and adds a delightful aroma to the pudding.
Now that you have all your ingredients ready, it’s time to move on to the next step: preparing the custard.
Step 2: Prepare the Pudding Base
Now that you have gathered all the necessary ingredients, it’s time to move on to the next step: preparing the pudding base. This is where the magic happens and the creamy goodness of homemade banana pudding comes to life.
To start, you’ll need to gather your milk, sugar, cornstarch, eggs, and vanilla extract. These ingredients will create the rich and velvety custard that will hold all the flavors together.
First, in a medium-sized saucepan, combine your milk and sugar. It’s important to use whole milk for a creamier texture, but if you prefer a lighter option, you can also use 2% milk. Avoid using skim milk as it may result in a thinner consistency.
Next, whisk in the cornstarch. This ingredient acts as a thickening agent, giving your pudding the perfect consistency. Make sure to whisk the cornstarch thoroughly into the milk mixture to avoid any lumps.
Once the cornstarch is fully incorporated, it’s time to add the eggs. For this recipe, we’ll be using egg yolks to give the custard its silky smooth texture. Separate the egg yolks from the whites and whisk them into the milk mixture. Be careful not to scramble the eggs – keep whisking until everything is well combined.

Finally, add a splash of vanilla extract to enhance the flavor of the pudding. Vanilla extract adds a warm and aromatic note to the custard. Stir it in gently until it’s evenly distributed throughout the mixture.
Now that your pudding base is ready, it’s time to move on to the next step – layering the ingredients to create the perfect banana pudding. But we’ll get to that in the next section. Stay tuned!
Remember, preparing the pudding base is a crucial step in creating a delicious homemade banana pudding. Take your time and ensure that all the ingredients are well incorporated. The result will be a creamy and irresistible dessert that will have everyone asking for seconds.
Step 3: Layer the Pudding and Bananas
Now that you have prepared the delicious custard and assembled all the necessary ingredients, it’s time to create those mouthwatering layers of homemade banana pudding. Get ready to experience a delightful combination of flavors and textures!
To start, grab a deep dish or a glass serving bowl. This will not only make the presentation more appealing but also allow you to see the beautiful layers of pudding and bananas.
Begin by placing a layer of vanilla wafers at the bottom of the dish. These crunchy cookies will provide a lovely contrast to the creamy pudding. Make sure to cover the entire surface with a single layer.

« How to Make Delicious Banana Pudding from Jello – Step-by-Step Guide
Delicious Los Gatos Banana Cake Recipe with Icing: A Perfect Dessert Option »
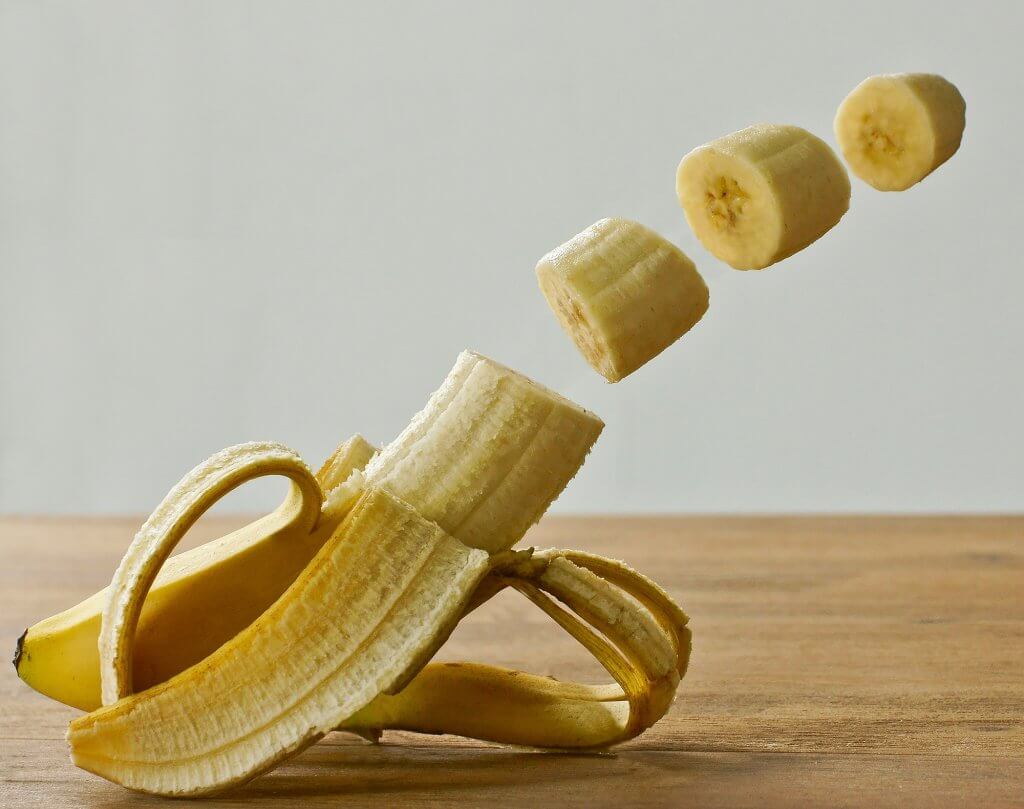
Next, it’s time to add the star of the show – the ripe bananas! Slice the bananas into thin rounds and arrange them over the layer of wafers. Feel free to be generous with the banana slices, as they will infuse the pudding with their natural sweetness and add a delightful texture to each spoonful.
It’s time to pour a generous amount of the prepared custard over the layer of bananas. The custard should cover the bananas completely, ensuring that every bite is filled with creamy goodness. Use a spatula or the back of a spoon to smooth the custard and distribute it evenly.
Repeat the layering process, starting with another layer of vanilla wafers, followed by sliced bananas, and topped with the remaining custard. You can create as many layers as you’d like, but remember to save some custard for the final layer.
For the finishing touch, crumble a few vanilla wafers and sprinkle them on top of the final layer of custard. This will add a lovely crunch and provide a visual appeal to your homemade banana pudding.
Congratulations, you’ve successfully layered the pudding and bananas! The next step is to allow the pudding to set in the refrigerator for at least 4 hours or overnight. This will give the flavors a chance to meld together, resulting in a scrumptious dessert that will have everyone coming back for seconds.
Remember, homemade banana pudding is best enjoyed chilled and can be stored in the refrigerator for up to 3 days. So go ahead, indulge in this classic Southern treat and savor every creamy, banana-filled bite!
Stay tuned for the final step, where we’ll reveal the secret to serving the perfect homemade banana pudding.
Step 4: Add Whipped Cream
Now that you have layered the pudding and bananas, it’s time to add the finishing touch to your homemade banana pudding – whipped cream! Whipped cream adds a light and creamy texture to the dessert, complementing the richness of the custard and the sweetness of the bananas. Here’s how to make and add whipped cream to your banana pudding:
- Start by chilling a metal mixing bowl and the beaters of your electric mixer in the refrigerator for about 15 minutes. This will help the cream whip up faster and hold its shape better.
- Once the bowl and beaters are chilled, pour 1 cup of heavy whipping cream into the bowl. You can also use whipping cream or double cream if heavy whipping cream is not available.
- Add 2 tablespoons of powdered sugar and 1 teaspoon of vanilla extract to the cream. The powdered sugar adds sweetness and stabilizes the whipped cream, while the vanilla extract enhances the flavor.
- Begin whipping the cream on low speed and gradually increase the speed to medium-high. Whip until soft peaks form. Soft peaks are formed when the cream holds its shape but gently folds over when the beaters are lifted.
- Be careful not to overwhip the cream, as it can turn into butter. If you see the cream becoming grainy or clumpy, you’ve gone too far. Keep an eye on it and stop whipping once you achieve the desired consistency.
- Once the whipped cream is ready, gently spread it over the top layer of your banana pudding. You can use a spatula or the back of a spoon to create smooth, even layers.
- For an extra touch of indulgence, you can also sprinkle some crushed vanilla wafers or grated chocolate over the whipped cream.
- Finally, refrigerate the banana pudding with the whipped cream for at least 4 hours or overnight. This will allow the flavors to meld together and the whipped cream to set.
Now you have a beautifully layered and delicious homemade banana pudding, complete with a creamy whipped cream topping. The combination of the custard, bananas, and whipped cream creates a heavenly dessert that is sure to impress your family and friends. Enjoy your banana pudding chilled, and remember to store any leftovers in the refrigerator for up to 3 days.
Step 5: Chill and Serve

Now that you have prepared your delicious homemade banana pudding, it’s time to let it chill and get ready to enjoy! Chilling the pudding not only allows the flavors to meld together but also gives it a refreshing and creamy texture. Here’s what you need to do:
- Refrigerate for at least 4 hours or overnight: Place your prepared banana pudding in the refrigerator and let it chill for a minimum of 4 hours or, if you can wait, overnight. This extended chilling time allows the pudding to set properly and ensures that all the flavors are well-infused.
- Serve chilled: Once chilled, your homemade banana pudding is ready to be served. The cool and creamy texture paired with the sweet and ripe bananas is simply irresistible. Grab your dessert bowls or individual serving dishes and get ready to indulge in this classic Southern treat.
- Store in the refrigerator: If you happen to have any leftovers, you can store your banana pudding in the refrigerator for up to 3 days. Simply cover it tightly with plastic wrap or transfer it to an airtight container to keep it fresh. Be sure to label it with the date to help you keep track of its freshness.
Bananas are not only delicious but also a versatile fruit that can be used in a variety of recipes. From smoothies and pancakes to bread and muffins, bananas add a natural sweetness and a creamy texture to any dish. Plus, they are packed with essential nutrients like potassium, vitamin C, and dietary fiber.
So, the next time you have some ripe bananas on hand, don’t let them go to waste. Whip up a batch of homemade banana pudding and treat yourself to a delightful dessert that will satisfy your sweet tooth and leave you wanting more. Enjoy the creamy goodness and the natural sweetness of this beloved Southern classic.
Conclusion
Now that you have all the steps and ingredients needed to make homemade banana pudding, you’re ready to create this delicious and crowd-pleasing dessert. With its creamy custard, ripe bananas, and layers of vanilla wafers, homemade banana pudding is the perfect treat for any occasion.
Not only is banana pudding a tasty dessert, but it also provides essential nutrients. Bananas are a great source of potassium, vitamin C, and dietary fiber, making this dessert a healthier option compared to other sweet treats.

Remember to follow the steps carefully, from preparing the pudding base to layering the pudding and bananas, and finishing it off with a dollop of whipped cream. The key to achieving the perfect texture and flavor is to refrigerate the pudding for at least 4 hours or overnight.
Once chilled and set, you can enjoy your homemade banana pudding. It’s best to consume it within 3 days and store it in the refrigerator to maintain its freshness.
So go ahead and impress your family and friends with your homemade banana pudding. They’ll be asking for seconds in no time!


