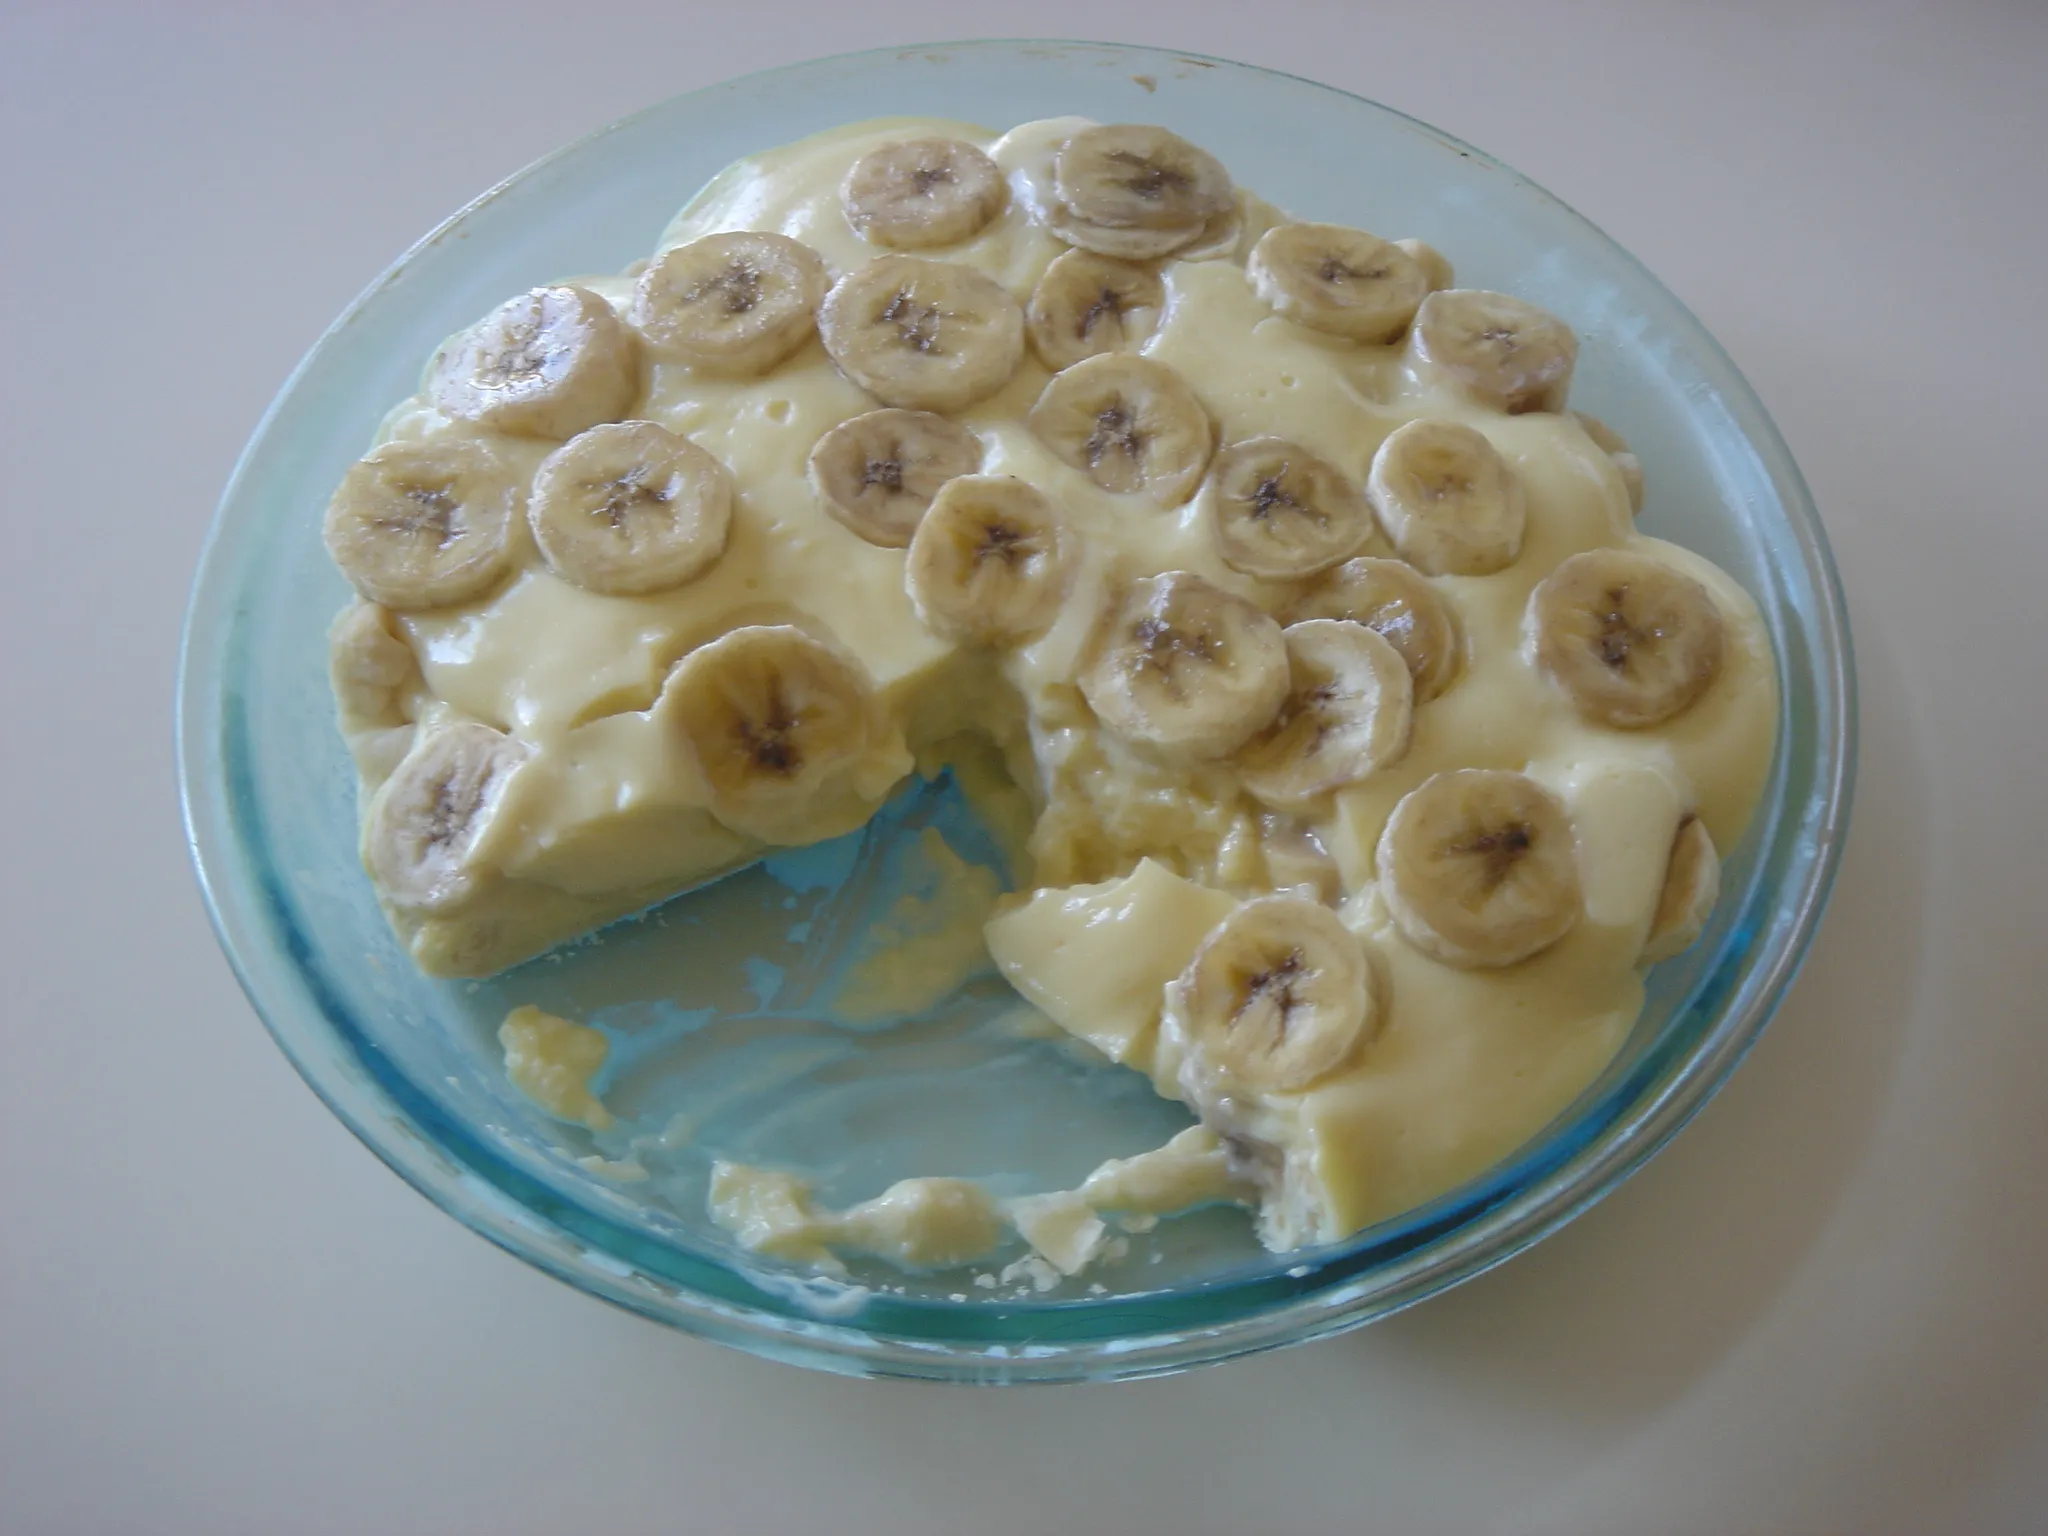
Welcome to your go-to recipe for Nilla Wafer Banana Pudding! If you’re a fan of classic desserts, then this one is sure to be a hit. With its layers of creamy pudding, ripe bananas, and crunchy Nilla wafers, it’s a treat that is both comforting and nostalgic. Whether you’re making it for a potluck, a family gathering, or just to satisfy your own sweet tooth, this recipe is guaranteed to be a crowd-pleaser.
Get ready to indulge in a dessert that will transport you back to your childhood. This Nilla Wafer Banana Pudding is a timeless favorite that never goes out of style. The combination of smooth vanilla pudding, fresh bananas, and the unmistakable crunch of Nilla wafers creates a symphony of flavors and textures that is simply irresistible. Plus, it’s incredibly easy to make, so you can whip it up in no time and enjoy the deliciousness without any hassle.
If you’re looking for a dessert that is both delicious and nostalgic, then look no further than this Nilla Wafer Banana Pudding recipe. With its layers of creamy pudding, ripe bananas, and crunchy wafers, it’s a dessert that will take you back to simpler times. Not only is it a crowd-pleaser, but it’s also incredibly easy to make. So grab your ingredients, assemble your layers, and get ready to savor every spoonful of this delightful treat.
Ingredients
To make a delicious Nilla Wafer Banana Pudding, you’ll need the following ingredients:
- 2 cups of whole milk
- 1 cup of heavy cream
- 3/4 cup of granulated sugar
- 1/4 cup of all-purpose flour
- 1/4 teaspoon of salt
- 4 large egg yolks
- 2 teaspoons of vanilla extract
- 3-4 ripe bananas
- 1 box of Nilla wafers
The combination of these ingredients creates a delightful fusion of creamy pudding, sweet bananas, and crunchy wafers. Now that you have all the ingredients ready, let’s move on to the next step of this tantalizing recipe.
Step 1: Prepare the Pudding
Now that you have gathered all the necessary ingredients, it’s time to dive into the delightful process of preparing the creamy pudding for your Nilla Wafer Banana Pudding. Follow these simple steps to create a luscious base for your dessert:
1. In a saucepan, combine the whole milk, heavy cream, sugar, flour, and a pinch of salt. Whisk everything together until the mixture is smooth and well combined. This will be the base of your pudding.
2. Place the saucepan over medium heat and cook the mixture, stirring constantly, until it thickens. This will take about 5-7 minutes. Make sure to keep a close eye on it, as you don’t want the mixture to stick to the bottom of the pan.
3. In a separate bowl, whisk the egg yolks until they become smooth and pale yellow in color. This will help to incorporate air into the yolks and add a lightness to the pudding.
4. Slowly pour a small amount of the hot milk mixture into the bowl with the whisked egg yolks, while continuously whisking. This tempering process will prevent the eggs from curdling when they come into contact with the hot mixture.
5. Gradually pour the tempered egg yolk mixture back into the saucepan with the remaining hot milk mixture. Return the saucepan to the stove and cook the mixture over medium heat, stirring constantly, until it thickens to a custard-like consistency. This will take another 2-3 minutes.
6. Remove the saucepan from the heat and stir in the vanilla extract. The aroma of vanilla will infuse into the pudding, adding a delightful fragrance to the final dish.

Congratulations! You have successfully prepared the creamy and smooth pudding for your Nilla Wafer Banana Pudding. With this crucial step complete, you are one step closer to creating a nostalgic and irresistible dessert that will surely impress your friends and family.
But hold on, there’s still more to come! The next step will guide you through the assembly of this heavenly dessert, layering it with ripe bananas and crunchy Nilla wafers. Keep reading to uncover the secrets of achieving the perfect balance of flavors and textures in your Nilla Wafer Banana Pudding.
Step 2: Layer the pudding and bananas
Now that you have prepared the deliciously creamy pudding, it’s time to take it to the next level by layering it with ripe bananas and crunchy Nilla wafers. This step is crucial in creating the perfect balance of flavors and textures in your Nilla Wafer Banana Pudding.
First, gather your ingredients. You will need ripe bananas that are firm yet slightly soft to the touch. These bananas should have a vibrant yellow color with no green spots. The ripeness of the bananas is essential as it contributes to the overall sweetness and creaminess of the dessert.
Next, grab your serving dish or individual dessert cups. It’s important to choose a dish that allows for easy layering and serving. A clear glass dish works best as it showcases the beautiful layers of the pudding, bananas, and wafers.
Start with a layer of the creamy pudding at the bottom of the dish. Spread it evenly to cover the entire surface. This layer serves as the foundation of your dessert and provides a smooth and velvety base for the other ingredients.

« Delicious Banana Cake Recipe using Yellow Cake Mix: Serving Tips, Toppings & Storage
How to Make Perfect Banana Bread with Frozen Bananas »
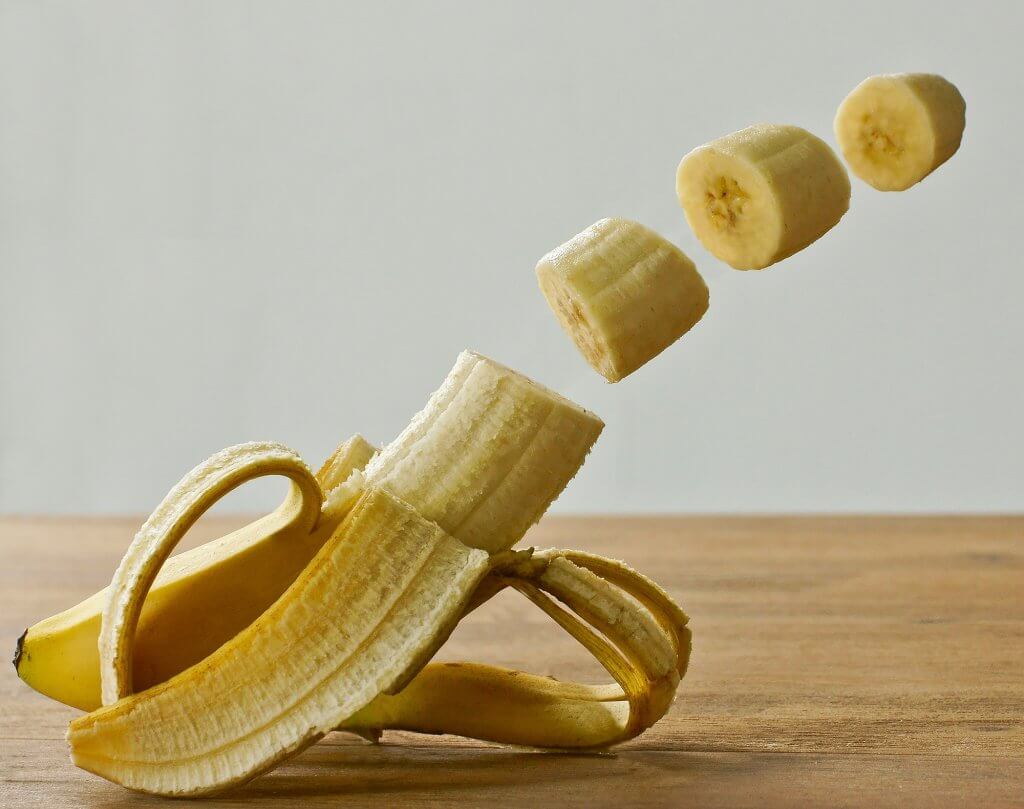
Next, it’s time to add the star of the show – the ripe bananas. Peel the bananas and slice them into thin rounds. Place a layer of banana slices on top of the pudding, covering the entire surface. The natural sweetness and softness of the bananas will complement the rich creaminess of the pudding.
To add a delightful crunch to your dessert, it’s time to bring in the Nilla wafers. Place a layer of these crispy vanilla-flavored wafers on top of the banana slices. Make sure to cover the bananas evenly with the wafers. The contrast between the soft bananas, creamy pudding, and crunchy wafers creates an irresistible combination of textures.
Repeat the layering process until you have used up all the ingredients, ending with a final layer of pudding on top. This layering technique ensures that each spoonful of Nilla Wafer Banana Pudding is a harmonious blend of flavors and textures.
Step 3: Add the Nilla Wafers
Now that you have layered the creamy pudding and ripe bananas in your Nilla Wafer Banana Pudding, it’s time to add the final touch – the Nilla wafers! These crunchy little cookies not only provide a delightful textural contrast but also add a delicious flavor to the dessert.
Here’s how you can add the Nilla wafers to your pudding:
- Choose your Nilla wafers: When selecting Nilla wafers, make sure to go for the original ones. Their light vanilla flavor and crisp texture work perfectly in this dessert. You can find them in the cookie aisle of your local grocery store.
- Layer the wafers: Take a handful of Nilla wafers and place them on top of the layer of sliced bananas. You can arrange them in a single layer, slightly overlapping them for a beautiful presentation. The number of wafers you use will depend on the size of your dish and your personal preference.
- Repeat the layers: Continue layering the pudding, bananas, and Nilla wafers until you have used up all the ingredients. Remember to end with a final layer of the creamy pudding on top.
- Garnish with Nilla wafers: For an extra touch of visual appeal, you can reserve a few Nilla wafers and use them as a garnish. Simply crush them or break them into smaller pieces and sprinkle them on top of the final layer of pudding.
By adding the Nilla wafers to your Nilla Wafer Banana Pudding, you will create a dessert that is not only delicious but also visually appealing. The combination of the soft bananas, creamy pudding, and crunchy wafers will make each spoonful a delightful experience.
Step 4: Top with Whipped Cream
Now that you’ve layered the Nilla wafers and bananas in your delicious Nilla Wafer Banana Pudding, it’s time to take it to the next level by adding a generous dollop of whipped cream on top. This final touch will not only enhance the flavor of the dessert but also add a light and airy texture that will complement the creamy pudding and crunchy wafers.
Whipped cream is incredibly easy to make at home, and it’s always worth the extra effort. You’ll need just two ingredients: heavy cream and sugar. To make it, simply pour the cold heavy cream into a chilled mixing bowl and add a tablespoon or two of sugar to sweeten it. Using an electric mixer or a whisk, beat the cream until it thickens and forms soft peaks. Be careful not to overbeat it, as it can quickly turn into butter.
Once your whipped cream is ready, it’s time to add it to your Nilla Wafer Banana Pudding. Take a spoonful of the fluffy cream and gently spread it over the top layer of the pudding. You can be as generous as you like, depending on how much you love whipped cream. The cream will beautifully meld with the flavors of the pudding and create a heavenly combination of creamy, sweet, and refreshing tastes.

If you want to add an extra touch of elegance to your dessert, sprinkle some cocoa powder or grated chocolate on top of the whipped cream. This will not only add a hint of bitterness to balance the sweetness but also create an eye-catching presentation.
Remember, the whipped cream should be added just before serving to ensure it maintains its light and fluffy texture. So, wait until you’re ready to dig into your Nilla Wafer Banana Pudding before adding this delightful finishing touch.
Enjoy your homemade Nilla Wafer Banana Pudding with the creamy goodness of whipped cream, and savor every spoonful of this classic and nostalgic dessert.
Step 5: Chill and Serve
Now that you’ve put in the effort to create this delicious Nilla Wafer Banana Pudding, it’s time to let it chill and serve it up for everyone to enjoy!
Once you’ve layered the pudding, bananas, and Nilla wafers in a beautiful dish, cover it with plastic wrap and place it in the refrigerator. Allow it to chill for at least 2 hours, or even overnight if you can resist the temptation. This chilling time is crucial as it allows the flavors to meld together and the pudding to set, resulting in a perfect texture.

When it’s time to serve, take the chilled pudding out of the refrigerator and get ready to indulge in a delightful treat. The anticipation builds as you uncover the dish and reveal the creamy layers of pudding, slices of ripe bananas, and the golden wafers peeking through.
To serve, scoop generous portions of the Nilla Wafer Banana Pudding into individual bowls or dessert cups. Make sure to include a few extra Nilla wafers on the side for added crunch. The combination of the smooth and creamy pudding with the sweet and slightly tangy bananas, all topped with the crunch of the wafers, is pure bliss.
For an extra touch of indulgence, top each serving with a dollop of whipped cream. The light and airy texture of the whipped cream complements the richness of the pudding perfectly. If you want to take it up a notch, you can sprinkle some cocoa powder or grated chocolate on top of the whipped cream for an elegant presentation.
It’s time to sit back, relax, and savor each spoonful of this nostalgic dessert. The harmony of flavors and textures will transport you back to simpler times, where every bite was filled with joy and comfort. Enjoy this delightful Nilla Wafer Banana Pudding with your loved ones and create new memories around the table.
Conclusion
Now that you have the recipe for Nilla Wafer Banana Pudding, you can recreate this classic and nostalgic dessert in your own kitchen. By following the steps outlined in this article, you’ll be able to create a creamy and delicious pudding that is layered with ripe bananas and crunchy Nilla wafers. The addition of whipped cream on top adds a light and airy texture, making each spoonful even more delightful.

Remember to chill the pudding in the refrigerator for at least 2 hours before serving, allowing the flavors to meld together and the pudding to set. When it’s time to enjoy this dessert, scoop the chilled pudding into individual bowls or dessert cups, and don’t forget to add extra Nilla wafers on the side for some added crunch. For an extra touch of elegance, you can sprinkle cocoa powder or grated chocolate on top of the whipped cream.
Gather your loved ones around the table and savor the flavors of this nostalgic dessert. Create new memories as you indulge in the harmonious blend of soft bananas, creamy pudding, crunchy wafers, and fluffy whipped cream. Whether it’s for a special occasion or just a sweet treat after dinner, this Nilla Wafer Banana Pudding is sure to bring joy and satisfaction to everyone who tries it.


