Looking to satisfy your sweet tooth in a hurry? Look no further than this quick and easy banana pudding recipe that you can whip up from scratch. Whether you’re craving a classic dessert for yourself or need a last-minute treat for a gathering, this recipe has got you covered. With just a few simple ingredients and minimal prep time, you’ll have a delicious homemade banana pudding ready to enjoy in no time.
Forget about store-bought mixes and complicated recipes – this homemade banana pudding is a breeze to make. All you need are ripe bananas, vanilla wafers, milk, sugar, eggs, and a few pantry staples. In just a matter of minutes, you’ll be layering creamy pudding, sliced bananas, and crunchy wafers to create a dessert that’s bursting with flavor and nostalgia. Plus, you can easily customize it to your liking by adding whipped cream, chocolate shavings, or even a drizzle of caramel sauce.
If you’re short on time but still want to impress your guests with a homemade dessert, this quick banana pudding recipe is your go-to solution. In less than 30 minutes, you can have a crowd-pleasing treat ready to serve. So why wait? Grab those ripe bananas and get ready to indulge in a creamy, dreamy dessert that will leave everyone asking for seconds.
Benefits of Making Banana Pudding from Scratch
Making banana pudding from scratch has several benefits that you should consider. By taking the time to create this delicious dessert yourself, you’ll be able to enjoy a number of advantages that store-bought options simply can’t match. Here are a few reasons why making banana pudding from scratch is worth the effort:
1. Freshness and Quality:
When you make banana pudding from scratch, you have control over the ingredients you use. You can choose the ripest and freshest bananas, ensuring a burst of natural sweetness in every bite. Additionally, you have the freedom to select high-quality dairy products and other ingredients, resulting in a superior taste and texture.
2. Customization:
Another great benefit of making banana pudding from scratch is the ability to customize it to your liking. You can experiment with different types of cookies or biscuits as a base, add extra layers of flavor with caramel or chocolate, or even incorporate other fruits like strawberries or blueberries. The possibilities are endless, and you can create a truly unique and personalized dessert.
3. Healthier Option:
When you make banana pudding from scratch, you have more control over the amount of sugar and other ingredients you use. This allows you to make a healthier version of this classic dessert, reducing the overall sugar content or using alternative sweeteners. You can also opt for low-fat or dairy-free alternatives if you have specific dietary preferences or restrictions.
4. Cost-Effective:
While it may seem like making banana pudding from scratch is more expensive, it can actually be a cost-effective option in the long run. By utilizing basic pantry staples and fresh bananas, you can create a larger quantity of pudding at a fraction of the cost of pre-made options. Plus, the satisfaction of creating a delicious dessert with your own hands is priceless.
Ingredients for Quick Banana Pudding Recipe
When it comes to making a quick and delicious banana pudding from scratch, it’s important to have the right ingredients on hand. Here are the key ingredients you’ll need to create this mouthwatering dessert:
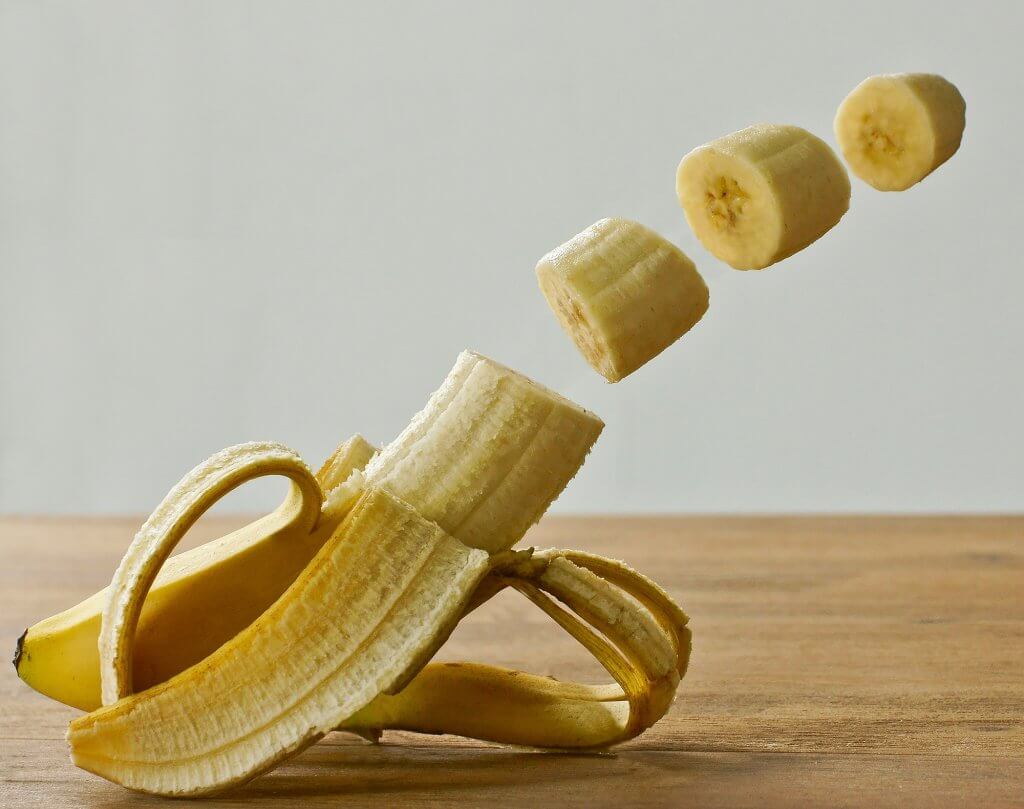
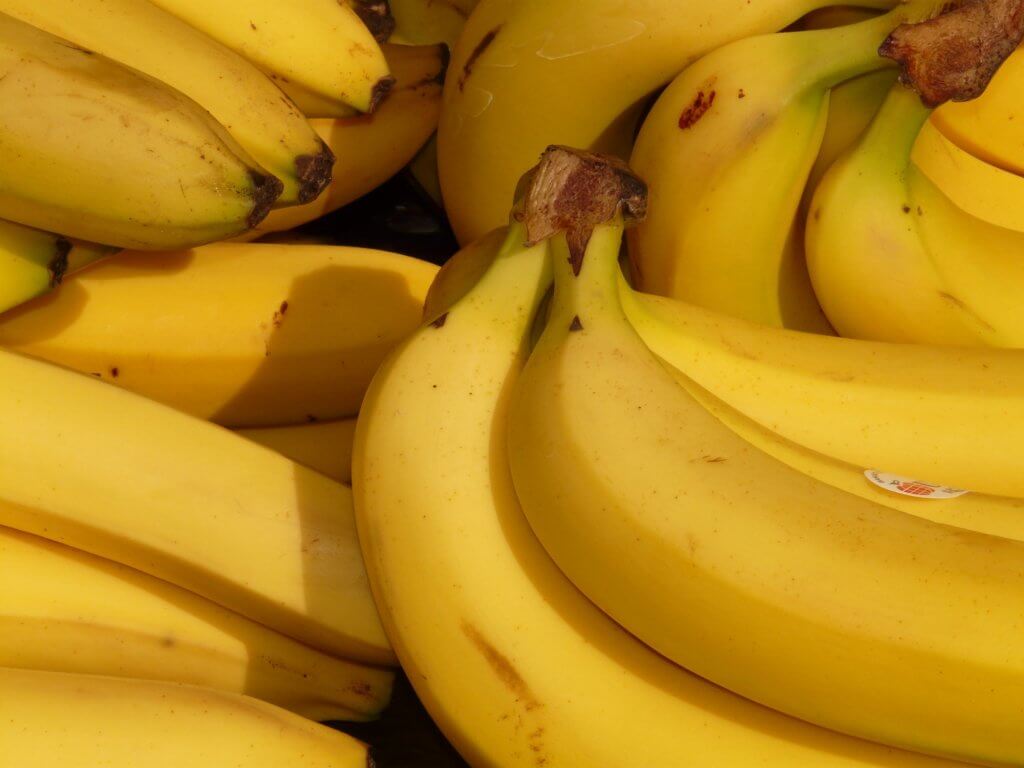
- Ripe Bananas: The star of the show, ripe bananas are essential for a flavorful pudding. Look for bananas that are yellow with a few brown spots, as they will be the sweetest and provide the best flavor.
- Vanilla Pudding Mix: Opt for a high-quality vanilla pudding mix to ensure a creamy and smooth texture. You can find this at your local grocery store in the baking aisle.
- Milk: Choose whole milk for a rich and creamy pudding. If you prefer a lighter option, you can use low-fat milk instead.
- Vanilla Extract: A splash of vanilla extract adds depth and enhances the overall flavor of the pudding.
- Nilla Wafers: These crispy, vanilla-flavored cookies add a delightful crunch to each bite. They also help to thicken the pudding as the dessert sets.
- Whipped Cream: For an extra touch of indulgence, top your banana pudding with a dollop of whipped cream. You can use store-bought or make your own.
- Sliced Bananas: To add a fresh and fruity element, slice a few more bananas to layer in between the pudding and Nilla wafers.
Now that you have all the necessary ingredients, you’re ready to whip up a quick and delicious homemade banana pudding that will impress your friends and family. Let’s dive into the recipe!
Remember, this section is part of an ongoing article and should not end with a conclusion. Keep reading to discover the simple steps to create this delectable dessert.
Step-by-Step Guide to Making Banana Pudding from Scratch
Making banana pudding from scratch is easier than you might think. With just a few simple ingredients and some basic steps, you’ll have a delicious homemade dessert in no time. So let’s get started!
Step 1: Gather Your Ingredients

Before you begin, make sure you have all the ingredients you’ll need. Here’s what you’ll need for this recipe:
- 4-5 ripe bananas
- 1 package of vanilla pudding mix
- 2 ½ cups of milk
- 1 teaspoon of vanilla extract
- Nilla wafers
- Whipped cream (optional)
- Sliced bananas (optional)
Step 2: Prepare the Pudding
In a medium-sized saucepan, combine the vanilla pudding mix and the milk. Whisk the mixture until it’s smooth and well combined. Place the saucepan over medium heat and bring the mixture to a boil, stirring constantly. Once it starts boiling, reduce the heat and let it simmer for about 2 minutes, or until it thickens. Remove the saucepan from the heat and stir in the vanilla extract. Let the pudding cool for a few minutes.
Step 3: Assemble the Layers
Now it’s time to assemble the layers of your banana pudding. Start by layering Nilla wafers on the bottom of a serving dish or individual serving cups. Next, slice the ripe bananas and place them on top of the wafers. Spoon a layer of the prepared pudding over the bananas. Repeat the layers until you’ve used all the ingredients, ending with a layer of pudding on top.
Step 4: Chill and Serve
Once you’ve assembled the layers, cover the serving dish or individual cups with plastic wrap and refrigerate for at least 2 hours, or until the pudding has set. Just before serving, you can add a dollop of whipped cream and some sliced bananas on top for added flavor and presentation.
Tips for Making the Best Banana Pudding
Making banana pudding from scratch is a delightful way to enjoy the natural sweetness and creamy texture of fresh bananas. Whether you’re a seasoned home cook or just starting out in the kitchen, here are some tips to help you make the best banana pudding ever:
1. Choose Ripe Bananas: The key to a delicious banana pudding is using ripe bananas. Look for bananas that are yellow with a few brown spots. These bananas are sweeter and have a softer texture, which will add a natural sweetness and smoothness to your pudding.

« How to Make Delicious Banana Bread Without Baking Soda or Baking Powder
Delicious and Healthy Smoothie Recipes without Yogurt or Banana »
2. Use High-Quality Vanilla Pudding Mix: To achieve a rich and creamy pudding base, it’s important to use high-quality vanilla pudding mix. Look for brands that use real vanilla extract and have a smooth texture when mixed with milk. This will ensure that your pudding has a flavorful and velvety consistency.
3. Layer with Nilla Wafers: Nilla wafers are a classic addition to banana pudding, providing a delightful crunch and hint of vanilla flavor. When layering your pudding, alternate between slices of ripe bananas and Nilla wafers to create a delicious combination of textures.
4. Chill for Optimal Flavor: After preparing your banana pudding, it’s crucial to let it chill in the refrigerator for at least two hours. This allows the flavors to meld together and the pudding to set properly. The result is a refreshing and creamy dessert that is perfect for any occasion.
5. Customize with Toppings: While banana pudding is delicious on its own, you can take it to the next level by adding your favorite toppings. Consider topping your pudding with a dollop of whipped cream, a sprinkle of crushed Nilla wafers, or additional slices of fresh bananas. These extra touches will add visual appeal and enhance the overall taste of your dessert.
Serving Suggestions for Banana Pudding
Now that you’ve mastered the art of making homemade banana pudding, it’s time to take it to the next level with some creative serving suggestions. Here are a few ideas to help you elevate your banana pudding game:
1. Add a Crunchy Twist
To add some extra texture to your banana pudding, consider sprinkling crushed nuts on top. Walnuts, pecans, or even toasted almond slivers can provide a delightful crunch that complements the creamy pudding and soft bananas.
2. Drizzle with Caramel Sauce
For those with a sweet tooth, consider drizzling some warm caramel sauce over your banana pudding. The rich and buttery flavor of the caramel pairs perfectly with the sweetness of the bananas, creating a truly indulgent dessert experience.

3. Go Tropical with Coconut
If you’re a fan of tropical flavors, why not sprinkle some shredded coconut on top of your banana pudding? The subtle hint of coconut will transport you to a sunny island paradise with every bite.
4. Introduce a Chocolatey Twist
For all the chocolate lovers out there, adding a layer of chocolate ganache or sprinkling some chocolate shavings on top of your banana pudding can take it to a whole new level of decadence. The combination of chocolate and banana is a classic pairing that never disappoints.
5. Experiment with Different Fruit Toppings

While banana pudding traditionally features sliced bananas, don’t be afraid to experiment with other fruit toppings. Strawberries, raspberries, or even a mix of berries can add a refreshing twist to your dessert and provide a burst of vibrant flavors.
Remember, the beauty of homemade banana pudding is its versatility. Feel free to get creative and customize your dessert to suit your taste preferences. Whether you choose to keep it classic or try out some of these suggestions, your banana pudding is sure to be a hit at any gathering.
Conclusion
Now that you have all the necessary information and tips, you’re ready to create a delicious homemade banana pudding from scratch. With just a few simple ingredients and easy steps, you can make a creamy and flavorful dessert that will impress your guests.
By choosing ripe bananas and using high-quality vanilla pudding mix, you’ll ensure that your banana pudding has the perfect balance of sweetness and creaminess. Layering it with Nilla wafers and sliced bananas will add a delightful texture and taste.
Remember to chill the pudding in the refrigerator to enhance its flavor and allow the layers to meld together. And don’t forget to get creative with your toppings! Whether you choose whipped cream, crushed Nilla wafers, or additional slices of fresh bananas, the possibilities are endless.

To take your banana pudding to the next level, consider adding a crunchy twist with crushed nuts, drizzling it with caramel sauce, or sprinkling shredded coconut on top. You could even experiment with different fruit toppings to add a burst of freshness.
So go ahead and give this quick banana pudding recipe a try. It’s a dessert that’s not only easy to make but also customizable to suit your taste preferences. Enjoy!


