Are you looking for a simple and hassle-free way to puree bananas by hand? Look no further! In this article, we’ll walk you through the step-by-step process of creating a smooth and creamy banana puree without the need for any fancy equipment. Whether you’re making baby food, smoothies, or baking recipes, mastering the art of hand-pureeing bananas will open up a world of possibilities in your kitchen. So grab those ripe bananas and let’s get started!
If you’re tired of using a blender or food processor to puree your bananas, we’ve got you covered. Hand-pureeing bananas is not only a convenient alternative, but it also allows you to have more control over the texture and consistency of your puree. Whether you prefer a chunky or silky-smooth result, this method gives you the flexibility to achieve the perfect consistency for your recipes. Plus, it’s a great way to get a quick and easy puree without having to clean up any extra appliances.
Why Puree Bananas by Hand?

When it comes to pureeing bananas, you might be wondering why you should do it by hand instead of using a blender or food processor. Well, let me tell you, there are some great reasons to give hand-pureeing a try!
1. Control over Texture and Consistency
One of the main benefits of pureeing bananas by hand is that you have complete control over the texture and consistency of the puree. Depending on your preference or the recipe you’re using, you can make the puree as smooth or chunky as you like. By using a fork or a potato masher, you can easily adjust the texture to suit your needs.
2. Convenience and Simplicity
Hand-pureeing bananas is a convenient and simple alternative to using a blender or food processor. You don’t need any fancy equipment or appliances. All you need is a fork or a potato masher, and you’re good to go. This means less clean-up and less hassle in the kitchen.
3. Preserves Nutrients and Flavor
When you puree bananas by hand, you are preserving the natural nutrients and flavor of the fruit. Blenders and food processors can generate heat, which can potentially affect the nutritional value and taste of the puree. By hand-pureeing, you can ensure that you’re getting the most out of your bananas in terms of both nutrition and taste.
4. Quick and Efficient
Hand-pureeing bananas is a quick and efficient process. With just a few minutes of mashing, you can have a smooth and creamy puree ready to use in your favorite recipes. Plus, there’s no need to worry about setting up and cleaning a blender or food processor. It’s a time-saving method that delivers excellent results.
Tools Needed for Hand-Pureeing Bananas
When it comes to hand-pureeing bananas, you’ll be glad to know that you don’t need any fancy or expensive equipment. With just a few simple tools, you can easily create a smooth and creamy puree right in your own kitchen. Here are the tools you’ll need:
- Knife: A sharp knife is essential for slicing the bananas into smaller pieces before pureeing them. Make sure your knife is clean and well-maintained for easy and efficient cutting.
- Cutting board: A sturdy cutting board provides a stable surface for you to safely chop and slice the bananas. Choose a cutting board that is large enough to accommodate the size of the bananas you’ll be working with.
- Fork: A fork is the main tool you’ll be using to hand-puree the bananas. Its tines will break down the banana pieces into a smooth and creamy consistency. Opt for a fork with sturdy tines that can withstand the pressure of mashing the bananas.
- Bowl: A bowl is necessary to hold the bananas as you puree them. Choose a bowl that is deep enough to prevent any spillage and wide enough to give you enough space to work with.
Step 1: Selecting Ripe Bananas

When it comes to making the perfect banana puree by hand, the first step is to select the right bananas. Choosing ripe bananas is crucial as they will be easier to mash and will provide a sweeter flavor to your puree. Here are a few tips to help you select the best bananas for your homemade puree:
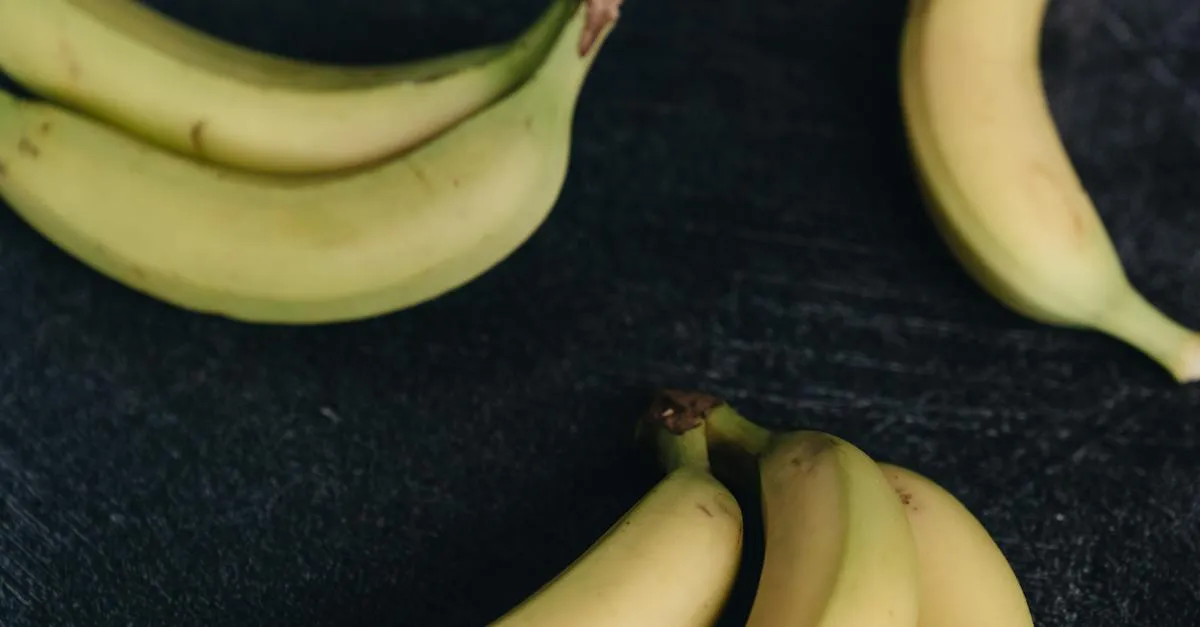
1. Look for yellow bananas with brown spots: The color of the banana is a good indicator of its ripeness. Look for bananas that are yellow with brown spots. This shows that the bananas are at their peak ripeness, making them perfect for pureeing.
2. Avoid green or overly soft bananas: Green bananas are not fully ripe and will be difficult to mash. On the other hand, overly soft bananas might be overripe and may have a mushy texture, which can affect the consistency of your puree.
3. Consider the purpose of your puree: If you plan to use the puree as a sweetener or in baked goods, choose bananas that are fully ripe with a strong aroma. However, if you’re making puree for a baby or someone with dietary restrictions, choose bananas that are just ripe, as they will have a milder flavor.
Remember, the ripeness of the bananas will affect the taste and texture of your puree. So, take a moment to inspect the bananas before making your selection.
Now that you know how to choose the perfect bananas for your puree, let’s move on to the next step: peeling and slicing the bananas.

Step 2: Peeling the Bananas
« Delicious Banana Bread Recipe Without Eggs or Milk
Delicious Two-Banana Muffin Recipe »
Now that you have selected the perfect ripe bananas for your hand-puree, it’s time to move on to the next step: peeling the bananas.
First, find a clean and sturdy surface to work on. It could be your kitchen counter or a cutting board. Place the bananas on the surface and make sure you have enough space to work comfortably.
Take hold of one banana and locate the stem at the top. Gently hold the stem between your thumb and index finger. Apply a slight pressure and start peeling the skin downwards. The skin should come off easily, revealing the soft and creamy fruit inside.
Continue peeling the skin off the banana, working your way downwards until the entire fruit is exposed. Be careful not to press too hard, as you don’t want to squish the banana or make a mess.
If you encounter any stubborn bits of skin that refuse to come off, simply use a small paring knife or your fingernail to gently scrape them away. Remember, the aim is to remove all the skin and leave behind only the smooth, tender flesh of the banana.
Repeat this process for each banana you plan to puree. And there you have it – perfectly peeled bananas ready for the next step in the hand-puree process.
By peeling the bananas by hand, you have full control over the process and can ensure that no unwanted pieces of skin end up in your puree. It’s a simple and satisfying task that adds a personal touch to your homemade puree.
Now that you’ve peeled the bananas, let’s move on to the next step: mashing the bananas by hand.
Step 3: Mashing the Bananas
Now that you have peeled the bananas with precision, it’s time to move on to the next crucial step: mashing them. Mashing the bananas by hand allows you to have complete control over the texture and consistency of the puree. Plus, it’s a great way to get a little workout for your arm muscles!

To begin, place the peeled bananas in a shallow bowl or on a cutting board. Using a fork, start gently pressing down on the bananas, mashing them into a smooth and creamy consistency. The riper the bananas, the easier they will be to mash.
As you mash, you may notice that the bananas release their natural sugars, creating a sweet aroma that fills the air. It’s a delightful sensory experience that adds to the joy of hand-pureeing bananas.
If you prefer a chunkier puree, you can leave some small bits of banana intact. However, if you want a smoother texture, continue mashing until you achieve the desired consistency. Remember, it’s all about personal preference!
As you mash, you might encounter a few stubborn lumps or strings. Don’t worry, simply use the fork to break them up or remove them. This way, you can ensure that your puree is smooth and free of any unwanted bits.
One of the advantages of hand-pureeing bananas is the simplicity of the process. You don’t need any fancy equipment or appliances. By using just a fork and your own strength, you can create a delicious and nutritious puree.

So, grab a fork and start mashing those bananas. Feel the satisfaction of creating something homemade with your own hands. The next step will be to enjoy your freshly hand-pureed banana puree or use it in your favorite recipes.
Step 4: Achieving a Smooth Consistency
Now that you have mashed the bananas, it’s time to focus on achieving a smooth consistency for your hand-pureed bananas. This step is crucial, as it determines the final texture of your puree. Whether you prefer a chunky puree with small banana pieces or a silky smooth puree, it’s all up to you!
To achieve a smooth consistency, you can try the following techniques:
- Press and Stir Method: Using the back of the fork, press down on the mashed bananas and stir vigorously. Continue doing this until the bananas start to break down further and become smoother. This method helps to break up any remaining lumps and creates a more uniform texture.
- Whisking: If you want a super smooth puree, you can try whisking the mashed bananas. Use a whisk and vigorously whisk the bananas in a circular motion. This technique helps to incorporate air into the puree, resulting in a lighter and smoother texture.
- Blending with a Hand Mixer: If you have a hand mixer or a handheld immersion blender, you can use them to further puree the bananas. Simply place the mashed bananas in a deep bowl, insert the hand mixer or immersion blender, and blend until you achieve the desired consistency.
Remember, the goal is to achieve a consistency that suits your preference and the recipe you are using the hand-pureed bananas in. If you’re making a banana bread or cake, a slightly chunky puree may add a delightful texture. On the other hand, if you’re making a smoothie or a baby food puree, a silky smooth consistency is ideal.
Experiment with different methods and find the one that works best for you. The beauty of hand-pureeing bananas is that you have complete control over the texture and consistency, ensuring a personalized and satisfying result.
Step 5: Storing and Using the Banana Puree

Now that you have hand-pureed your bananas to perfection, it’s time to learn how to store and make the most of your delicious banana puree. Here are a few tips to help you on your way:
Storing the Banana Puree
- Transfer the puree to an airtight container or a ziplock bag.
- Make sure to label the container with the date to keep track of its freshness.
- Store the puree in the refrigerator for up to 3 days or in the freezer for up to 3 months.
- If you’re freezing the puree, consider portioning it into ice cube trays for easy portion control.
Using the Banana Puree
- Banana puree can be used in a variety of recipes, from baked goods to smoothies and baby food.
- Add it to your pancake or waffle batter for a naturally sweet twist.
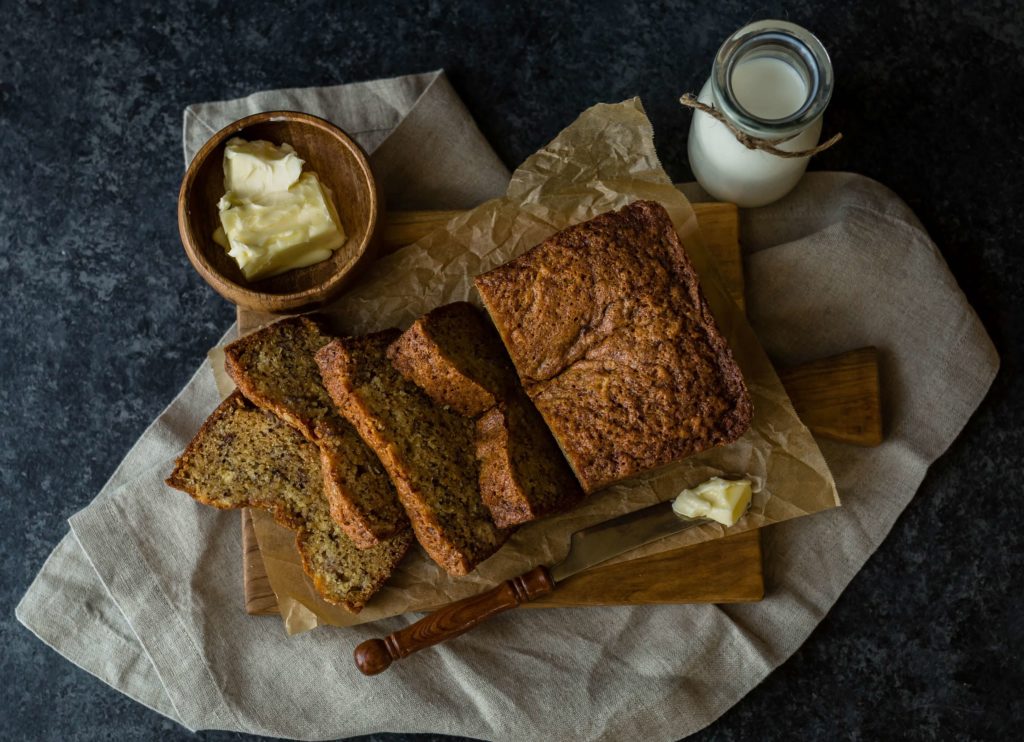
- Incorporate it into your favorite muffin or bread recipes for added moisture and flavor.
- Use it as a base for a delicious and healthy smoothie by blending it with your choice of fruits and yogurt.
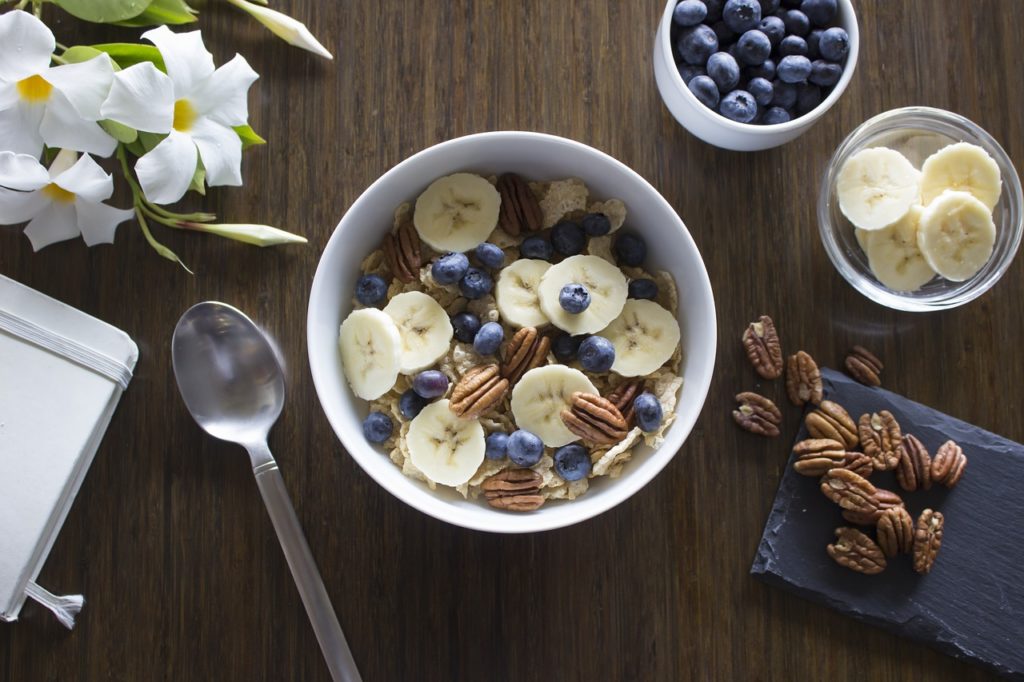
- For a quick and nutritious snack, spread the puree on toast and top it with nuts or seeds.
- If you’re making baby food, mix the banana puree with other fruits or vegetables to introduce new flavors and textures.
By hand-pureeing bananas, you have not only created a versatile ingredient for your recipes, but you have also taken control of the texture and consistency of your puree. With these storing and usage tips, you can now enjoy the benefits of your homemade banana puree for days to come. So go ahead and get creative in the kitchen with your hand-pureed bananas!
Conclusion
By following this step-by-step guide, you can easily hand-puree bananas without the need for any fancy equipment. Hand-pureeing offers you the advantage of having complete control over the texture and consistency of your puree. Not only is it a convenient alternative to using a blender or food processor, but it also eliminates the hassle of extra clean-up.
To begin, make sure to select ripe bananas with yellow skin and brown spots, avoiding green or overly soft ones. Gently peel the bananas, removing any stubborn bits of skin with a small paring knife or your fingernail. Then, mash the bananas by hand using a fork, adjusting the texture to your liking.
To achieve a smooth consistency for your puree, you can use techniques such as the press and stir method, whisking, or blending with a hand mixer. Once you have achieved the desired texture, store the banana puree in an airtight container or ziplock bag, labeling it with the date. You can refrigerate it for up to 3 days or freeze it for up to 3 months.

The versatility of hand-pureed banana puree allows you to incorporate it into a wide range of recipes, including baked goods, smoothies, and baby food. You can add it to pancake or waffle batter, muffin or bread recipes, or use it as a base for delicious smoothies. It can even be spread on toast for a quick and nutritious snack or mixed


