If you’re craving a classic and comforting dessert, look no further than the iconic banana pudding. Made with simple ingredients that you probably already have in your pantry, this recipe is a crowd-pleaser that never fails to impress. And the best part? You can find the recipe right on the box of vanilla wafers! In this article, we’ll walk you through the steps to create a delicious homemade banana pudding using the recipe from the trusted vanilla wafer box. Get ready to indulge in creamy layers of pudding, sliced bananas, and a generous topping of whipped cream.
There’s something nostalgic about the taste of banana pudding. The combination of creamy vanilla pudding, fresh bananas, and the crunch of vanilla wafers is simply irresistible. And the fact that you can find the recipe right on the box of vanilla wafers makes it even more convenient. Whether you’re a seasoned baker or a beginner in the kitchen, this recipe is foolproof and guaranteed to yield a delicious result. So grab your apron and get ready to whip up a batch of homemade banana pudding that will transport you back to simpler times.
If you’re looking for a dessert that is both easy to make and full of flavor, then you’re in for a treat with this banana pudding recipe. With just a few simple steps, you’ll have a dessert that will impress your family and friends. The recipe from the vanilla wafer box has been a go-to for generations, and it’s no wonder why. The combination of creamy pudding, ripe bananas, and the sweetness of the wafers creates a dessert that is truly irresistible. So why wait? Gather your ingredients and get ready to make a delicious homemade banana pudding that will have everyone asking for seconds.
Ingredients
To make a delicious banana pudding using the recipe from the vanilla wafer box, you’ll need a few simple ingredients. Here’s what you’ll need to gather before you get started:
- 2-3 ripe bananas
- 1 box of vanilla wafers
- 2 ¾ cups of milk
- 1 package of instant vanilla pudding mix
- 1 cup of heavy cream
- ¼ cup of powdered sugar
- 1 teaspoon of vanilla extract
Now that you have all your ingredients ready, it’s time to dive into making this scrumptious dessert. The combination of these ingredients will create a creamy and flavorful banana pudding that will satisfy your sweet tooth.
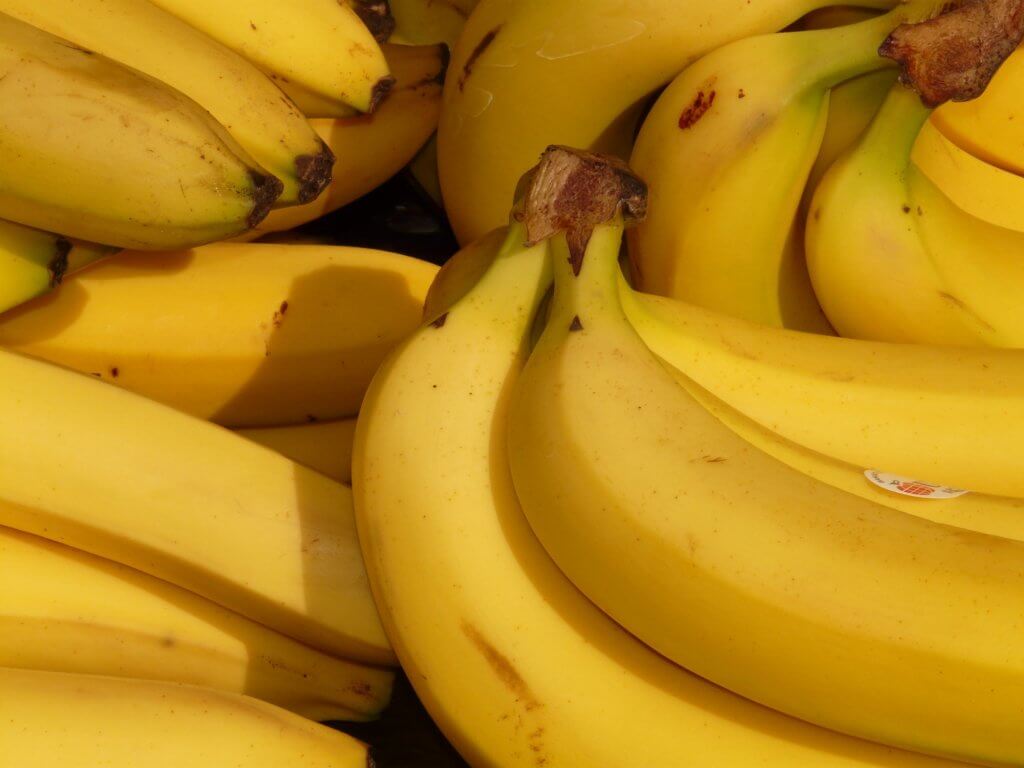
The star of the show, of course, is the ripe bananas. Make sure to choose bananas that are slightly soft to the touch, with a few brown spots. This will ensure that they are sweet and flavorful, perfect for adding to your pudding. The vanilla wafers provide a delicious crunch and a hint of vanilla flavor, making them the perfect accompaniment to the creamy pudding.
Next, you’ll need the milk and instant vanilla pudding mix to create the base of your pudding. The instant pudding mix makes it quick and easy to prepare, without sacrificing flavor. Simply whisk the pudding mix into the milk until it thickens and becomes smooth. This will give your pudding a velvety texture that is simply irresistible.
To add extra richness and creaminess to your banana pudding, you’ll whip up some heavy cream with powdered sugar and vanilla extract. This whipped cream will be layered between the pudding and the bananas, adding a light and airy element to the dessert.
Now that you know all the ingredients needed to make this classic banana pudding, it’s time to get cooking! Follow the recipe instructions on the vanilla wafer box, and in no time, you’ll have a delectable dessert that will wow your friends and family.
Keep reading to discover some tips and tricks for making the perfect banana pudding.
Step 1: Preparing the Pudding
Now that you have gathered all the ingredients for your banana pudding, it’s time to get started with the first step – preparing the pudding. This step is crucial as it forms the creamy and delicious base of the dessert. Don’t worry, it’s a simple process that anyone can master!
First, grab your box of instant vanilla pudding mix. The recipe on the vanilla wafer box will guide you through the measurements, but it typically calls for about 2 cups of milk and the pudding mix. Make sure to follow the instructions on the box to achieve the perfect consistency.

To prepare the pudding, you’ll need a medium-sized mixing bowl. Pour the milk into the bowl and gradually add the instant vanilla pudding mix. Whisk the mixture vigorously for about 2 minutes, or until the pudding thickens. This will ensure a smooth and creamy texture.
Once the pudding has reached the desired consistency, set it aside for a moment and move on to the next step. The vanilla pudding will serve as a luscious base for the layers of bananas and vanilla wafers, adding a rich and creamy flavor to the dessert.
Remember, the key to a successful pudding is to follow the recipe instructions. This will ensure that your pudding sets properly and has the right texture. So take your time, whisk the pudding until it thickens, and then move on to the next step – assembling the layers.
Step 2: Assembling the Pudding
Now that you have prepared the vanilla pudding according to the instructions on the vanilla wafer box, it’s time to assemble the banana pudding. This step is where all the delicious layers come together to create a mouthwatering dessert. Get ready to indulge in the creamy goodness of banana pudding!
Here’s how you can assemble the pudding:
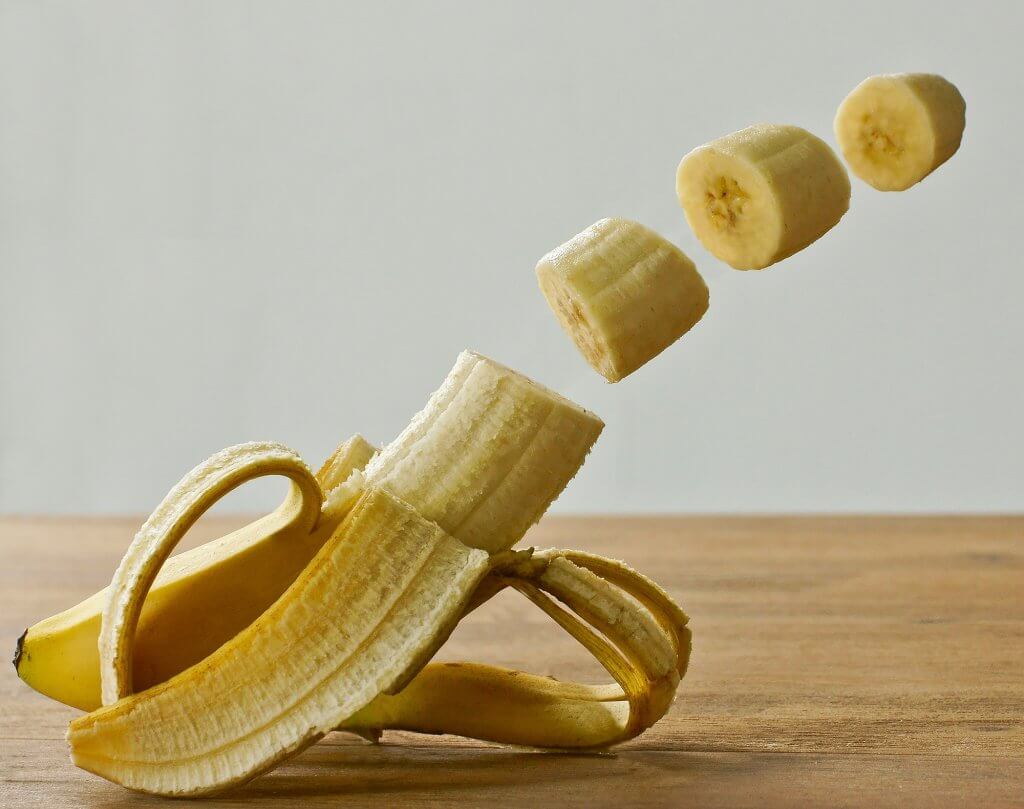
- Slice the bananas: Start by slicing the ripe bananas into thin rounds. Make sure they are not too thick or too thin. You want the banana slices to be just right to add a burst of flavor and texture to each bite.
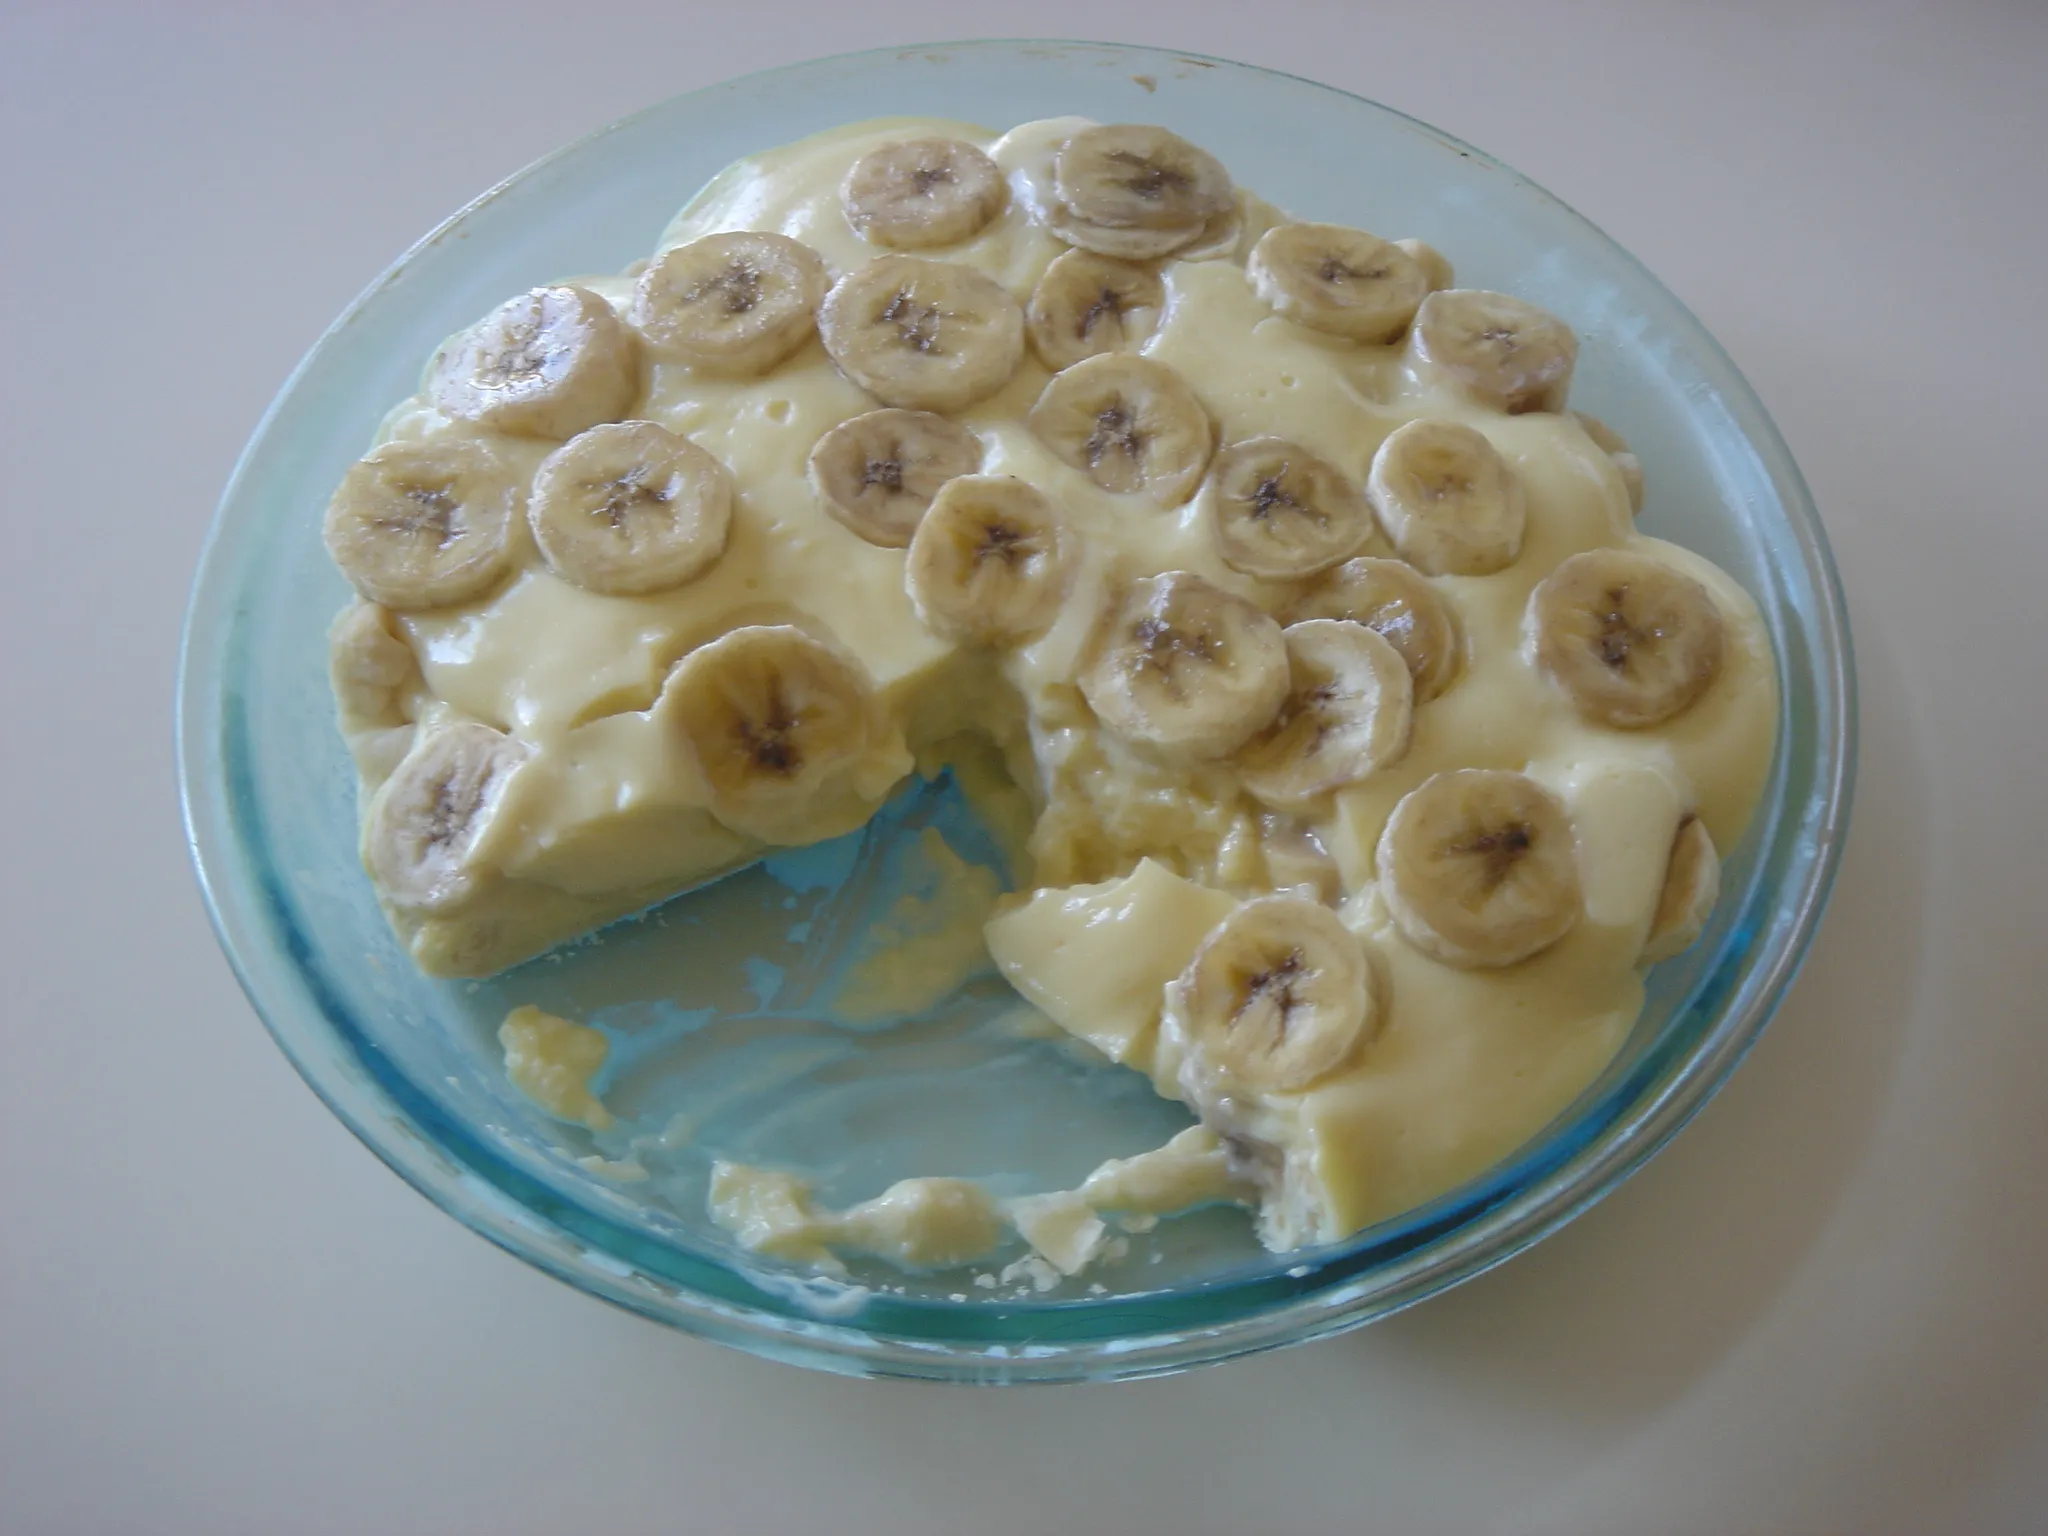
- Layer the ingredients: Take a serving dish or individual dessert cups and begin layering the ingredients. Start with a layer of vanilla wafers at the bottom, followed by a layer of sliced bananas. Then, generously spoon the prepared vanilla pudding over the bananas, making sure to cover them completely. Repeat this layering process until you have used up all the ingredients, ending with a layer of vanilla wafers on top.
- Refrigerate and chill: Once you have assembled the banana pudding, cover it with plastic wrap or a lid and place it in the refrigerator. Allow the pudding to chill for at least 2 hours, or overnight if possible. This will give the flavors a chance to meld together, and the pudding will become even more luscious and creamy.
- Optional garnish: Just before serving, you can add a little extra flair to your banana pudding by garnishing it with a sprinkle of crushed vanilla wafers or a dollop of whipped cream. This will not only make it look more enticing but also add a delightful crunch and creaminess to each spoonful.
And there you have it! Your banana pudding is now ready to be enjoyed. This classic dessert is perfect for any occasion, whether it’s a family gathering or a casual get-together with friends. The combination of creamy vanilla pudding, sweet bananas, and crunchy vanilla wafers is sure to satisfy your taste buds and leave you craving for more.

Step 3: Adding the Vanilla Wafers
« How to Make a Delicious Banana Daiquiri at Home: Step-by-Step Guide
Delicious Banana Bread Recipe by Ina Garten – Tips, Variations, and FAQs Included »
Now that you have prepared the creamy vanilla pudding and sliced the bananas to the perfect thickness, it’s time to add another delightful element to your banana pudding – the vanilla wafers! These crispy, sweet cookies add a wonderful texture and flavor to the dessert. Here’s how to incorporate them into your banana pudding masterpiece:
- Begin by arranging a layer of vanilla wafers on the bottom of your serving dish. Make sure to cover the entire surface area as evenly as possible. The wafers will create a sturdy base for the rest of the ingredients.
- Next, carefully place a layer of sliced bananas on top of the vanilla wafers. The sweetness of the bananas will complement the crunchy texture of the wafers. Make sure to spread the banana slices evenly to ensure a balanced taste in every bite.
- Repeat the process by adding another layer of vanilla wafers followed by another layer of sliced bananas. The number of layers you create will depend on the size of your serving dish and personal preference. Just remember to alternate between the wafers and bananas to create a harmonious balance of flavors and textures.
- Continue layering until you have used up all the vanilla wafers and sliced bananas. The final layer should ideally be a layer of vanilla wafers, creating a beautiful and inviting top to your banana pudding.
Remember, the key to a delicious banana pudding is to ensure that each layer is evenly distributed and that the vanilla wafers are fully covered by the creamy pudding and bananas. This will ensure that every spoonful is a delightful combination of creamy, crunchy, and sweet flavors.
And there you have it – a beautifully layered banana pudding featuring the classic vanilla wafers. But we’re not done just yet! In the next step, we’ll discuss the final touch to this delectable dessert – refrigeration.
Step 4: Refrigerating the Pudding
After you’ve assembled your delicious banana pudding, it’s time to give it some time in the refrigerator. This step is crucial to allow the flavors to meld together and for the pudding to set properly. Here’s what you need to do:
- Find a suitable container: Transfer the assembled banana pudding into a container with a lid. Make sure it has enough space to accommodate the layers without squishing them.
- Cover and refrigerate: Place the lid on the container to seal it tightly. This will prevent any unwanted odors or flavors from seeping into your pudding. Now, it’s time to pop it into the refrigerator.
- Allow at least 2 hours: For the best results, refrigerate the pudding for at least 2 hours. This will give the pudding enough time to chill, allowing the flavors to develop and the texture to become creamy and luscious.
- Don’t rush it: While it can be tempting to dive into your banana pudding right away, it’s worth the wait. Allowing the pudding to chill in the refrigerator will enhance the overall taste and make it even more enjoyable.
- Optional garnishes: If you want to take your banana pudding to the next level, consider adding some optional garnishes before serving. Crushed vanilla wafers sprinkled on top will add a delightful crunch, while a dollop of whipped cream will add a creamy and airy touch.
Remember, refrigerating the banana pudding is an essential step to achieve the perfect consistency and flavors. So be patient and resist the temptation to dig in too soon. Trust me, the wait will be worth it!
Now that your banana pudding is chilling in the refrigerator, you can start dreaming about the delightful flavors that await you. Get ready to indulge in creamy vanilla pudding, sweet bananas, and the satisfying crunch of vanilla wafers.
Step 5: Serving the Pudding
Now that your banana pudding has chilled and the flavors have melded together, it’s time to serve up a deliciously creamy treat! Here are a few tips to ensure your banana pudding is presented perfectly:
1. Get your serving dishes ready
Before you start scooping out the pudding, make sure you have your serving dishes or bowls ready. You can use individual dessert dishes or a larger glass bowl for a family-style presentation. The choice is yours!
2. Layer it up
To create those beautiful layers of creamy pudding, sliced bananas, and crunchy vanilla wafers, start by spooning a generous amount of pudding into the bottom of each dish. Next, add a layer of sliced bananas, followed by a layer of vanilla wafers. Repeat these layers until you’ve used up all your ingredients, ending with a final layer of pudding on top.
3. Optional garnishes

To add a little extra flair to your banana pudding, consider adding some optional garnishes. Crushed vanilla wafers sprinkled on top will give your dessert an added crunch and a burst of flavor. You can also top it off with a dollop of whipped cream for a light and airy touch.
4. Get ready to dig in!
Now that your banana pudding is beautifully layered and garnished, it’s time to enjoy the fruits of your labor. Grab a spoon, and dive right in! The creamy vanilla pudding, sweet bananas, and crunchy vanilla wafers will create a symphony of flavors and textures in every bite.
Remember, banana pudding is best enjoyed chilled, so be sure to refrigerate any leftovers. And if you’re serving a crowd, feel free to double or triple the recipe – this classic dessert is always a crowd-pleaser.
Conclusion
Now that you have all the steps and tips for assembling the perfect banana pudding using the vanilla wafer box recipe, you’re ready to impress your friends and family with this delicious dessert. Remember to slice the bananas to the right thickness and layer the ingredients properly to ensure the best flavor and texture. Don’t forget to refrigerate the pudding for at least 2 hours to let the flavors meld together.
If you want to take your banana pudding to the next level, consider adding some optional garnishes like crushed vanilla wafers or a dollop of whipped cream. These simple additions can elevate the dessert and make it even more irresistible.

When it comes to serving the pudding, choose your favorite serving dishes and have fun layering the ingredients. Get creative with the presentation and don’t be afraid to experiment with different garnishes to suit your taste.
Lastly, if you have any leftovers, make sure to refrigerate them promptly to keep the pudding fresh. The great thing about banana pudding is its versatility – it’s perfect for serving a crowd at parties or as a comforting treat for yourself.
Go ahead and enjoy your homemade banana pudding!


