Are you craving a classic dessert that’s sure to satisfy your sweet tooth? Look no further than this mouthwatering banana pudding recipe featuring the beloved Nilla wafers. Whether you’re a seasoned baker or just starting out in the kitchen, this recipe is perfect for all skill levels. With its creamy texture, layers of ripe bananas, and the unmistakable crunch of Nilla wafers, this banana pudding is a true crowd-pleaser. Get ready to indulge in a timeless treat that will transport you back to your childhood with every delightful bite.
If you’re a fan of easy-to-make desserts that are packed with flavor, then this banana pudding recipe is a must-try. With just a handful of ingredients and a few simple steps, you’ll have a delectable dessert that will impress family and friends alike. The star of this recipe is, of course, the Nilla wafers. These iconic vanilla-flavored cookies add a delightful crunch to each spoonful of creamy pudding. So, gather your ingredients and get ready to whip up a dessert that will have everyone asking for seconds.
There’s something undeniably comforting about the combination of bananas and Nilla wafers, and this banana pudding recipe brings these two flavors together in perfect harmony. Whether you’re looking to satisfy a sweet craving or bring a show-stopping dessert to your next gathering, this recipe is sure to please. So, grab your mixing bowl and get ready to create a dessert that will have everyone raving. Get ready to savor the creamy, banana-infused goodness of this classic treat.
Ingredients
When it comes to making a delicious banana pudding with Nilla wafers, you’ll need just a few simple ingredients. Here’s what you’ll need to gather before you get started:
- Bananas: Choose ripe bananas for the best flavor and texture. Look for bananas that are yellow with a few brown spots. These bananas will be sweet and have a soft, creamy texture that is perfect for pudding.
- Nilla Wafers: These classic vanilla-flavored cookies are a key ingredient in banana pudding. They provide a delicious crunch and a hint of sweetness that complements the creamy pudding and bananas.
- Pudding Mix: You’ll need a box of instant vanilla pudding mix. This makes the process of making the pudding quick and easy. Just follow the instructions on the box to prepare the pudding.
- Milk: The pudding mix will require milk to be added. You can use any type of milk you prefer, whether it’s whole milk, skim milk, or even almond milk for a dairy-free option.
- Whipped Cream: To add a light and fluffy texture to your banana pudding, you’ll need some whipped cream. You can use store-bought whipped cream or make your own by whipping heavy cream with a little bit of sugar.
- Optional Toppings: If you want to take your banana pudding to the next level, consider adding some additional toppings. Common options include crushed Nilla wafers, sliced bananas, or even a drizzle of caramel sauce.
Now that you have all of your ingredients gathered, it’s time to start making your delicious banana pudding with Nilla wafers.
Step 1: Making the Pudding
Now that you have gathered all the ingredients, it’s time to dive into making the delicious banana pudding. This step will guide you through the process of creating the creamy, silky pudding that will form the base of your dessert.
To start, take out a medium-sized bowl and pour the instant vanilla pudding mix into it. Next, measure out the required amount of milk according to the instructions on the pudding mix box. It’s important to note that using cold milk will yield the best results, so make sure it’s chilled before you begin.
Once you have the milk ready, pour it into the bowl with the pudding mix. Grab a whisk or a spoon and vigorously whisk the mixture together for about 2 minutes or until it thickens. You’ll start to notice the pudding becoming smooth and creamy, with a delightful vanilla aroma filling the air.
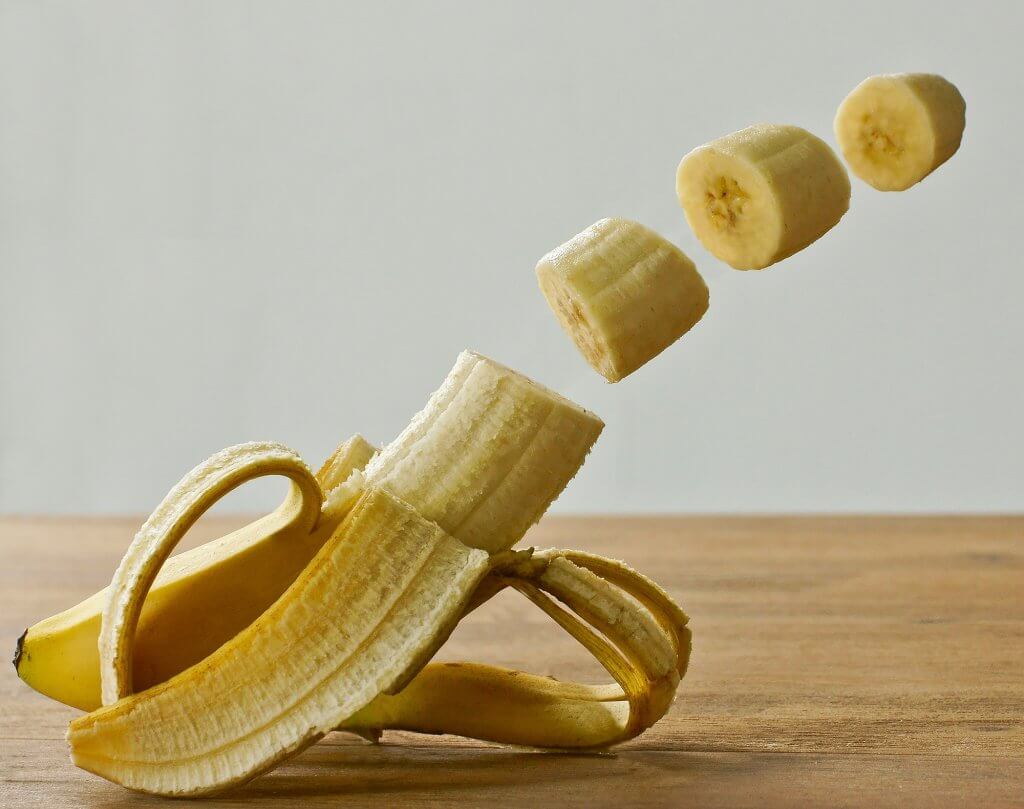
Now it’s time to add an extra touch of sweetness and flavor to the pudding. Take a ripe banana and slice it into thin pieces. Gently fold the banana slices into the pudding mixture, making sure they are evenly distributed. The natural sweetness of the banana will infuse the pudding with a delightful fruity taste.
Once the banana slices are incorporated, it’s time to move on to the next step. Keep in mind that the pudding will continue to thicken as it chills, so don’t worry if it seems slightly runny at this stage. The chilling process will allow the flavors to meld together, creating a luscious and creamy pudding.
There you have it – a heavenly, homemade banana pudding ready to be enjoyed. But hold on, we’re not done just yet! In the next step, we’ll assemble the layers of this delectable dessert, incorporating the beloved Nilla wafers. So, let’s move on to Step 2: Layering the Pudding and Wafers without skipping a beat.
Step 2: Layering with Nilla Wafers
Now that you have your creamy banana pudding ready, it’s time to take it to the next level by adding a layer of delicious Nilla wafers. These crispy, vanilla-flavored cookies will add a delightful crunch to your banana pudding and take it from good to absolutely irresistible.

To begin, grab a deep dish or individual serving bowls. Place a layer of Nilla wafers at the bottom of the dish or bowls. You can choose to break the wafers into smaller pieces or leave them whole for a more dramatic presentation. Make sure to cover the entire bottom of the dish with the wafers.
Next, carefully spoon a generous amount of the creamy banana pudding over the layer of Nilla wafers. Spread it evenly, ensuring that every wafer is covered. The combination of the creamy pudding and the crispy wafers will create a delightful contrast of textures in every bite.
Repeat the process of layering Nilla wafers and banana pudding until you have used up all of your ingredients. The number of layers will depend on the size of your dish or bowls and your personal preference. Some people prefer a single layer of wafers, while others love multiple layers for an extra dose of crunch.
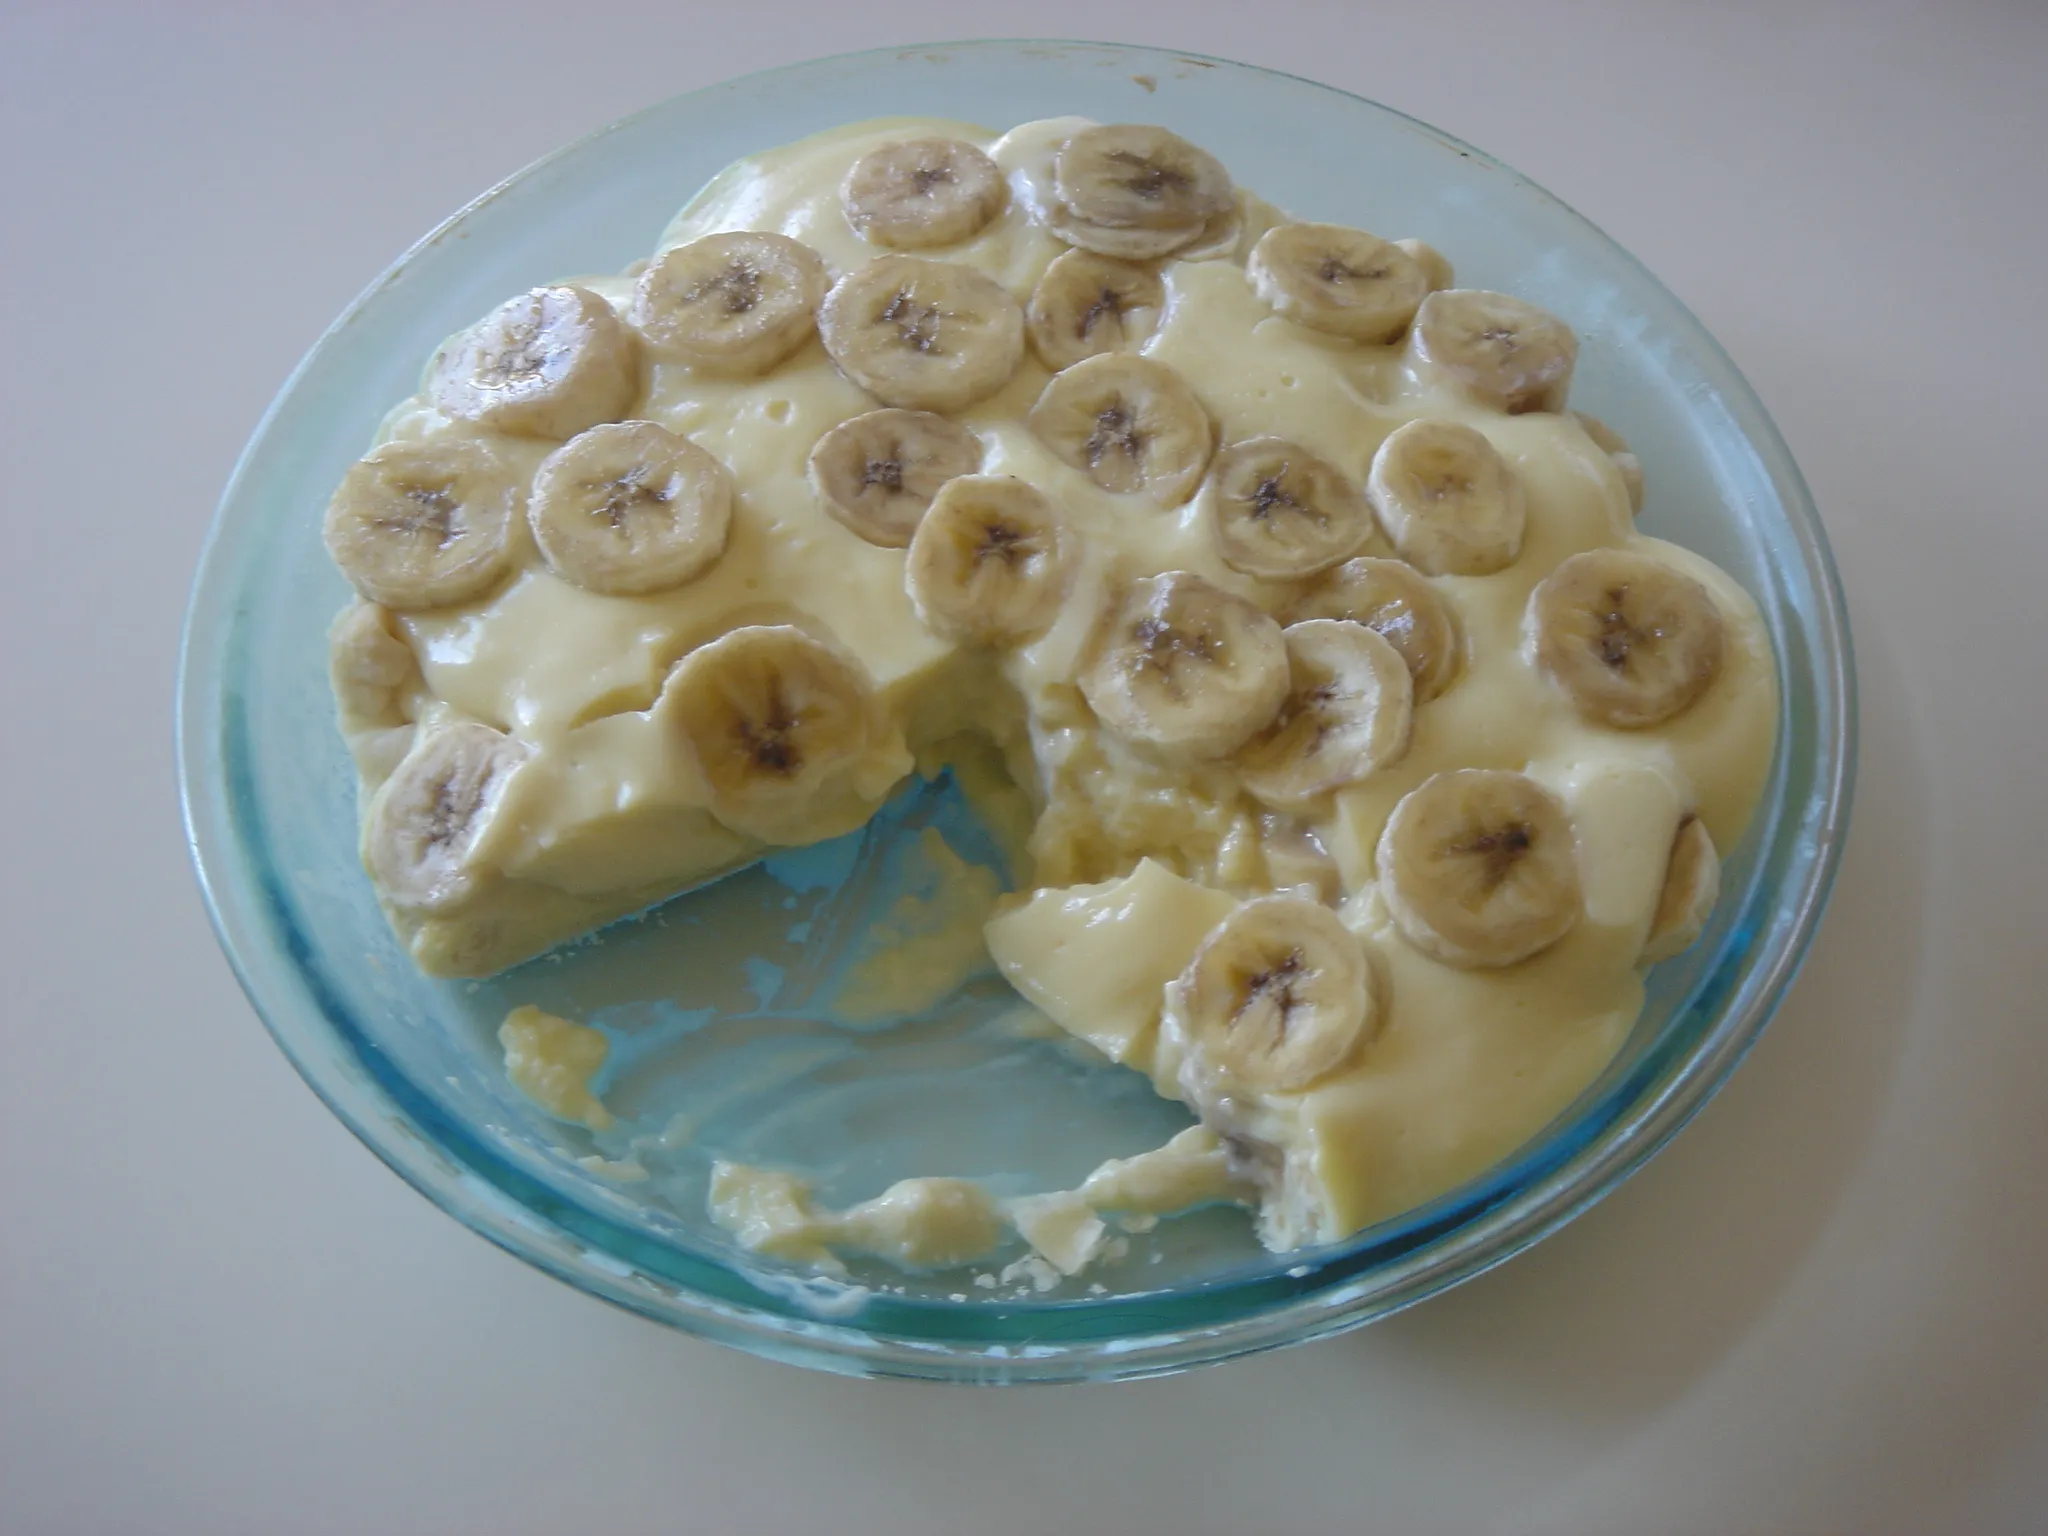
Once you have finished layering, you can choose to top your banana pudding with some additional crushed Nilla wafers, sliced bananas, or a drizzle of caramel sauce for an added touch of sweetness and visual appeal. Get creative and make it your own!
Remember, the key to a delicious banana pudding with Nilla wafers is to allow it to chill in the refrigerator for at least a couple of hours before serving. This will give the flavors a chance to meld together and the pudding to set, resulting in a luscious and creamy dessert that will have everyone asking for seconds.
Step 3: Chilling and Serving
Now that you’ve layered the Nilla wafers and banana pudding, it’s time to chill and serve this delectable dessert. This step is crucial in allowing all the flavors to meld together and the pudding to set properly. Here’s what you need to do:

- Place the deep dish or individual serving bowls containing the layered pudding in the refrigerator. Make sure to cover them with plastic wrap or a lid to prevent any unwanted odors from seeping in.
- Allow the pudding to chill for at least a few hours, or ideally overnight. This extended chilling time will ensure that the pudding has the perfect creamy consistency and that the flavors have fully developed.
- Once the pudding has chilled, it’s time to serve it up and enjoy! You can choose to serve it as is, or you can add some optional toppings to take it to the next level of deliciousness.
- For some extra crunch and visual appeal, sprinkle some crushed Nilla wafers on top of the pudding. This will add a delightful texture contrast to the creamy pudding.
- If you’re a fan of fresh bananas, slice some and arrange them on top of the pudding. This not only adds a pop of color but also enhances the banana flavor.
- For a touch of decadence, drizzle some caramel sauce over the pudding. The sweet and buttery caramel will complement the creamy pudding and add a hint of richness.
- Grab a spoon and dig in! The chilled banana pudding with Nilla wafers is now ready to be devoured. Each spoonful will be a heavenly combination of creamy pudding, crunchy wafers, and the natural sweetness of bananas.
« Paula Deen’s Delicious and Easy Banana Bread Recipe: Moist and Flavorful with Simple Ingredients
Enhance Your Dirty Banana Cocktail Experience with this Delicious Recipe »
Remember, the longer you let the pudding chill, the better the flavors will marry together. So if you can resist the temptation, allow it to chill overnight for the ultimate banana pudding experience.
Variations and Tips
Experiment with Flavors
While the classic banana pudding recipe using Nilla wafers is undeniably delicious, don’t be afraid to get creative and experiment with different flavors. Here are a few variations you can try:
- Chocolate Banana Pudding: Add a decadent twist to the traditional recipe by incorporating chocolate. Simply substitute the instant vanilla pudding mix with instant chocolate pudding mix. Layer the chocolate pudding with the sliced bananas and Nilla wafers for a rich and indulgent treat.
- Coconut Banana Pudding: For a tropical flair, try adding shredded coconut to the pudding mixture. The subtle sweetness and texture of the coconut will pair perfectly with the creamy banana pudding and crunchy Nilla wafers.
- Peanut Butter Banana Pudding: If you’re a fan of the classic flavor combination of peanut butter and bananas, this variation is for you. Add a dollop of creamy peanut butter to the pudding mixture and mix until well combined. The creamy, nutty flavor will take your banana pudding to the next level.
Make It Your Own
While the recipe provides a solid foundation, feel free to customize it to suit your preferences. Here are a few tips to make the banana pudding truly your own:
- Add a Splash of Flavor: Enhance the flavor of the banana pudding by adding a splash of vanilla extract or a sprinkle of cinnamon to the pudding mixture. These simple additions can elevate the taste and add a touch of warmth to the dessert.
- Play with Toppings: Get creative with your toppings to add an extra layer of texture and flavor. Consider adding a drizzle of chocolate sauce, a sprinkle of crushed nuts, or a dollop of whipped cream on top of the pudding. The possibilities are endless!
- Layering Options: While the traditional method calls for layering the Nilla wafers and banana pudding, you can switch things up by alternating layers of crushed wafers and pudding or even adding a layer of fresh berries for a burst of freshness.
Storage and Serving Tips
To ensure your banana pudding stays fresh and delicious, keep the following tips in mind:
- Storage: If you have any leftovers, cover the pudding tightly with plastic wrap or transfer it to an airtight container. Store it in the refrigerator for up to 2-3 days.
- Chill Time: While the pudding can be enjoyed immediately after assembly, it
Conclusion
Now that you have the recipe for this classic banana pudding featuring Nilla wafers, you’re ready to create a comforting and delicious dessert that is sure to please. With just a few simple ingredients, including ripe bananas, Nilla wafers, instant vanilla pudding mix, milk, and whipped cream, you can whip up this creamy and flavorful treat in no time.
The combination of the creamy pudding and the crunchy Nilla wafers creates a delightful texture that will satisfy your taste buds. Plus, you have the option to customize your banana pudding by adding different flavors like chocolate or coconut, experimenting with various toppings, or trying different layering options.
After layering the Nilla wafers and banana pudding, all you need to do is chill it in the refrigerator for a few hours or overnight to allow the flavors to meld together and the pudding to set. Once chilled, you can serve it as is or add extra sweetness and visual appeal with crushed Nilla wafers, sliced bananas, or caramel sauce.
Remember to follow the storage and serving tips provided to keep your banana pudding fresh and enjoyable for as long as possible. So go ahead, make this delicious dessert and enjoy the delightful combination of bananas and Nilla wafers in every bite.


