Are you looking for a delicious and healthy frozen treat? Look no further than this banana ice cream recipe made with the Ninja Creami! With just a few simple ingredients, you can whip up a creamy and refreshing dessert that will satisfy your sweet tooth without any guilt. Whether you’re a fan of traditional ice cream or following a dairy-free or vegan lifestyle, this recipe is perfect for everyone. Get ready to indulge in a bowl of creamy goodness that will leave you wanting more!
If you’re craving a sweet treat but want to avoid the added sugars and artificial ingredients, this banana ice cream recipe is the perfect solution. By using ripe bananas as the base, you’ll get a naturally sweet and creamy texture without any need for sugar or dairy. Plus, the Ninja Creami makes it incredibly easy to achieve the perfect consistency – smooth and velvety, just like your favorite ice cream. Get ready to enjoy a guilt-free dessert that’s not only delicious but also good for you!
Making homemade ice cream has never been easier thanks to the Ninja Creami. With its powerful blending capabilities, you can turn frozen bananas into a creamy and dreamy dessert in just minutes. Whether you’re in the mood for a classic banana flavor or want to experiment with different mix-ins like chocolate chips or peanut butter, the possibilities are endless. Get ready to unleash your creativity and treat yourself to a bowl of homemade banana ice cream that will rival any store-bought version.
Benefits of Making Your Own Banana Ice Cream
If you’re a fan of bananas and enjoy indulging in frozen treats, then making your own banana ice cream with the Ninja Creami is a fantastic idea. Not only is homemade banana ice cream delicious, but it also offers several benefits that you won’t find in store-bought options. Here are a few reasons why making your own banana ice cream is a great idea:
1. Healthier Option
One of the biggest benefits of making your own banana ice cream is that it’s a healthier alternative to traditional ice cream. Unlike store-bought ice cream, homemade banana ice cream doesn’t contain any added sugars or artificial ingredients. Bananas are naturally sweet and creamy, making them the perfect base for a guilt-free frozen treat. By using ripe bananas as the main ingredient, you’ll be able to enjoy a naturally sweet and satisfying dessert without compromising your health goals.
2. Customizable Flavors
Another advantage of making your own banana ice cream is the ability to customize the flavors. With the Ninja Creami, you can easily experiment with different mix-ins to create your own unique creations. Whether you’re in the mood for chocolate chips, nuts, or even a swirl of caramel sauce, the possibilities are endless. By getting creative with your mix-ins, you can tailor your banana ice cream to suit your taste preferences and create a personalized frozen treat that you won’t find in any store.
3. Easy and Convenient
Making your own banana ice cream with the Ninja Creami is incredibly easy and convenient. The machine takes care of all the hard work for you, effortlessly blending the ripe bananas into a smooth and creamy consistency. With just a few simple steps, you can have a batch of homemade banana ice cream ready to enjoy in no time. Plus, the Ninja Creami is compact and easy to clean, making it a hassle-free option for satisfying your ice cream cravings whenever they strike.
So, if you’re looking for a delicious and healthier frozen treat that you can easily customize to your liking, making your own banana ice cream with the Ninja Creami is the way to go. Say goodbye to store-bought options filled with unnecessary additives and hello to a homemade delight that will leave you wanting more.
Choosing the Right Bananas for Your Ice Cream
When it comes to making delicious banana ice cream with the Ninja Creami, choosing the right bananas is key. The ripeness of the bananas can greatly affect the taste and texture of your homemade treat. Here are a few tips to help you select the perfect bananas for your ice cream:
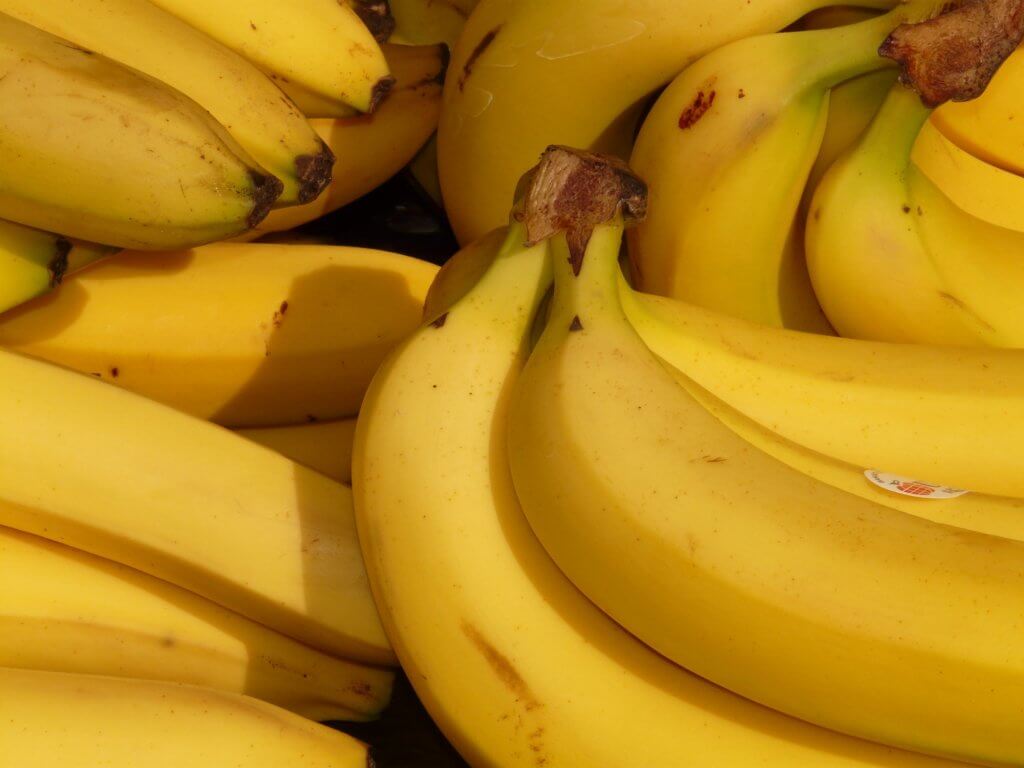
1. Opt for Ripe Bananas: Ripe bananas are the best choice for making banana ice cream. They not only provide a naturally sweet flavor but also have a soft and creamy texture when blended. Look for bananas that have a vibrant yellow color with a few brown spots. These bananas are at their peak ripeness and will result in a smoother and sweeter ice cream.
2. Avoid Overripe Bananas: While ripe bananas are ideal, it’s important to avoid using overripe bananas for your ice cream. Overripe bananas tend to have a stronger and more pronounced flavor, which can overpower the other ingredients in your ice cream. Additionally, their texture may be too mushy, resulting in a less desirable consistency.
3. Consider Using Frozen Bananas: If you want a thicker and creamier ice cream, consider using frozen bananas. Frozen bananas not only add a frosty element to your dessert but also help create a velvety smooth texture. Simply peel and slice ripe bananas, then freeze them for a few hours or overnight before blending them in the Ninja Creami.

4. Experiment with Banana Varieties: While the classic yellow banana is a popular choice for making banana ice cream, don’t be afraid to experiment with different banana varieties. Some varieties, such as the sweeter and creamier Cavendish or the slightly tart and tangy Lady Finger, can add unique flavors to your ice cream. Mix and match different banana varieties to discover your favorite combination.
Preparing the Bananas for the Ninja Creami
Making your own banana ice cream with the Ninja Creami starts with preparing the bananas. This step is crucial to ensure a smooth and creamy texture in your frozen treat. Here are some tips to help you get the most out of your bananas:
- Choosing the Right Bananas: When it comes to making banana ice cream, it’s important to select the right bananas. Ripe bananas are the best choice, as they provide a naturally sweet flavor and a soft and creamy texture when blended. Look for bananas that are yellow with a few brown spots. These bananas are at their peak ripeness and will give your ice cream a deliciously sweet taste.
- Avoiding Overripe Bananas: While ripe bananas are ideal, it’s important to avoid using overly ripe bananas for your ice cream. These bananas can have a stronger flavor and a less desirable consistency. So make sure to use them when they are just ripe and not overly soft or mushy.
- Using Frozen Bananas: For a thicker and creamier ice cream, consider using frozen bananas. Simply peel the ripe bananas, cut them into chunks, and freeze them in a freezer-safe bag or container. When you’re ready to make your ice cream, take out the frozen banana chunks and let them thaw slightly before blending them in the Ninja Creami. The frozen bananas will give your ice cream a luscious texture that’s perfect for scooping.
- Experimenting with Banana Varieties: Did you know that there are different varieties of bananas? Each variety has its own unique flavor profile, which can add a delightful twist to your banana ice cream. Consider trying different varieties like Cavendish, Lady Finger, or Red bananas to discover new flavors and find your favorite.
By following these simple steps, you’ll be well on your way to creating a delicious and creamy banana ice cream with the Ninja Creami. So go ahead, get creative with your mix-ins and toppings, and enjoy a healthier alternative to store-bought ice cream that’s bursting with banana goodness.
Using the Ninja Creami to make banana ice cream
If you’re a fan of homemade ice cream and bananas, then you’re in for a treat with the Ninja Creami! This versatile kitchen appliance allows you to create delicious and creamy banana ice cream right in the comfort of your own home. Here are a few tips on how to use the Ninja Creami to make the perfect banana ice cream:
1. Start with ripe bananas: The key to a flavorful and sweet banana ice cream is using ripe bananas. Look for bananas that are yellow with a few brown spots. These bananas have reached their peak sweetness and will add a natural sweetness to your ice cream. Avoid using overripe bananas, as they may result in a less desirable texture.
2. Peel and slice the bananas: Once you have chosen your ripe bananas, it’s time to prepare them for the Ninja Creami. Peel the bananas and slice them into chunks. This will make it easier for the Creami to blend them into a smooth and creamy consistency.

« Easy Recipe for Banana French Toast: A Delicious and Flavorful Breakfast Dish
How to Make the Perfect Banana Bread Recipe for Your Baby »
3. Freeze the banana slices: To achieve a thick and creamy texture, it’s best to freeze the banana slices before using them in the Ninja Creami. Place the sliced bananas in a single layer on a baking sheet lined with parchment paper and freeze them for at least 2 hours or until they are completely frozen. Frozen bananas will give your ice cream a luscious and velvety texture.
4. Blend until smooth: Once your banana slices are frozen, it’s time to blend them in the Ninja Creami. Place the frozen banana slices in the Creami’s blending bowl and secure the lid. Start with a low speed and gradually increase it until the bananas are fully blended and smooth. You may need to stop and scrape down the sides of the bowl to ensure all the banana chunks are incorporated.
5. Customize your ice cream: Now comes the fun part – customizing your banana ice cream! You can add a variety of ingredients to enhance the flavor and texture of your ice cream. Try adding a splash of vanilla extract for a hint of sweetness, a spoonful of nut butter for added creaminess, or a handful of chocolate chips for a delightful indulgence.
Mixing in Additional Flavors and Ingredients
Now that you have mastered the art of making delicious and creamy banana ice cream with your Ninja Creami, it’s time to take your dessert game to the next level by adding in some extra flavors and ingredients.
1. Vanilla Extract: Adding a dash of vanilla extract to your banana ice cream can elevate its flavor profile and give it a delightful hint of sweetness. Simply pour a small amount of vanilla extract into the blender along with the frozen bananas and blend until smooth. You’ll be amazed at how this simple addition can transform your banana ice cream into a gourmet treat.
2. Nut Butter: If you’re a fan of nutty flavors, why not try incorporating some nut butter into your banana ice cream? Peanut butter, almond butter, or even hazelnut spread can add a rich and creamy texture to your dessert. Just drizzle a spoonful or two of your favorite nut butter into the blender and blend until well combined. The result? A velvety smooth banana ice cream with a delectable nutty twist.
3. Chocolate Chips: For all the chocolate lovers out there, adding some chocolate chips to your banana ice cream can create a delightful combination of flavors and textures. Whether you prefer dark chocolate, milk chocolate, or even white chocolate, simply sprinkle a generous handful of chocolate chips into the blender and give it a quick pulse to incorporate them into the creamy mixture. Each spoonful will be a heavenly blend of creamy banana and decadent chocolate.
4. Fresh Fruit: Want to add a burst of freshness to your banana ice cream? Try tossing in some fresh fruit of your choice. Sliced strawberries, chunks of pineapple, or even blueberries can add a refreshing twist to your dessert. Simply add the desired amount of fresh fruit into the blender and blend until smooth. You’ll not only enhance the taste but also add a pop of color to your banana ice cream.
Freezing and Storing Your Homemade Banana Ice Cream
Now that you’ve made your delicious homemade banana ice cream with the Ninja Creami, it’s time to learn how to properly freeze and store it. By following these simple steps, you can ensure that your ice cream stays fresh and ready to enjoy whenever you crave a sweet treat.
- Transfer the ice cream to an airtight container: After blending your banana ice cream to a smooth and creamy consistency, transfer it to a container with a tight-fitting lid. This will help prevent freezer burn and maintain the freshness of the ice cream.
- Place the container in the freezer: Once your banana ice cream is safely stored in the airtight container, place it in the freezer. Make sure to leave enough space around the container for proper airflow, which will help the ice cream freeze evenly.
- Label and date the container: To avoid confusion and ensure that you use your banana ice cream before it loses its quality, label the container with the date you made it. This will help you keep track of how long it has been in the freezer.
- Store the ice cream at the optimal temperature: Set your freezer to a temperature of around -18°C (-0.4°F) to maintain the quality and texture of the banana ice cream. This temperature will prevent the ice cream from melting and refreezing, which can lead to ice crystals forming and affecting its smoothness.
- Consume within a reasonable timeframe: While homemade banana ice cream can be stored in the freezer for a few weeks, it’s best to consume it within the first month for the best flavor and texture. The longer it stays in the freezer, the more ice crystals can form, affecting the overall quality of the ice cream.

Remember, homemade banana ice cream is best enjoyed fresh, so try to make smaller batches that you can finish within a reasonable timeframe. This way, you can savor the natural sweetness and creaminess of the bananas to the fullest.
By following these guidelines, you can enjoy the delightful taste of your homemade banana ice cream whenever you want. So get ready to indulge in this healthy and customizable treat made with the Ninja Creami.
Conclusion
Now that you have all the tips and instructions for making delicious banana ice cream with the Ninja Creami, you’re well-equipped to create your own homemade frozen treat. By choosing ripe bananas and using frozen ones, you’ll achieve a thick and creamy texture that is sure to satisfy your cravings. The Ninja Creami makes the process even easier, allowing you to whip up your ice cream in no time.
Don’t forget to get creative with your flavors and toppings! Whether you prefer adding chocolate chips, nuts, or a drizzle of caramel, the possibilities are endless. Making your own banana ice cream gives you the freedom to customize it to your liking.
Lastly, remember to properly store your homemade ice cream to keep it fresh and delicious. By following the guidelines provided, you can enjoy your banana ice cream for days to come. Say goodbye to store-bought options and hello to a healthier and tastier alternative!

So, grab your Ninja Creami, gather your ingredients, and get ready to indulge in the creamy goodness of homemade banana ice cream. It’s time to take your frozen treat game to the next level!


