Are you craving a delicious homemade treat? Look no further than this mouthwatering recipe for banana bread with self-rising flour. If you have some ripe bananas sitting on your kitchen counter, it’s time to put them to good use. With just a few simple ingredients and a little bit of time, you’ll have a warm and fragrant loaf of banana bread ready to enjoy. Whether you’re a seasoned baker or a beginner in the kitchen, this recipe is sure to be a hit.
There’s something truly comforting about the aroma of freshly baked banana bread filling your home. And with this recipe, you won’t have to worry about the hassle of measuring out baking powder and salt. By using self-rising flour, you can skip a few steps and still achieve a perfectly fluffy and moist loaf. So grab your mixing bowl and get ready to create a delightful treat that will have your taste buds singing with joy.
Gathering the Ingredients

Now that you’re ready to embark on your banana bread baking adventure, let’s start by gathering the essential ingredients. Don’t worry, you won’t need anything too fancy or hard to find. Here’s what you’ll need:
- Bananas: The star of the show! Make sure you have some ripe bananas on hand. The riper they are, the sweeter and more flavorful your banana bread will be. Look for bananas with brown spots on the skin – these are perfect for baking.
- Self-rising flour: This is the secret ingredient that will make your banana bread rise beautifully without the need for measuring out baking powder and salt separately. It’s a time-saving hack that ensures a fluffy and moist loaf every time.
- Sugar: You’ll need some granulated sugar to sweeten your banana bread. You can adjust the amount according to your taste preferences. If you like it a bit less sweet, you can even substitute some of the sugar with honey or maple syrup for a natural twist.
- Butter: Unsalted butter works best for this recipe. Make sure it’s softened to room temperature so it can be easily mixed with the other ingredients.
- Eggs: You’ll need a couple of eggs to bind everything together and give your banana bread structure. Make sure they’re at room temperature for the best results.
- Vanilla extract: Just a teaspoon of vanilla extract will add a lovely aroma and flavor to your banana bread. It’s a small touch that makes a big difference.
- Optional add-ins: If you’re feeling adventurous, you can add some extra flavor and texture to your banana bread. Consider tossing in some chocolate chips, chopped nuts, or even dried fruit like raisins or cranberries.
Now that you have all your ingredients ready, it’s time to roll up your sleeves and get baking! Let’s move on to the next step: mixing the batter.
Preparing the Batter
Now that you have gathered all your ingredients, it’s time to start preparing the batter for your delicious banana bread. Follow these simple steps to create a moist and fluffy loaf that will have everyone asking for seconds.
Step 1: Mash the Bananas
Begin by peeling your ripe bananas and placing them in a large mixing bowl. Grab a fork or a potato masher and start mashing the bananas until they are smooth and free of lumps. This will not only help to incorporate the bananas evenly into the batter but also release their natural sweetness and flavor.
Step 2: Cream the Butter and Sugar
In a separate bowl, cream together the softened butter and sugar until light and fluffy. This step is crucial as it helps to incorporate air into the mixture, resulting in a lighter and more tender banana bread. You can use an electric mixer or simply a wooden spoon to achieve the desired consistency.
Step 3: Add the Eggs and Vanilla Extract
Once the butter and sugar are well combined, it’s time to add the eggs. Crack the eggs into the bowl and whisk them together with the butter-sugar mixture until fully incorporated. This will add richness and moisture to your banana bread. Don’t forget to add a splash of vanilla extract for that extra hint of flavor.
Step 4: Mix in the Dry Ingredients

It’s time to add the self-rising flour to the batter. Gradually add the flour to the wet ingredients, mixing gently until just combined. Be careful not to overmix, as this can result in a dense and tough banana bread. The self-rising flour already contains the perfect amount of baking powder and salt, ensuring a perfectly balanced rise and flavor.
Step 5: Optional Add-Ins
If you want to take your banana bread to the next level, now is the time to add any optional add-ins. Whether it’s chocolate chips, chopped nuts, or dried fruit, these extras will add bursts of flavor and texture to your banana bread. Gently fold them into the batter until evenly distributed.
And there you have it! The batter for your banana bread is now ready to be baked. But hold on, we’re not quite done yet. In the next section, we’ll talk about the baking process and how to achieve that perfectly golden and moist loaf. So keep reading and get ready to enjoy the delightful aroma of freshly baked banana bread filling your kitchen.
Baking the Banana Bread
Now that you have prepared the delicious banana bread batter, it’s time to bake it to perfection! The aroma of freshly baked banana bread will soon fill your kitchen, making your mouth water in anticipation. Follow these simple steps to ensure a fluffy and moist loaf that will have everyone coming back for seconds.
1. Preheat the Oven: Preheat your oven to 350°F (175°C) to ensure even cooking and a golden brown crust. This temperature is ideal for baking banana bread and will give you the best results.

« Master the Art of Hawaiian Banana Bread: Tips and Variations for a Delicious and Nutritious Treat
Delicious and Moist Banana Nut Bread Recipe with Almond Flour – Gluten-Free and Low-Carb »
2. Prepare the Pan: Grease a 9×5-inch loaf pan with butter or cooking spray to prevent the banana bread from sticking. This will ensure that your loaf comes out easily and looks picture-perfect.
3. Pour the Batter: Carefully pour the prepared banana bread batter into the greased loaf pan, spreading it evenly with a spatula. Make sure to scrape every last bit of the batter from the bowl to ensure no deliciousness goes to waste.
4. Add Optional Toppings: If you want to take your banana bread to the next level, now is the time to add any optional toppings. Sprinkle some chocolate chips, chopped nuts, or dried fruit on top of the batter for an extra burst of flavor and texture.
5. Bake to Perfection: Place the loaf pan in the preheated oven and let the magic happen. Bake for about 50-60 minutes or until a toothpick inserted into the center comes out clean. Keep an eye on the bread towards the end of the baking time to prevent it from becoming overly browned.
6. Cool and Enjoy: Once the banana bread is done baking, remove it from the oven and let it cool in the pan for about 10 minutes. This will allow the bread to set and make it easier to remove from the pan. After 10 minutes, transfer the loaf to a wire rack to cool completely.
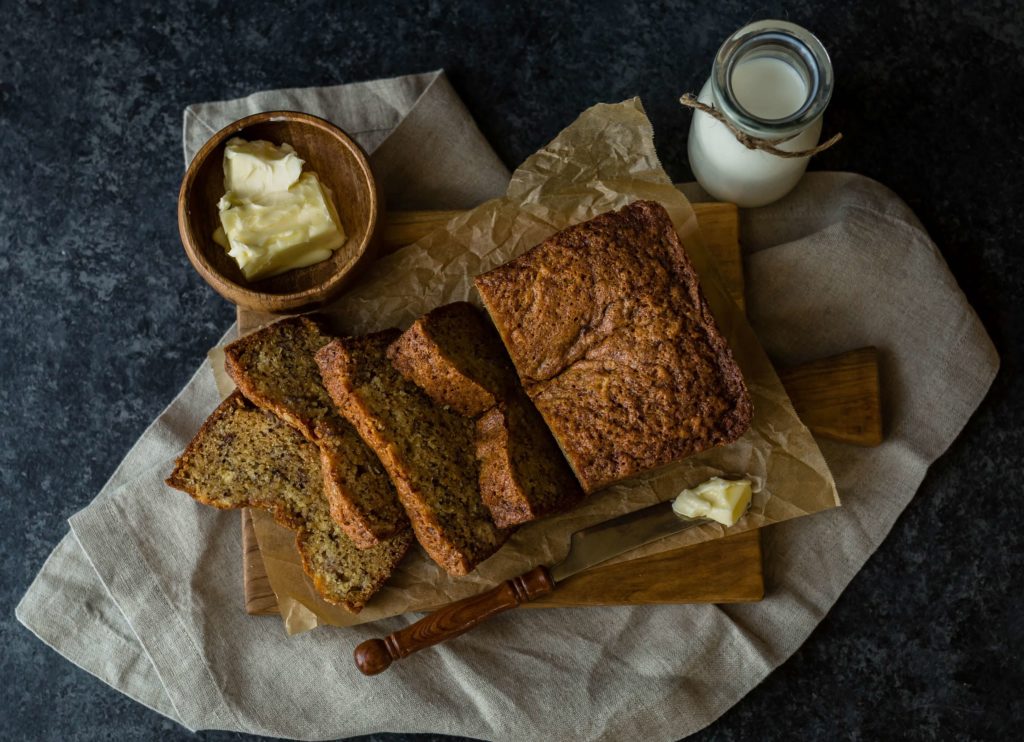
7. Slice and Indulge: Once the banana bread has cooled, it’s time to slice it and enjoy every delightful bite. The warm and comforting flavors of ripe bananas, the soft and tender texture, and the hint of sweetness will make you fall in love with this classic treat.
And there you have it – a delicious loaf of homemade banana bread ready to be devoured. Whether you enjoy it fresh out of the oven or toasted with a slather of butter, this recipe using
Tips for Baking with Self-Rising Flour
Baking with self-rising flour can be a game-changer when it comes to making delicious and fluffy banana bread. Here are a few tips to help you get the best results:
- No need to measure baking powder and salt: One of the biggest advantages of using self-rising flour is that it already contains the perfect amount of leavening agents, like baking powder and salt. This means you can skip the step of measuring them out separately, saving you time and effort.
- Adjust your other ingredients: Since self-rising flour already contains salt, make sure to reduce the amount of salt in your recipe if it calls for it. Additionally, keep in mind that self-rising flour may affect the overall texture and rise of your baked goods, so it’s important to follow a recipe specifically designed for self-rising flour or make appropriate adjustments.
- Handle with care: When working with self-rising flour, it’s important not to overmix the batter. Overmixing can lead to a tougher texture in your final baked goods. Mix the ingredients just until they are combined to achieve a soft and tender banana bread.
- Check for freshness: Like any other ingredient, self-rising flour can lose its potency over time. Before using it, make sure to check the expiration date on the package. If your self-rising flour is expired, it’s best to replace it to ensure optimal results.
- Experiment with flavors: While self-rising flour is a convenient option, it may not work for every recipe. If you want to experiment with different flavors or textures, feel free to use all-purpose flour and add your own leavening agents, such as baking powder and salt, to achieve the desired results.
Conclusion
Now that you have all the information you need, you can confidently whip up a delicious banana bread using self-rising flour. By following the recipe provided, you’ll save time and effort by skipping the step of measuring out baking powder and salt. Remember to adjust the other ingredients accordingly to ensure the perfect balance of flavors.

When working with self-rising flour, it’s important to handle the batter with care, as overmixing can lead to a dense and tough texture. Additionally, always check the freshness of your self-rising flour to ensure the best results.
Feel free to get creative with your banana bread by experimenting with different flavors. You can add a handful of chocolate chips or chopped nuts for some extra crunch and indulgence.
With the step-by-step instructions provided in this article, you’ll be able to bake a moist and flavorful banana bread that will impress your family and friends. So go ahead, preheat that oven, gather your ingredients, and get ready to enjoy a slice of homemade goodness. Happy baking!


