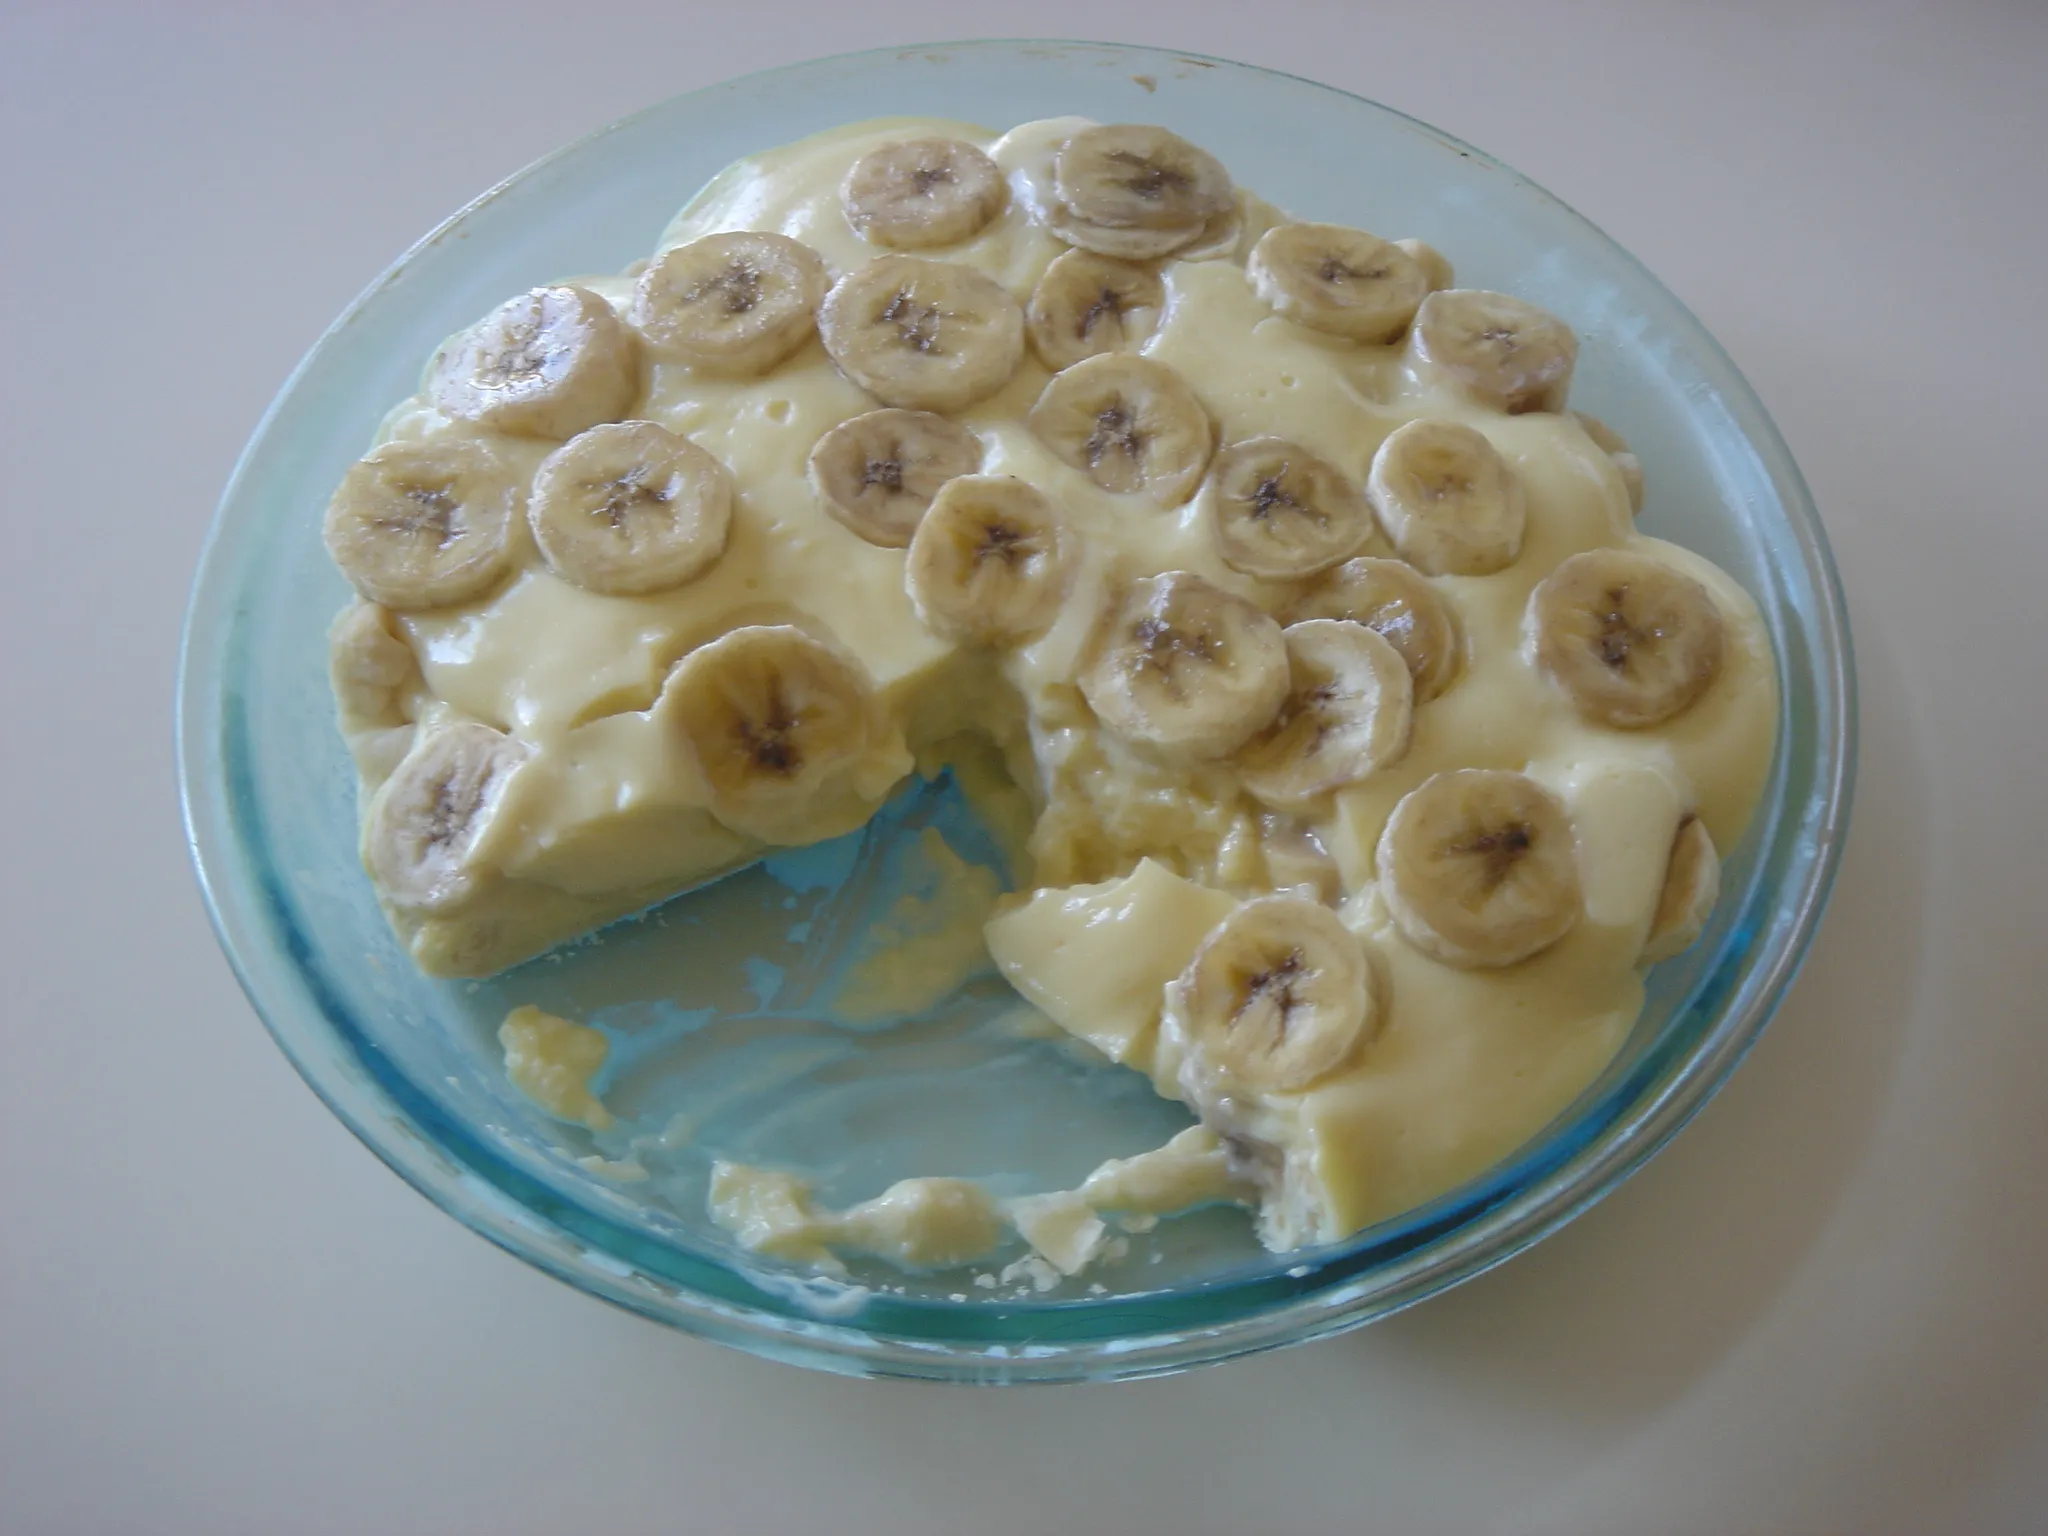
Are you craving a delicious homemade dessert that will make your taste buds dance with joy? Look no further than the classic nilla wafers banana pudding recipe from scratch. This delightful treat combines layers of creamy pudding, ripe bananas, and the irresistible crunch of nilla wafers. Whether you’re serving it at a family gathering or indulging in a sweet treat for yourself, this recipe is sure to become a favorite. So, grab your apron and let’s get started on this mouthwatering dessert adventure!
There’s something truly special about making a dessert from scratch, and this nilla wafers banana pudding recipe is no exception. By taking the time to create each layer with love and care, you’ll be rewarded with a dessert that is bursting with flavor. The combination of velvety smooth pudding, sweet bananas, and the buttery crunch of nilla wafers creates a symphony of taste that will leave you wanting more. So, get ready to impress your loved ones with this homemade delight that will have them asking for seconds!
Ingredients

To make the delicious nilla wafers banana pudding from scratch, you’ll need the following ingredients:
- 2 cups of whole milk: The creamy base for the pudding.
- 3/4 cup of granulated sugar: Adds sweetness to the pudding.
- 1/4 cup of cornstarch: Helps thicken the pudding.
- 1/4 teaspoon of salt: Balances out the flavors.
- 4 large egg yolks: Gives the pudding a rich and velvety texture.
- 2 tablespoons of unsalted butter: Adds a touch of richness.
- 1 teaspoon of vanilla extract: Enhances the flavor of the pudding.
- 3 ripe bananas: Provides the perfect amount of sweetness and a hint of natural banana flavor.
- 1 box of nilla wafers: The classic crunchy and buttery cookie that adds a delightful texture to the pudding.
Now that you have all the ingredients ready, let’s move on to the next step in creating this delectable nilla wafers banana pudding from scratch.
Step 1: Making the Nilla Wafers
Now that you have gathered all the necessary ingredients, it’s time to dive into the first step of making the delicious nilla wafers for your banana pudding. Making the wafers from scratch adds a homemade touch and enhances the overall flavor of the dessert.
Here’s how you can make the perfect nilla wafers:
- Preheat your oven to 350°F (175°C) and line a baking sheet with parchment paper.
- In a medium-sized bowl, whisk together 1 cup of all-purpose flour, 1/2 teaspoon of baking powder, and 1/4 teaspoon of salt. This will ensure that your wafers have the right texture and taste.
- In a separate bowl, cream together 1/2 cup of unsalted butter and 1/2 cup of granulated sugar until light and fluffy. This step is crucial as it creates a smooth and buttery base for the wafers.
- Add 1 large egg and 1 teaspoon of vanilla extract to the butter mixture. Mix until well combined.
- Gradually add the flour mixture to the butter mixture, mixing until a soft dough forms. Be careful not to overmix as it can result in tough wafers.
- Scoop teaspoon-sized portions of dough and roll them into small balls. Place the balls onto the prepared baking sheet, leaving enough space between each one.
- Using the back of a fork, gently press down on each dough ball to flatten it slightly. This will create the classic crisscross pattern on the wafers.
- Bake the wafers for about 10-12 minutes or until they turn golden brown around the edges.
- Remove the baking sheet from the oven and let the wafers cool completely before using them in your banana pudding.
Congratulations! You have successfully made the homemade nilla wafers for your banana pudding. These crispy, buttery wafers will add the perfect texture and flavor to your dessert. Now, it’s time to move on to the next step and assemble the rest of the pudding.
Step 2: Making the Banana Pudding
Now that you have mastered the art of making homemade nilla wafers, it’s time to move on to the next step: making the delicious banana pudding. This is where the magic happens and all the flavors come together to create a mouthwatering dessert that will leave you craving for more.
To start, gather all the ingredients you will need for the banana pudding: whole milk, granulated sugar, cornstarch, salt, egg yolks, unsalted butter, vanilla extract, ripe bananas, and of course, nilla wafers. Having everything ready will make the process much smoother and enjoyable.
Begin by whisking together the milk, sugar, cornstarch, and salt in a saucepan over medium heat. Keep stirring until the mixture starts to thicken and bubble. This will be the base of our creamy pudding.
Next, in a separate bowl, whisk the egg yolks until they are well combined. Slowly pour a little bit of the hot milk mixture into the egg yolks, whisking constantly. This step is called tempering and it prevents the eggs from curdling when added to the hot mixture.
Pour the tempered egg yolks back into the saucepan with the milk mixture and continue cooking over medium heat. Stir constantly until the pudding thickens to a custard-like consistency. This usually takes about 5 minutes, so be patient and keep stirring.

Once the pudding is thick and smooth, remove the saucepan from heat and add the unsalted butter and vanilla extract. Stir until the butter is completely melted and incorporated into the pudding. This will give the pudding a rich and velvety texture.
It’s time to assemble the banana pudding. Start by layering a third of the nilla wafers at the bottom of a serving dish. Follow with a layer of sliced ripe bananas, and then top it off with a generous amount of the warm pudding. Repeat the layers until all the ingredients are used, ending with a layer of pudding on top.
If you want to add a decorative touch, you can garnish the pudding with a few extra nilla wafers or some freshly sliced bananas. Refrigerate the banana pudding for at least 2 hours to allow the flavors to meld together and the pudding to set.
And there you have it – a delectable nilla wafers banana pudding made entirely from scratch. The combination of the creamy
Step 3: Layering the Nilla Wafers and Banana Pudding
Now that you’ve made the perfect nilla wafers from scratch and whipped up a creamy batch of banana pudding, it’s time to bring it all together in a mouthwatering dessert. Get ready to layer the luscious pudding with the crunchy wafers and sweet slices of ripe banana.
To start, grab a deep dish or trifle bowl that will showcase the beautiful layers of this dessert. Begin by arranging a single layer of nilla wafers on the bottom of the dish. Make sure to cover the entire surface to create a sturdy base for the rest of the layers.

« Enhance the Flavor and Appearance of Banana Bread with this Icing Recipe
Delicious Banana-Free Green Smoothie Recipe: Alternative Ingredients for Creaminess and Sweetness »
Next, it’s time to add a layer of the velvety banana pudding. Gently pour a generous amount of the pudding mixture over the nilla wafers, ensuring that every cookie is covered. Use a spatula to spread the pudding evenly and create a smooth surface.
Now comes the fun part – adding the sliced bananas! Take ripe, yellow bananas and cut them into thin slices. Place a layer of banana slices on top of the pudding, covering the entire surface. The sweet, creamy banana flavor will perfectly complement the rich pudding and crunchy wafers.
Repeat the layering process until you run out of ingredients or reach the top of the dish. The number of layers will depend on the size of your dish and your personal preference. Some people prefer more pudding, while others love an extra dose of nilla wafers.
To finish off this delectable dessert, sprinkle some crushed nilla wafers on the top layer. This will add an extra crunch and a decorative touch to your masterpiece.
Once you’ve layered everything, cover the dish with plastic wrap and refrigerate it for at least 2 hours. This will allow the flavors to meld together and the pudding to set.
Remember, patience is key when it comes to this dessert. The longer it chills, the better the flavors will marry, resulting in a truly irresistible treat.
Step 4: Refrigerating and Serving
Now that you’ve successfully layered the nilla wafers and banana pudding, it’s time to refrigerate and serve this delectable dessert. This step is crucial as it allows the flavors to meld together and the pudding to set, resulting in a creamy and luscious treat. Here’s what you need to know:
- Refrigerating: Place the dish of nilla wafers banana pudding in the refrigerator for at least 2 hours. This will give the dessert enough time to chill and for the flavors to develop. The cold temperature will also help the pudding set, giving it a smooth and velvety texture.
- Flavor Enhancement: The refrigeration process allows the flavors to mingle and intensify. The creamy pudding will absorb the sweetness from the bananas and the buttery goodness from the nilla wafers. This infusion of flavors creates a harmonious blend that will delight your taste buds.
- Garnishing: Just before serving, take the dish out of the refrigerator and add a final touch to elevate the presentation. Sprinkle some crushed nilla wafers on the top layer of the pudding. This not only adds a delightful crunch but also adds visual appeal to the dessert.
- Serving: Using a serving spoon or spatula, carefully portion out the nilla wafers banana pudding into individual servings. Make sure to scoop all the layers to ensure that each serving gets a taste of the creamy pudding, ripe bananas, and crunchy wafers. Serve the dessert chilled for the ultimate indulgence.
Remember, the longer you refrigerate the nilla wafers banana pudding, the more the flavors will develop and meld together. So, if you can resist the temptation, allowing the dessert to sit in the refrigerator overnight will result in an even more flavorful and satisfying treat.
Now that you know how to refrigerate and serve the nilla wafers banana pudding, you can impress your loved ones with this homemade delight. Enjoy the creamy goodness and savor every bite of this classic dessert.
Conclusion

Now that you have learned how to make the classic nilla wafers banana pudding recipe from scratch, you can enjoy the creamy goodness of this homemade delight. Impress your loved ones with this delicious dessert that combines smooth pudding, sweet bananas, and buttery nilla wafers. The process of making this dessert from scratch adds a special touch and creates a burst of flavor that will leave you wanting more.
By following the simple steps outlined in this article, you can create a perfect treat for family gatherings or indulge in a sweet treat for yourself. Layering the nilla wafers and banana pudding creates a luscious and creamy texture, while the addition of ripe bananas adds a natural sweetness. Sprinkling crushed nilla wafers on top provides a satisfying crunch and visual appeal.
Remember to refrigerate the dessert for at least 2 hours, or even overnight, to allow the flavors to meld together and the pudding to set. This step enhances the overall taste and creates a truly delightful experience. Serve the chilled dessert in individual portions, making sure to scoop all the layers for a taste of the creamy pudding, ripe bananas, and crunchy wafers.
Now that you have mastered this homemade delight, get ready to enjoy the classic nilla wafers banana pudding recipe from scratch and delight your taste buds with every mouthful.


