Are you tired of letting your overripe bananas go to waste? Well, we have the perfect solution for you – banana vinegar! In this article, we’ll show you how to make a delicious and versatile banana vinegar recipe that you can use in a variety of dishes. Whether you’re a seasoned chef or a beginner in the kitchen, this recipe is simple and easy to follow. So, let’s get started and turn those brown bananas into a tangy and flavorful vinegar that will elevate your culinary creations!
Banana vinegar is not only a great way to use up those overripe bananas, but it also adds a unique twist to your dishes. With its sweet and tangy flavor, banana vinegar can be used in salad dressings, marinades, and even desserts. Plus, it’s packed with nutrients like potassium, vitamin C, and dietary fiber. So, by making your own banana vinegar, you’ll not only reduce food waste but also add a healthy and delicious ingredient to your pantry.
Benefits of Banana Vinegar

Banana vinegar is not only a delicious addition to your pantry, but it also offers several health benefits. Here are some reasons why you should consider adding banana vinegar to your diet:
- Rich in Nutrients: Banana vinegar is packed with essential vitamins and minerals, including potassium, vitamin C, and vitamin B6. These nutrients play a crucial role in maintaining optimal health and supporting various bodily functions.
- Boosts Digestion: The natural enzymes found in banana vinegar can aid in digestion. They help break down food and improve nutrient absorption, leading to better digestion and reduced bloating.
- Supports Weight Loss: If you’re looking to shed some pounds, banana vinegar can be a great addition to your weight loss journey. It contains acetic acid, which has been shown to suppress appetite and improve metabolism, helping you feel fuller for longer and burn calories more efficiently.
- Regulates Blood Sugar: The low glycemic index of bananas makes banana vinegar a suitable choice for individuals with diabetes or those looking to manage their blood sugar levels. It helps regulate blood glucose levels and prevents spikes, promoting overall blood sugar control.
- Promotes Heart Health: Potassium, a key nutrient found in banana vinegar, plays a vital role in maintaining a healthy heart. It helps regulate blood pressure, reduces the risk of heart disease, and supports cardiovascular health.
- Boosts Immunity: The vitamin C content in banana vinegar can strengthen the immune system and protect against common illnesses. It acts as an antioxidant, neutralizing harmful free radicals and boosting the body’s defense mechanisms.
Ingredients for Banana Vinegar Recipe
Are you ready to embark on a culinary adventure with bananas? Let’s dive into the world of banana vinegar and discover the incredible flavors and health benefits it has to offer. To get started, here are the key ingredients you’ll need for this banana vinegar recipe:
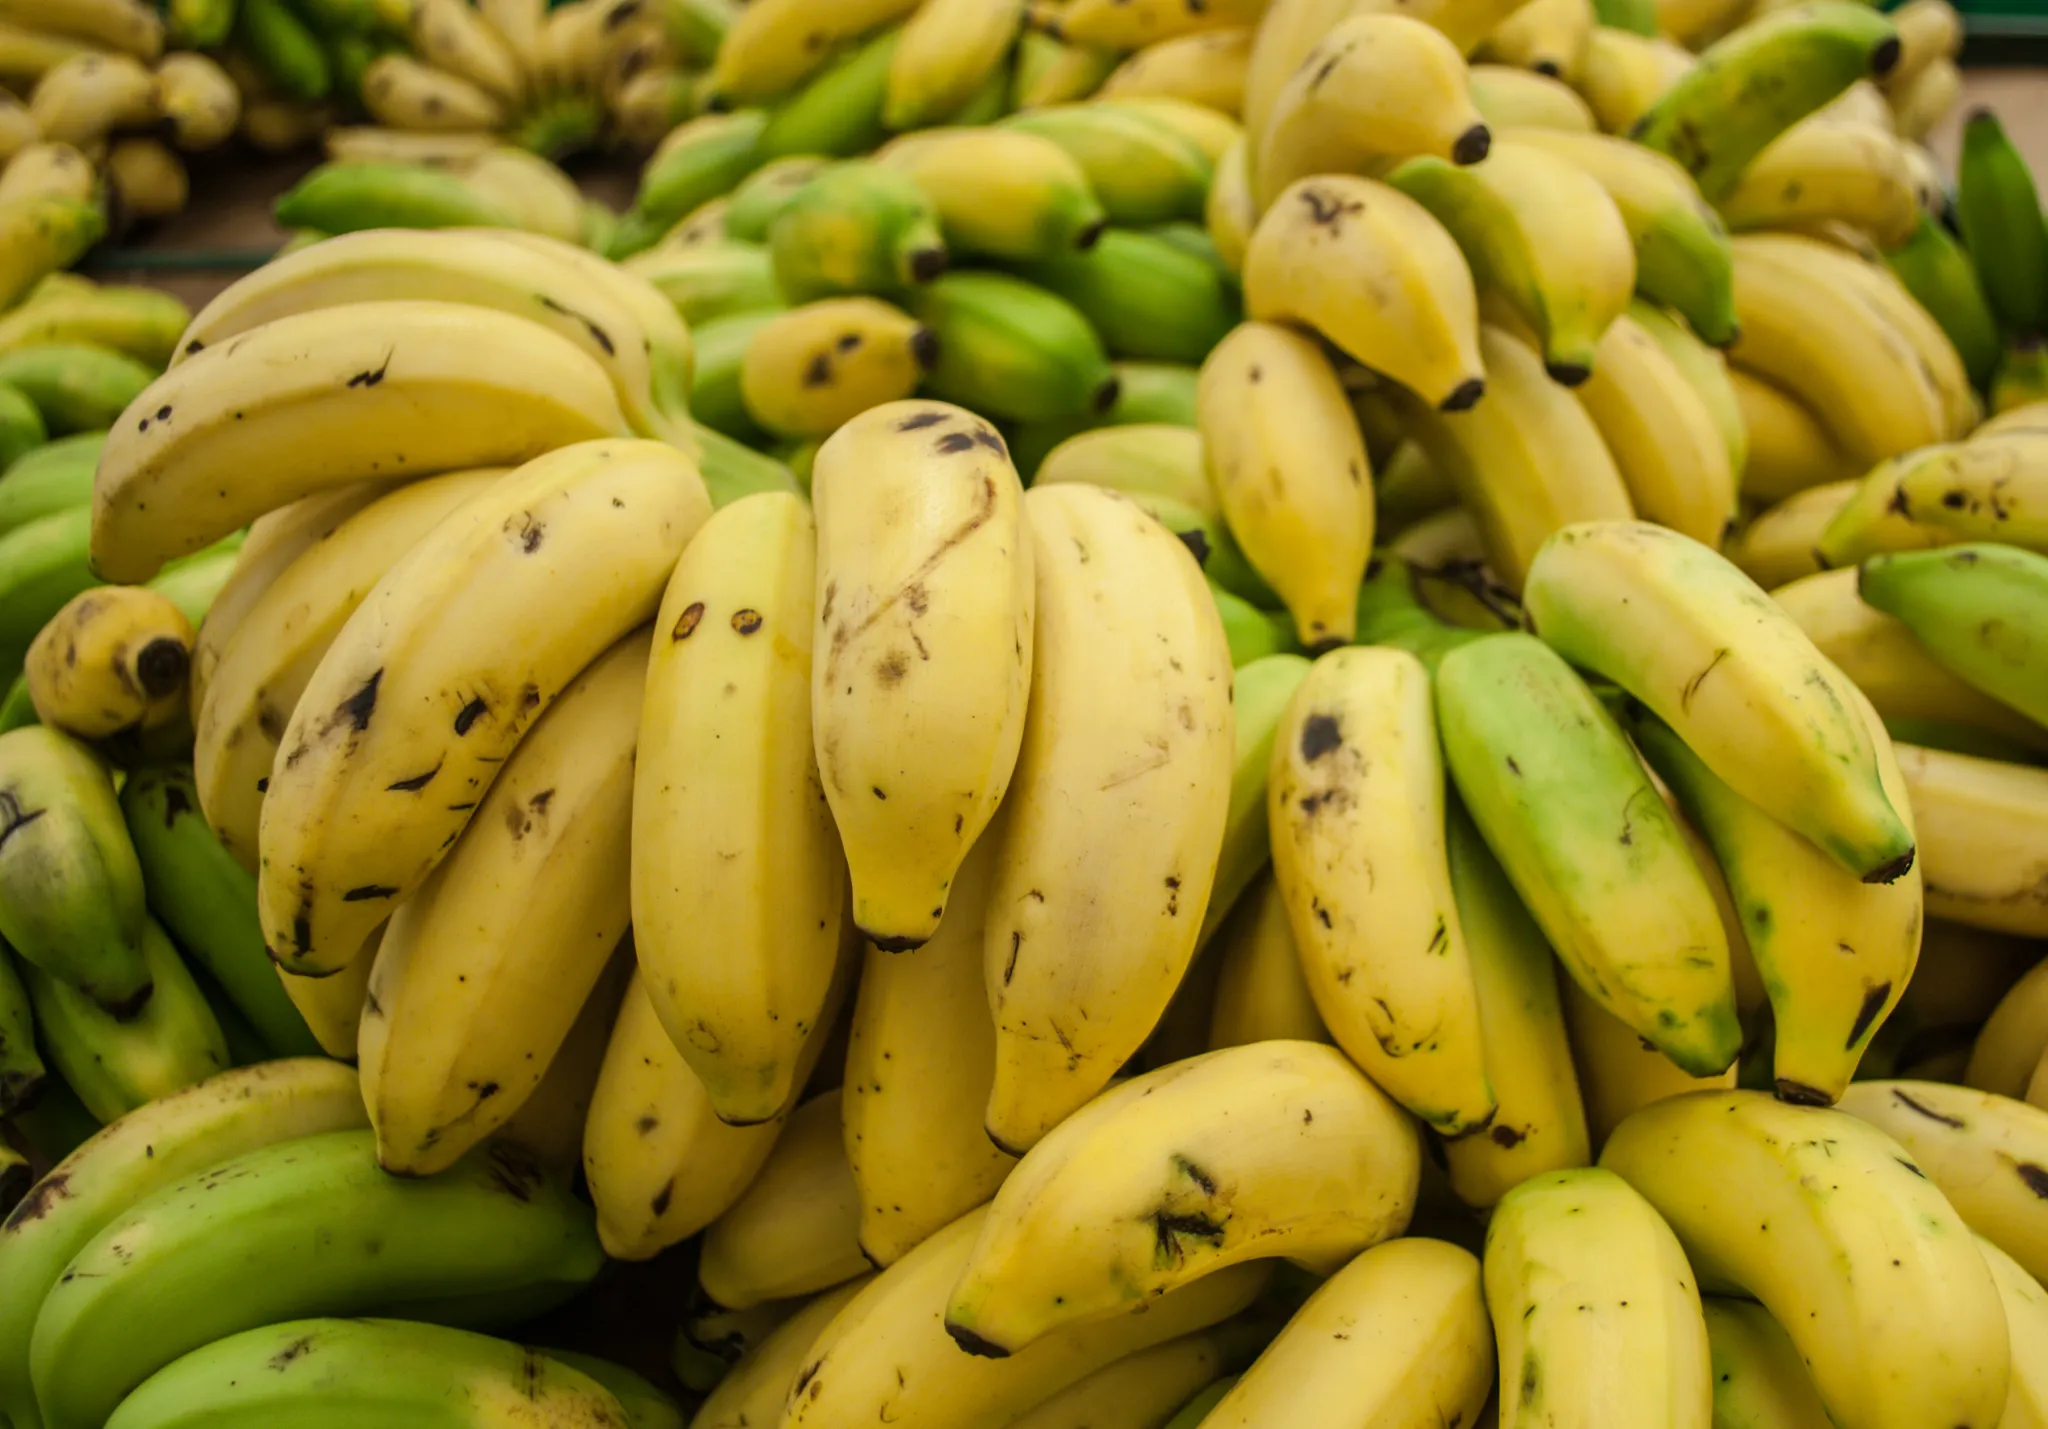
- Ripe bananas: Choose bananas that are yellow with a few brown spots. The riper the bananas, the sweeter and more flavorful your vinegar will be.
- Water: You’ll need water to create the base for your vinegar. Make sure it’s filtered or distilled water to ensure the best taste.
- Sugar: This ingredient is essential for the fermentation process. It provides food for the bacteria that will convert the bananas into vinegar. You can use regular white sugar or opt for healthier alternatives like honey or maple syrup.
- Vinegar mother: This is a culture of bacteria and yeast that kickstarts the fermentation process. You can find vinegar mothers at specialty stores or online. Alternatively, you can use a small amount of unpasteurized, unfiltered vinegar as a starter.
That’s it! With just these four simple ingredients, you’ll be well on your way to making your own delicious and nutritious banana vinegar. Now, let’s move on to the next step: the process of making banana vinegar.
Step-by-step process to make banana vinegar
Are you ready to embark on a culinary adventure with bananas? Get ready to explore the world of banana vinegar! In this section, we’ll guide you through the step-by-step process of making your own banana vinegar. It’s a fun and rewarding project that will not only reduce food waste but also add a unique and delicious ingredient to your kitchen.
Step 1: Gather your ingredients
Before you start, make sure you have all the necessary ingredients. For this recipe, you’ll need:
- Ripe bananas: Choose bananas that are fully ripe, as they will have a more intense flavor.
- Water: You’ll need water to create the banana mash.
- Sugar: This will help kickstart the fermentation process.
- Vinegar mother: This is the key ingredient that will transform your banana mash into vinegar. You can find vinegar mother at specialty stores or online.
Step 2: Prepare the banana mash
Peel the ripe bananas and mash them in a bowl. You can use a fork or a blender to achieve a smooth consistency. Once you have a well-mashed banana mixture, transfer it to a clean glass jar.
Step 3: Add the water and sugar
To help the fermentation process, add water and sugar to the banana mash. The ratio should be 2 parts water to 1 part sugar. Stir well to ensure the sugar is dissolved.

Step 4: Introduce the vinegar mother
Now it’s time to introduce the star of the show – the vinegar mother. Add the vinegar mother to the banana mixture and give it a gentle stir.
Step 5: Cover and wait
Cover the glass jar with a clean cloth or paper towel, securing it with a rubber band. Place the jar in a cool, dark place and let it sit for about 2-3 weeks. During this time, the fermentation process will take place, turning the banana mash into vinegar.
Step 6: Strain and store
After 2-3 weeks, it’s time to strain your banana vinegar. Use a fine-mesh strainer or cheesecloth to separate the vinegar from the solids. Transfer the vinegar to a clean glass jar or bottle for storage.

« Classic Banana Pudding Recipe: Delicious and Nostalgic Dessert
Delicious and Moist Banana Bread Recipe with Oil »
Congratulations! You’ve successfully made your own banana vinegar. It’s now ready to be used in a variety of recipes, from salad dressings to marinades and even desserts. Get creative and enjoy the unique flavor that banana vinegar
Fermenting and Aging the Banana Vinegar
Now that you have prepared the banana mash and added water and sugar, it’s time to move on to the next step: fermenting and aging the banana vinegar. This is where the magic happens and the flavors develop, resulting in a tangy and aromatic vinegar that you can use in a variety of dishes.
Step 1: Introducing the Vinegar Mother
The vinegar mother is a culture of bacteria and yeast that initiates the fermentation process and transforms the alcohol in the mixture into acetic acid, giving the vinegar its distinct flavor. You can find vinegar mothers at specialty stores or online, or you can use a small amount of raw, unfiltered vinegar as a starter.
Step 2: Adding the Vinegar Mother
Once you have your vinegar mother, carefully add it to the banana mash mixture. Give it a gentle stir to ensure that it is well-distributed. The vinegar mother will start working its magic by converting the sugars in the mixture into alcohol.
Step 3: Allowing the Mixture to Ferment
Cover the container with a cheesecloth or a kitchen towel and secure it with a rubber band. This allows air to circulate while keeping out any unwanted contaminants. Place the container in a cool, dark place, like a pantry or a cupboard, and let it sit undisturbed for about 2-3 weeks. During this time, the mixture will undergo fermentation, gradually transforming into vinegar.
Step 4: Checking for Fermentation

After 2-3 weeks, it’s time to check if the fermentation process is complete. Carefully remove the cheesecloth or kitchen towel and give the mixture a gentle sniff. If it smells vinegary and acidic, then it’s ready. If it still has a sweet smell, allow it to ferment for a few more days until the desired acidity is achieved.
Step 5: Straining and Aging the Vinegar
Using a fine mesh strainer or a cheesecloth, strain the mixture to remove any solids, such as banana pulp or vinegar mother. Transfer the strained vinegar into a clean glass bottle or jar with an airtight lid. Place it back in the cool, dark place and allow it to age for a minimum of 2-3 weeks. This aging process will further enhance the flavor and complexity of the vinegar.
And there you have it! Your homemade banana vinegar is now ready to be used in your
Storing and Using Banana Vinegar
Now that you’ve successfully made your own banana vinegar, it’s time to learn how to store it properly and incorporate it into your cooking. Here are some tips on storing and using banana vinegar:
Storing Banana Vinegar
- Transfer the banana vinegar into a clean, airtight glass jar or bottle. Make sure the container is sterilized to prevent any unwanted bacteria from contaminating the vinegar.
- Store the banana vinegar in a cool, dark place, such as a pantry or cupboard. Exposure to light and heat can degrade the quality of the vinegar.
- Keep the container tightly sealed to maintain the freshness and flavor of the vinegar.
- Banana vinegar can be stored for up to 6 months, but it’s best used within the first few months to enjoy its optimal taste and aroma.
Using Banana Vinegar in Recipes
- Banana vinegar adds a unique tangy flavor to a wide range of dishes. It can be used as a substitute for other vinegar varieties or as an ingredient to enhance the taste of your favorite recipes.
- Use banana vinegar to make delicious salad dressings. Its fruity undertones complement various salad ingredients, such as leafy greens, fruits, and nuts.
- Add a splash of banana vinegar to marinades for grilled meats or vegetables. It tenderizes the ingredients while infusing them with a subtle sweetness.
- Incorporate banana vinegar into sauces and glazes for a touch of acidity and complexity. It pairs well with both savory and sweet flavors, making it a versatile ingredient in your culinary repertoire.
- Experiment with using banana vinegar in fruit-based desserts. It can elevate the taste of fruit compotes, jams, and even baked goods like banana bread.
Conclusion

Now that you have learned how to make banana vinegar, you have a versatile and delicious ingredient that can elevate your cooking. By following the step-by-step process outlined in this article, you can create your own banana vinegar at home, reducing food waste and adding a unique flavor to your dishes.
With just a few key ingredients, including ripe bananas, water, sugar, and vinegar mother, you can begin the fermentation process and transform your bananas into a tangy and flavorful vinegar. After allowing the mixture to ferment for a couple of weeks and straining it, your banana vinegar is ready to be used in a variety of recipes.
From salad dressings and marinades to sauces, glazes, and fruit-based desserts, the possibilities are endless with banana vinegar. It adds a delightful twist to your favorite dishes and can be a great way to experiment with new flavors in the kitchen.
So, why not give it a try? Start making your own banana vinegar today and enjoy the benefits of this homemade ingredient that is both healthy and delicious. Happy cooking!


