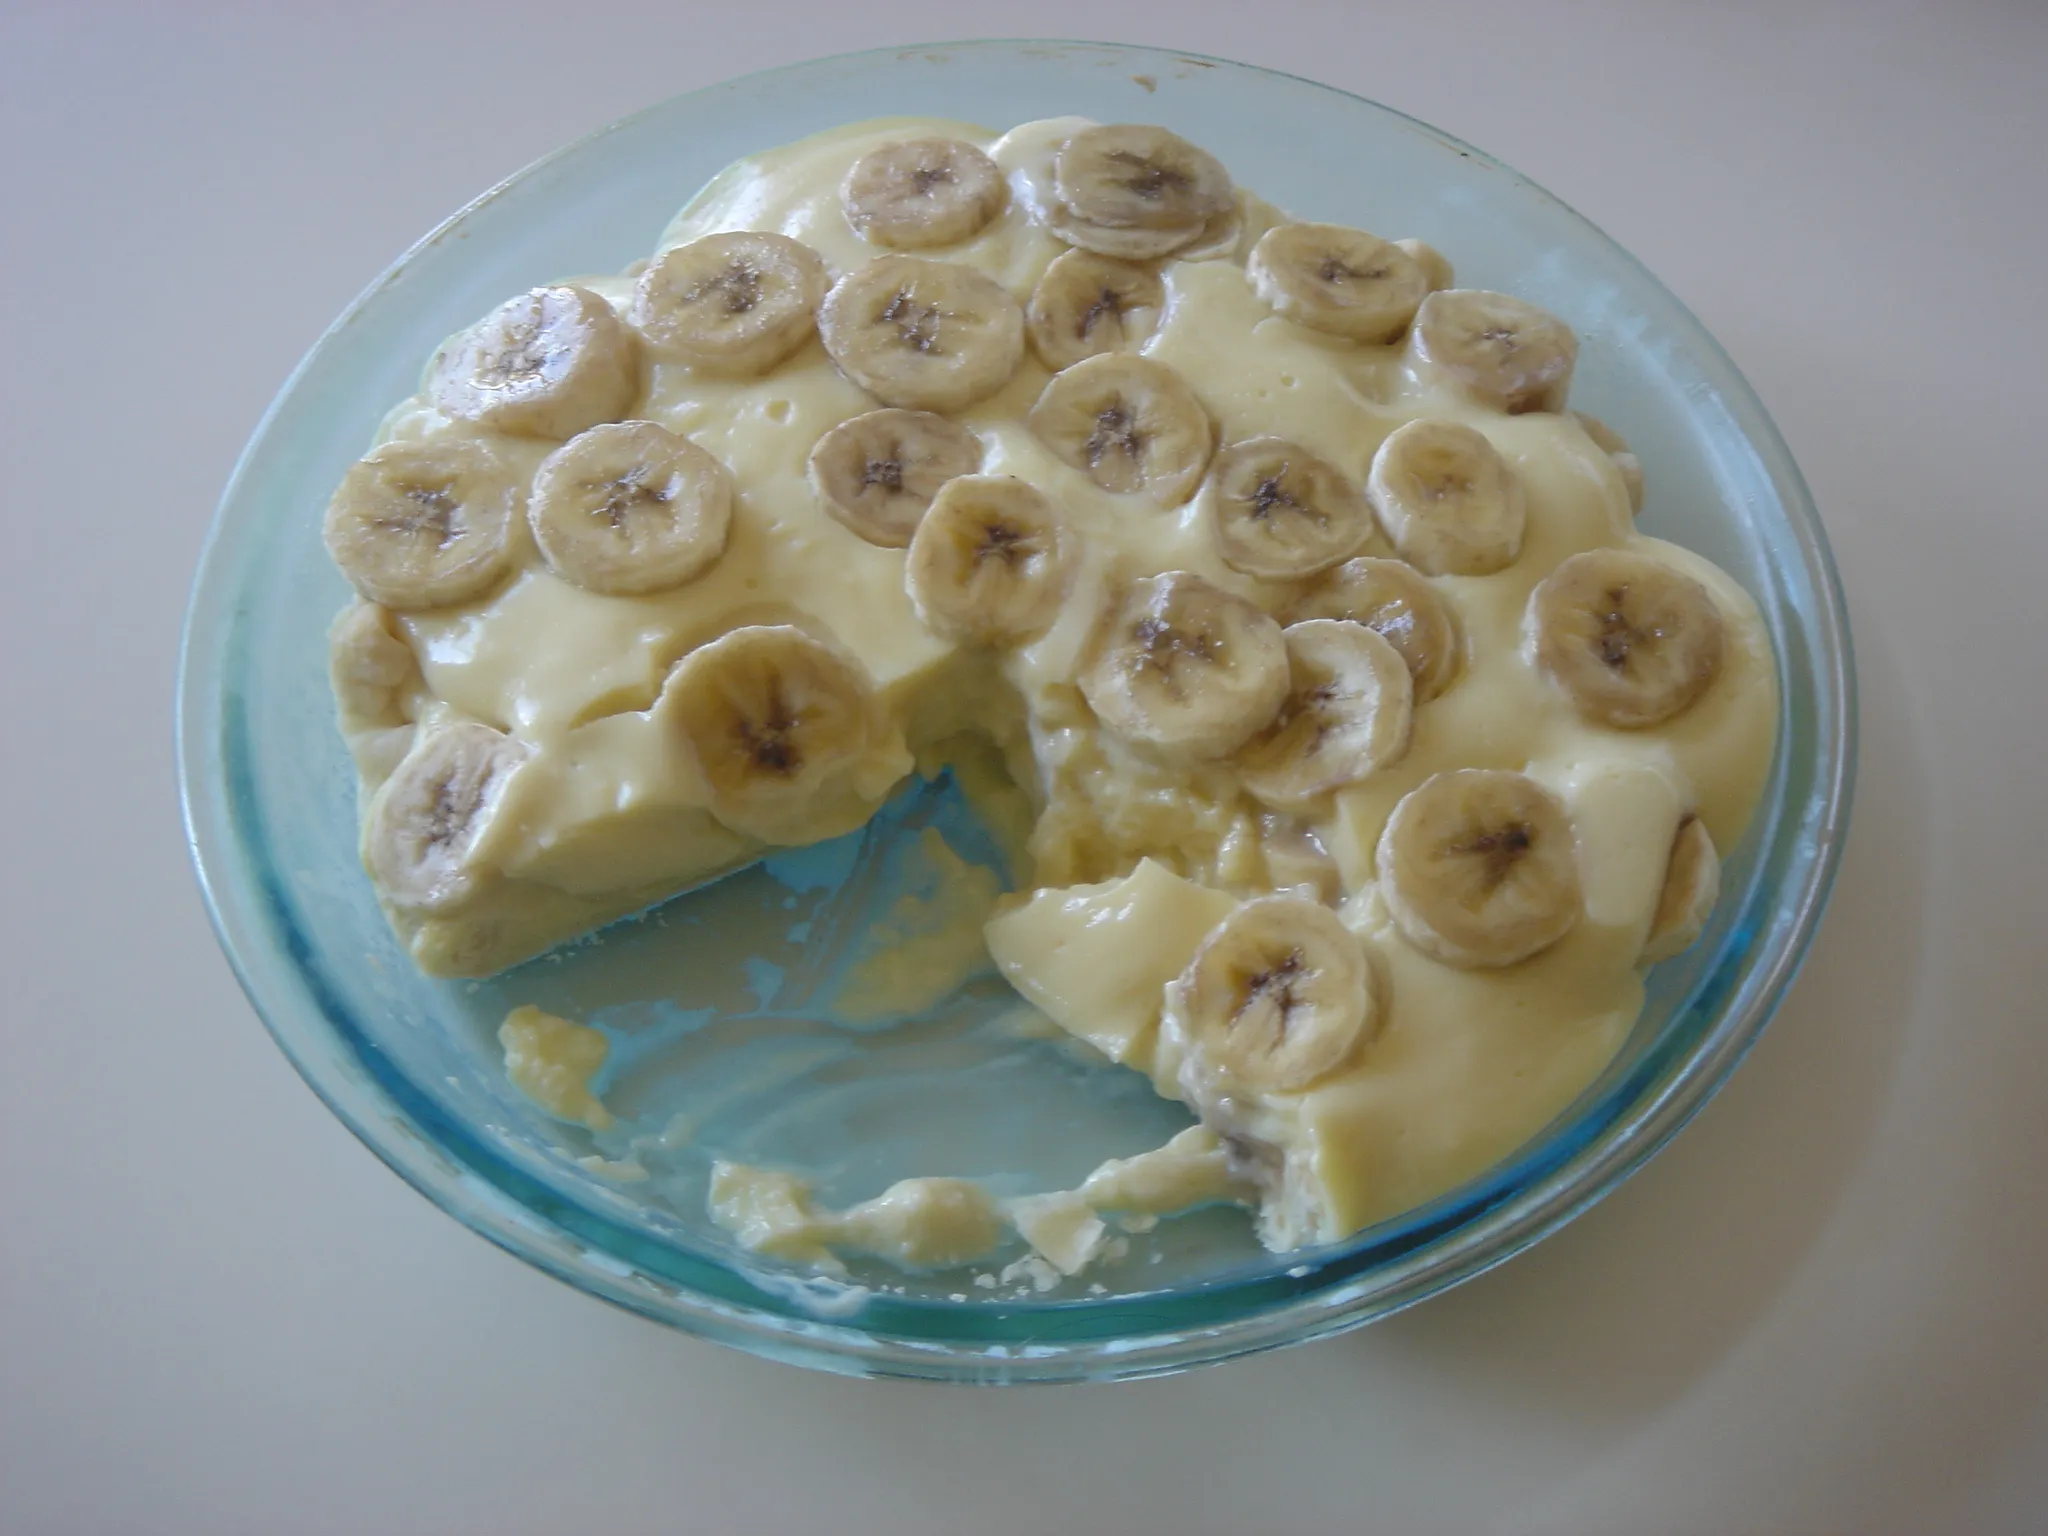
If you’re looking for a delicious and creamy dessert to satisfy your sweet tooth, look no further than a homemade banana pudding with heavy whipping cream. This classic dessert is a crowd-pleaser and perfect for any occasion. Whether you’re hosting a dinner party or simply craving a comforting treat, this recipe is sure to impress. Get ready to indulge in layers of velvety pudding, sliced bananas, and fluffy whipped cream – it’s a dessert lover’s dream come true!
When it comes to making banana pudding, using heavy whipping cream takes this dessert to a whole new level of decadence. The rich and creamy texture of the whipping cream adds a lusciousness that will have you coming back for seconds. With just a few simple ingredients, you can create a dessert that will have everyone asking for the recipe. So grab your whisk and get ready to whip up a batch of this irresistible banana pudding.
Essential Ingredients for Banana Pudding with Heavy Whipping Cream

When it comes to making a delicious banana pudding with heavy whipping cream, having the right ingredients is key. Here are the essential ingredients you’ll need to create this creamy and irresistible dessert:
1. Ripe Bananas: Start with ripe bananas for the best flavor and texture. Look for bananas that are yellow with a few brown spots. These bananas are sweeter and softer, making them perfect for mashing into the pudding.
2. Heavy Whipping Cream: The star of this recipe is the heavy whipping cream. It adds a rich and creamy texture to the pudding, taking it to a whole new level of decadence. Be sure to use heavy whipping cream, as it has a higher fat content than regular whipping cream, resulting in a creamier pudding.
3. Vanilla Pudding Mix: To create the base of the pudding, you’ll need a box of vanilla pudding mix. This will give your pudding a smooth and creamy consistency while adding a hint of vanilla flavor.
4. Milk: You’ll also need milk to mix with the pudding mix. Whole milk works best for a creamier and richer pudding, but you can use any milk you have on hand.
5. Vanilla Extract: To enhance the vanilla flavor, add a splash of vanilla extract to the pudding mixture. This will give your banana pudding a delicious aroma and depth of flavor.
6. Vanilla Wafers: Don’t forget the classic touch of vanilla wafers! These crunchy cookies add texture and a hint of sweetness to each bite of banana pudding.
7. Whipped Cream and Sliced Bananas (optional): For a finishing touch, top your banana pudding with a dollop of whipped cream and some sliced bananas. This adds a fresh and creamy element to the dessert, making it even more irresistible.
Now that you know the essential ingredients for making banana pudding with heavy whipping cream, you’re ready to get started. Gather these ingredients and let’s move on to the next steps to create the perfect homemade banana pudding.
Step-by-Step Instructions
Now that you have gathered all the necessary ingredients, it’s time to dive into the process of making a delectable banana pudding with heavy whipping cream. Follow these simple steps to create a homemade dessert that will leave your taste buds singing with joy.
- Prepare the Vanilla Pudding: Start by preparing the vanilla pudding according to the instructions on the package. Usually, this involves whisking together the pudding mix with milk and bringing it to a gentle boil. Once the pudding has thickened, remove it from the heat and let it cool for a few minutes.
- Whip the Heavy Whipping Cream: While the pudding is cooling, it’s time to whip the heavy whipping cream. Pour the cream into a large mixing bowl and add a splash of vanilla extract for extra flavor. Using an electric mixer, beat the cream until soft peaks form. Be careful not to overbeat, as it may turn into butter.
- Layer the Pudding and Bananas: Now comes the fun part – layering the pudding and bananas. Start by placing a layer of vanilla wafers at the bottom of a glass dish or individual serving cups. Next, add a layer of sliced bananas on top of the wafers. Repeat this process until you have used up all the wafers, bananas, and pudding.
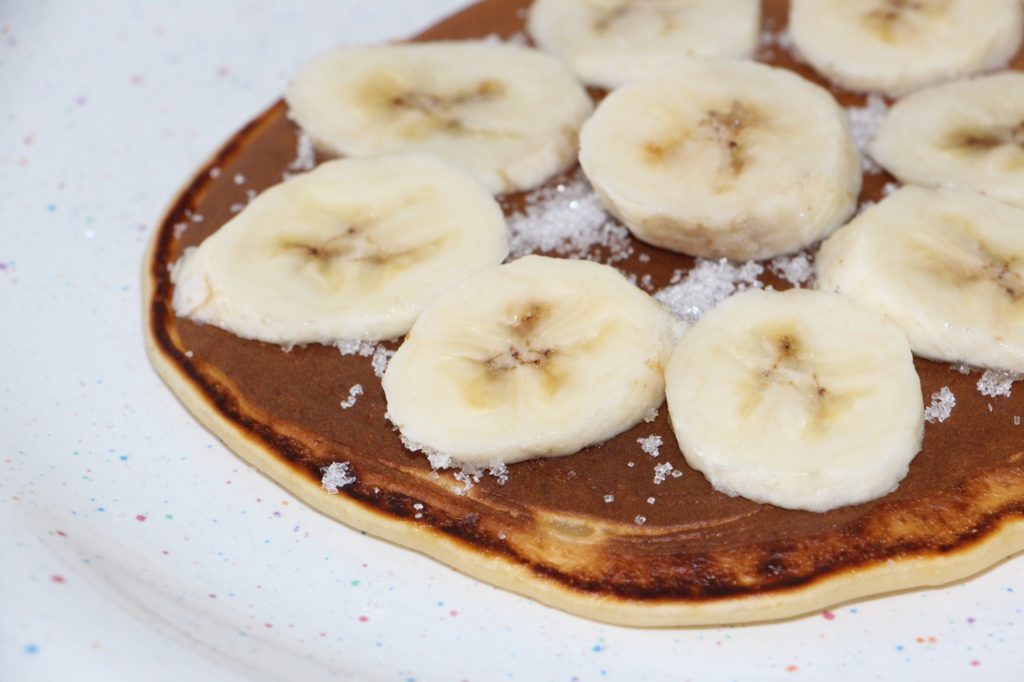
- Finish with Whipped Cream and Sliced Bananas: To add a finishing touch to your banana pudding, top it off with a dollop of whipped cream and a few slices of fresh bananas. This not only adds a burst of flavor but also makes the dessert look visually appealing.
- Chill and Serve: After assembling the banana pudding, cover it with plastic wrap and refrigerate it for at least 2 hours. This allows the flavors to meld together and the pudding to set. When you’re ready to serve, take it out of the fridge and enjoy the creamy goodness of your homemade banana pudding.
Tips for Making Perfect Banana Pudding

Making banana pudding with heavy whipping cream can be a delightful treat that everyone will love. Here are some tips to help you create the perfect dessert:
Use Ripe Bananas
The key to a flavorful banana pudding is using ripe bananas. Look for bananas that have a vibrant yellow color with a few brown spots. These bananas are at their peak sweetness and will add a delicious taste to your pudding.
Whip Up the Heavy Whipping Cream
To achieve a light and fluffy texture, it’s important to whip the heavy whipping cream properly. Start with chilled cream and beat it until it forms stiff peaks. This will give your pudding a luscious and creamy consistency.
Choose the Right Vanilla Pudding Mix
When selecting a vanilla pudding mix, opt for the instant variety. It’s quick and easy to prepare, and it will set perfectly in your banana pudding. Follow the instructions on the package and make sure to use the correct amount of milk to achieve the desired consistency.
Layer It Up
To create a beautiful presentation, layer the vanilla pudding, sliced bananas, and vanilla wafers in a glass dish. Start with a layer of pudding, followed by a layer of banana slices, and then a layer of vanilla wafers. Repeat the layers until you’ve used all of your ingredients.
Chill and Serve
After assembling the layers, cover the dish with plastic wrap and refrigerate for at least 2 hours. This will allow the flavors to meld together and the pudding to set properly. When you’re ready to serve, feel free to add optional toppings such as whipped cream or more sliced bananas.

Serving and Storing Banana Pudding
« Step-by-step guide to getting the banana pudding recipe in Stardew Valley
Delicious Banana Pudding Recipe with Sour Cream »
Now that you’ve mastered the art of making delicious banana pudding with heavy whipping cream, it’s time to learn how to serve and store this delightful dessert. Whether you’re planning to enjoy it immediately or save it for later, these tips will ensure that your banana pudding remains fresh and flavorful.
Serving Banana Pudding
When it comes to serving banana pudding, there are a few things to keep in mind to enhance the overall experience:
- Chill before serving: After layering the pudding with sliced bananas and vanilla wafers, it’s important to let the dessert chill for at least 2 hours in the refrigerator. This allows the flavors to meld together and creates a creamy, luscious texture.
- Garnish with whipped cream or more sliced bananas: For an extra touch of indulgence, you can top your banana pudding with a dollop of whipped cream or some additional sliced bananas. This adds a burst of freshness and visual appeal to the dessert.
- Serve in individual portions: While you can certainly serve banana pudding in a large dish, serving it in individual cups or bowls adds a touch of elegance and makes it easier for guests to enjoy. You can layer the pudding in individual glasses, mason jars, or dessert cups for a beautiful presentation.
Storing Banana Pudding
If you have some leftover banana pudding or want to make it ahead of time, here’s how you can properly store it:
- Cover and refrigerate: To keep your banana pudding fresh, cover it tightly with plastic wrap or transfer it to an airtight container. This will prevent any odors from seeping in and maintain the pudding’s texture.
- Consume within 2-3 days: While banana pudding can be stored in the refrigerator for up to 2-3 days, it’s best enjoyed within the first day or two. The longer it sits, the softer the vanilla wafers become, and the bananas may start to brown slightly.
- Do not freeze: Unfortunately, banana pudding with heavy whipping cream does not freeze well. The texture of the whipped cream and bananas can be adversely affected, resulting in a less desirable consistency.
Remember, serving and storing banana pudding properly will help you make the most out of this delectable dessert. So go ahead, whip up a batch of creamy banana pudding, and enjoy the sweet and fruity flavors that will
Conclusion
Now that you have all the necessary information, you are ready to create a scrumptious banana pudding with heavy whipping cream. By following the step-by-step instructions, using ripe bananas, perfectly whipped cream, and layering the pudding with sliced bananas and vanilla wafers, you are guaranteed a delightful dessert. Remember to chill the pudding for at least 2 hours before serving to allow the flavors to meld together.
If you want to take your banana pudding to the next level, feel free to add optional toppings such as whipped cream or more sliced bananas. This will add an extra touch of indulgence to your already delicious creation.
When serving and storing your banana pudding, remember to chill it before serving, garnish with whipped cream or more sliced bananas, and consider serving it in individual portions for a visually appealing presentation. To keep your pudding fresh, cover and refrigerate it, consuming it within 2-3 days. Avoid freezing it, as this can affect the texture of the whipped cream and bananas.
So go ahead and enjoy your homemade banana pudding with heavy whipping cream. It’s a classic dessert that is sure to impress your family and friends!


