Ingredients
When it comes to making a delicious banana pudding from scratch, you’ll need a few key ingredients to bring out that perfect balance of flavors. Here are the essential components that will make your banana pudding a hit:
- Ripe Bananas: Start with ripe bananas that have a vibrant yellow color and are slightly soft to the touch. The ripeness of the bananas will give your pudding a naturally sweet taste and creamy texture.
- Vanilla Wafers: These classic cookies add a delightful crunch and a hint of vanilla flavor to your banana pudding. They also serve as a great base for layering the bananas and custard.
- Eggs: Eggs are an essential ingredient for creating a smooth and rich custard for your pudding. They add richness and help bind the ingredients together.
- Sugar: Sugar is needed to sweeten the custard and balance out the natural tartness of the bananas. You can adjust the amount of sugar based on your preference.
- Cornstarch: Cornstarch acts as a thickening agent and helps give your pudding a smooth and creamy consistency.
- Milk: Whole milk is commonly used in banana pudding recipes as it adds richness to the custard. You can also use a combination of milk and heavy cream for an even creamier texture.
- Vanilla Extract: A touch of vanilla extract enhances the overall flavor of the pudding and complements the sweetness of the bananas.
- Whipped Cream: Whipped cream adds a light and airy texture to the top layer of your banana pudding. It also adds a touch of sweetness and makes it visually appealing.
- Optional Toppings: Feel free to get creative with your toppings! You can sprinkle crushed vanilla wafers, sliced bananas, or even a drizzle of chocolate sauce on top to add extra flavor and visual appeal.
Step 1: Making the Pudding
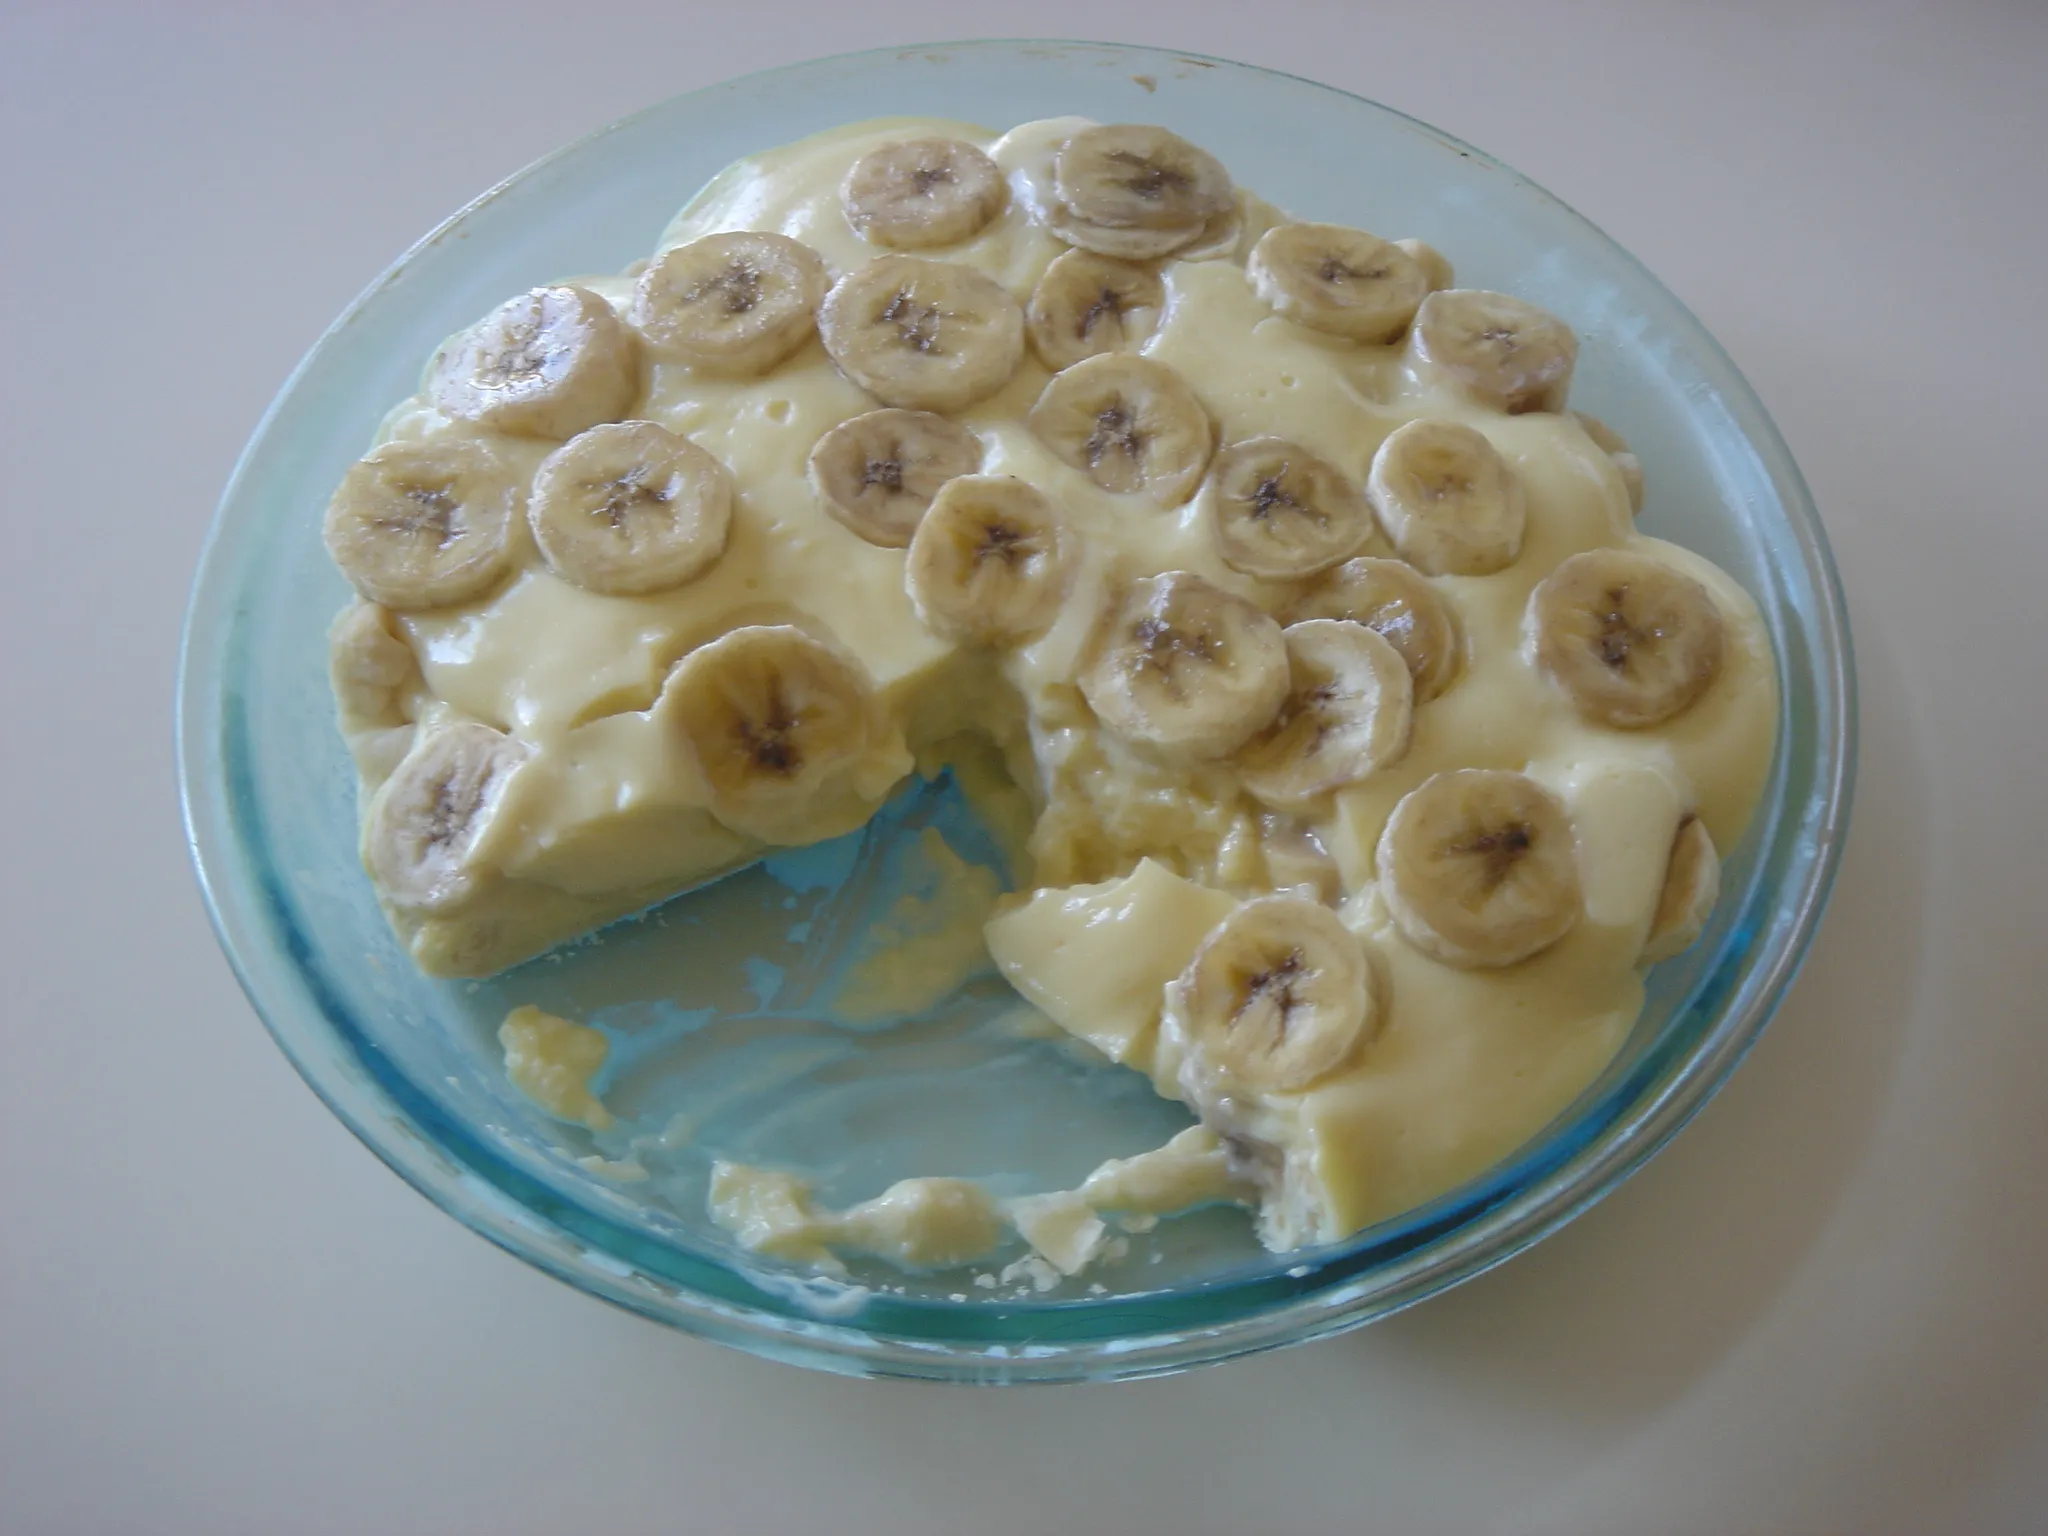
Making banana pudding from scratch is a delightful and rewarding experience. By following a few simple steps, you can create a delicious and creamy dessert that will leave everyone wanting more. So, let’s dive right in and get started on making the pudding!

Firstly, gather all the ingredients you’ll need for the pudding. You’ll need 2 cups of milk, 2/3 cup of granulated sugar, 1/4 cup of all-purpose flour, 1/4 teaspoon of salt, 4 large egg yolks, and 2 teaspoons of vanilla extract. These ingredients form the base of the pudding and give it a rich and velvety texture.
To start, combine the milk, sugar, flour, and salt in a medium-sized saucepan. Whisk them together until the mixture is smooth and well-combined. Place the saucepan on the stove over medium heat and cook the mixture, stirring constantly, until it thickens and comes to a gentle boil. This should take about 5-7 minutes.
Next, remove the saucepan from heat. In a separate bowl, beat the egg yolks until they are well mixed. Gradually add about a cup of the hot pudding mixture into the beaten egg yolks, whisking constantly. This step is called tempering and helps to prevent the eggs from curdling when added to the hot pudding mixture.
Once the egg yolks have been tempered, pour the mixture back into the saucepan with the remaining pudding mixture. Return the saucepan to the heat and cook the pudding for an additional 2-3 minutes, stirring constantly. This will ensure that the pudding reaches the desired consistency and the eggs are fully cooked.
Finally, remove the saucepan from heat and stir in the vanilla extract. Give the pudding a final whisk to ensure everything is well incorporated. Now, your homemade banana pudding is ready to be used in your favorite dessert recipes or enjoyed on its own!
Step 2: Assembling the Pudding
Now that you’ve prepared all the components of your banana pudding from scratch, it’s time to bring them all together and assemble your delicious dessert!
To start, take a deep breath and admire the sight of your perfectly sliced bananas, creamy homemade custard, and scrumptious vanilla wafers. Your taste buds are in for a treat!
Here’s how you can assemble the pudding:
- Grab a large glass dish or individual serving bowls. The choice is yours, but using a glass dish allows you to showcase the layers beautifully.
- Begin by layering the bottom of the dish with a generous amount of vanilla wafers. These crispy cookies will provide a delightful crunch to contrast with the creamy goodness of the pudding.
- Next, add a layer of sliced bananas on top of the wafers. Make sure to cover the entire surface with the banana slices to ensure every spoonful is bursting with banana flavor.
- Now, it’s time to pour a portion of the homemade custard over the banana and wafer layers. The silky smooth custard will seep into the nooks and crannies, infusing the pudding with its rich and velvety texture.
- Repeat the layers – wafers, bananas, and custard – until you’ve used up all your ingredients. The number of layers will depend on the size of your dish and the desired thickness of each layer.
- Finish off the pudding with a final layer of custard on top. Smooth it out with a spatula or the back of a spoon for an inviting presentation.
- For a delightful finishing touch, sprinkle some crushed wafers or a dusting of cocoa powder on top. Not only will this add a touch of elegance, but it will also provide an extra burst of flavor.
Step 3: Chilling and Serving
Now that you’ve assembled your homemade banana pudding, it’s time to chill it and get ready to enjoy the creamy and delicious dessert. Here’s what you need to do next:
- Cover and refrigerate: Once you’ve finished layering the pudding, cover the dish with plastic wrap or a lid to prevent any air from getting in. This will help the pudding set and allow the flavors to meld together. Place the dish in the refrigerator and let it chill for at least 2 hours. However, if you have the patience, leaving it overnight will result in an even better texture and taste.
- Garnish and serve: Before serving, you can add some final touches to make your banana pudding even more appealing. One option is to sprinkle some crushed vanilla wafers on top for added crunch and visual appeal. Alternatively, you can dust the pudding with a light sprinkle of cocoa powder for a touch of elegance. Go ahead and get creative with your garnishes!
- Serve and enjoy: Once the pudding has chilled and you’ve added the desired garnishes, it’s time to dig in! Scoop out generous portions of the creamy pudding into serving dishes or bowls. Remember to include a few slices of fresh bananas on top for an extra burst of flavor. Serve the banana pudding chilled and watch as your friends and family savor every spoonful of this delightful dessert.
- Store leftovers: If you happen to have any leftovers (which is rare because it’s so delicious), you can store them in an airtight container in the refrigerator for up to 2 days. However, banana pudding is best enjoyed fresh, so try to consume it within the first day or two for the best flavor and texture.
Variations and Additions
Now that you have mastered the basic banana pudding recipe, it’s time to get creative and explore some variations and additions to take your dessert to the next level. Here are a few ideas to get you started:
1. Chocolate Lover’s Delight

If you’re a fan of chocolate, why not add some cocoa powder to your custard mixture? Simply whisk in a few tablespoons of unsweetened cocoa powder when making the custard. This will give your pudding a rich and decadent chocolate flavor that pairs perfectly with the sweetness of the bananas. You can also sprinkle some chocolate shavings or chocolate chips between the layers for an extra indulgent twist.
2. Nutty Crunch
Add some texture and crunch to your banana pudding by incorporating nuts. Toasted chopped pecans or walnuts work wonderfully in this dessert. Simply sprinkle a handful of nuts between the layers of wafers and bananas for a delightful contrast of creamy and crispy textures. The nuts will add a nutty flavor that complements the bananas perfectly.
3. Tropical Twist
Take your banana pudding on a tropical vacation by adding some shredded coconut. Mix in a handful of sweetened shredded coconut with the custard before layering it with the wafers and bananas. The coconut will add a hint of sweetness and a tropical flair to your dessert. You can also top the finished pudding with some toasted coconut flakes for an extra touch of crunch and flavor.
4. Fruit Medley
While bananas are the star of the show in banana pudding, that doesn’t mean you can’t add other fruits to the mix. Try layering some sliced strawberries or blueberries between the wafers and bananas for a burst of freshness and color. You can even experiment with different combinations of fruits to create your own unique twist on this classic dessert.
Tips and Tricks
Now that you have the basic recipe for homemade banana pudding, let’s dive into some tips and tricks to take your banana pudding to the next level.
1. Choosing the perfect bananas
When it comes to banana pudding, using ripe bananas is key. Look for bananas that are yellow with a few brown spots. These bananas will be sweet and add a delicious flavor to your pudding. Avoid using overly ripe bananas that are mushy or have blackened skin.

2. Adding extra flavor
« The Benefits of Ripe Bananas in Classic Recipes: Banana Bread, Smoothies, and Pancakes
How to bake a delicious banana cake without baking powder »
While the traditional banana pudding recipe is delicious on its own, you can always experiment and add extra flavors to enhance the taste. Consider adding a splash of vanilla extract or a pinch of cinnamon to the custard mixture for a warm and aromatic twist. Alternatively, you can layer your pudding with sliced strawberries or blueberries for a burst of freshness.
3. Texture is everything
To add some texture and crunch to your banana pudding, consider incorporating chopped nuts like walnuts or pecans. Sprinkle them on top of each layer or mix them into the custard for an added dimension of flavor and texture.
4. Get creative with toppings
While the classic topping for banana pudding is crushed vanilla wafers or a sprinkle of cocoa powder, don’t be afraid to get creative with your toppings. You can experiment with shredded coconut, chocolate shavings, or even a dollop of whipped cream. These toppings will not only add visual appeal but also elevate the overall taste of your pudding.
5. Make it ahead of time
Banana pudding tastes even better when it has had time to chill and set in the refrigerator. If possible, make your pudding a day in advance and let it sit overnight. This will allow the flavors to meld together and the wafers to soften, resulting in a creamy and luscious dessert.
Conclusion
Now that you have all the information and tips you need, you’re ready to create a delicious homemade banana pudding from scratch. Remember to use a glass dish to showcase the beautiful layers of vanilla wafers, sliced bananas, and homemade custard. Don’t forget to refrigerate the pudding for at least 2 hours, or overnight if possible, to allow the flavors to meld together and the texture to become even more delectable.
Feel free to get creative with your banana pudding by adding cocoa powder for a chocolate twist, nuts for added crunch, or shredded coconut for a tropical touch. You can even experiment with layering other fruits like strawberries or blueberries to add freshness and a pop of color.
When serving, don’t forget to garnish your chilled pudding with crushed vanilla wafers or a sprinkle of cocoa powder. And if you have any leftovers, simply store them in an airtight container in the refrigerator for up to 2 days.
Now it’s time to enjoy your homemade banana pudding and savor every delightful bite. Bon appétit!


