Are you looking for a delicious and easy recipe for gluten-free banana bread? Look no further! In this article, we’ll share a fantastic recipe that will satisfy your cravings and cater to your dietary needs. Whether you have a gluten intolerance or simply prefer to avoid gluten, this recipe will allow you to enjoy a moist and flavorful banana bread without any compromise in taste. Get ready to indulge in a slice of gluten-free goodness!
If you’re a fan of banana bread but need to follow a gluten-free diet, we’ve got you covered. Our recipe for gluten-free banana bread is a game-changer. With just a few simple ingredients, you can whip up a loaf of this mouthwatering treat in no time. Say goodbye to dry and crumbly gluten-free bread, and say hello to a moist and tender loaf that will leave you wanting more. Get your mixing bowl ready and let’s get baking!
Ingredients

When it comes to making a delicious gluten-free banana bread, the secret lies in the ingredients you choose. Let’s dive into the key components that will make your banana bread a mouthwatering delight!
1. Ripe Bananas
First and foremost, you’ll need some ripe bananas. Look for bananas that have a few brown spots on the skin. These bananas are perfect for baking as they are sweeter and have a softer texture, which will add a natural sweetness and moisture to your bread.
2. Gluten-Free Flour
To make your banana bread gluten-free, you’ll need a good quality gluten-free flour. There are many options available in the market, such as almond flour, rice flour, or a gluten-free baking mix. Experiment with different types to find the one that suits your taste and dietary needs.
3. Baking Powder and Baking Soda
These two leavening agents are essential for giving your banana bread a light and fluffy texture. Baking powder helps the bread rise, while baking soda neutralizes the acidity of the bananas, resulting in a tender crumb.
4. Eggs
Eggs act as a binding agent in your banana bread, helping to hold all the ingredients together. If you have an egg allergy or follow a vegan diet, you can substitute eggs with flaxseed meal mixed with water or applesauce.
5. Sweetener

To add a touch of sweetness, you can use a natural sweetener like honey, maple syrup, or coconut sugar. These alternatives are healthier options compared to refined sugar and will enhance the flavor of your banana bread.
6. Vanilla Extract
A splash of vanilla extract will elevate the taste of your banana bread, giving it a warm and comforting aroma.
7. Optional Mix-ins
Feel free to get creative and add some mix-ins to your banana bread batter. Chopped nuts like walnuts or pecans, chocolate chips, or dried fruits can add a delightful crunch or burst of flavor to your bread.
Step 1: Preparing the Dry Ingredients
Now that you’ve gathered all the necessary ingredients, let’s dive into the first step of making your delicious gluten-free banana bread. Preparing the dry ingredients is an essential part of any recipe, as it sets the foundation for the perfect texture and flavor.

« Delicious Banana Pudding Recipe with Instant Pudding – Tips & Twists
How to Make a Delicious Banana Cake Without Vanilla Essence »
1. Gluten-Free Flour: Start by measuring out your gluten-free flour. Using a gluten-free flour blend ensures that your banana bread is safe for those with gluten sensitivities or allergies. There are many options available on the market, such as rice flour, almond flour, or a pre-made gluten-free flour blend. Whichever one you choose, make sure it’s labeled as gluten-free.
2. Baking Powder and Baking Soda: Next, add the right amount of baking powder and baking soda to your flour. These leavening agents help your banana bread rise and give it a light and fluffy texture. Be sure to measure them accurately to achieve the perfect balance.
3. Salt: Don’t forget to add a pinch of salt to enhance the flavors in your banana bread. Salt is a key ingredient in baking, as it helps to bring out the natural sweetness of the bananas and other ingredients.
Once you have all the dry ingredients measured out and ready to go, it’s time to move on to the next step in creating your gluten-free banana bread. Stay tuned for Step 2, where we’ll show you how to prepare the wet ingredients and combine them with the dry ones for a moist and flavorful loaf of banana bread.
Step 2: Mixing the Wet Ingredients
Now that you have prepared the dry ingredients for your gluten-free banana bread, it’s time to move on to the next step: mixing the wet ingredients. This is where the magic happens and your banana bread starts to come together.
First, gather all of your wet ingredients. You will need 3 ripe bananas, 2 eggs (or egg substitutes for a vegan option), 1/2 cup of a natural sweetener like honey or maple syrup, 1/4 cup of melted coconut oil or vegetable oil, and 1 teaspoon of vanilla extract. These ingredients will not only add moisture and sweetness to your banana bread, but they will also enhance the flavor of the ripe bananas.
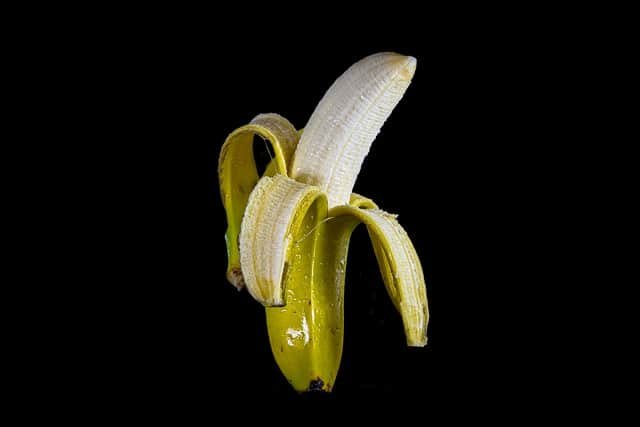
To begin, peel the bananas and place them in a large mixing bowl. Using a fork, mash the bananas until they are smooth and there are no large chunks remaining. This will create a creamy base for your banana bread.
Next, add the eggs (or egg substitutes) to the mashed bananas and whisk them together until well combined. The eggs will help bind the ingredients together and give your banana bread structure.
It’s time to add the sweetener, oil, and vanilla extract to the bowl. Pour in the natural sweetener of your choice, whether it’s honey or maple syrup, and whisk it into the banana mixture. Then, slowly pour in the melted coconut oil or vegetable oil, whisking as you go. Finally, add the teaspoon of vanilla extract for a fragrant and flavorful touch.

Once all of the wet ingredients are mixed together, it’s time to combine them with the dry ingredients. In the next step, we will explore how to create a moist and flavorful batter by incorporating the wet and dry ingredients. Stay tuned!
Remember, this section is just a middle part of the ongoing article, so there’s no conclusion here. Keep reading to discover the next step in making your gluten-free banana bread.
Step 3: Combining the Dry and Wet Ingredients
Now that you have prepared the wet ingredients, it’s time to combine them with the dry ingredients to create a delicious batter for your gluten-free banana bread. This step is crucial in ensuring that your bread turns out moist and flavorful.
To begin, grab a large mixing bowl and add your gluten-free flour. You can use a pre-made gluten-free flour blend or make your own by combining different gluten-free flours like almond flour, rice flour, and tapioca flour. The choice is yours!
Next, add the baking powder and baking soda to the bowl. These leavening agents will help your bread rise and give it that light and fluffy texture. Make sure to measure them accurately to achieve the perfect balance.

It’s time to give your dry ingredients a good mix. Use a whisk or a fork to combine everything together, ensuring that there are no lumps or clumps. This will help distribute the leavening agents evenly throughout the batter.
Once your dry ingredients are well mixed, it’s time to add in the wet ingredients. Create a well in the center of the dry ingredients and pour in the mashed bananas, eggs (or substitutes), natural sweetener, oil, and vanilla extract.
Using a spatula or wooden spoon, gently fold the wet ingredients into the dry ingredients. Be careful not to overmix, as this can result in a dense and heavy bread. Aim for a smooth and well-incorporated batter.
At this point, you can also add any optional mix-ins you desire, such as chopped nuts, chocolate chips, or dried fruits. These add-ins will give your banana bread an extra burst of flavor and texture.
Once all the ingredients are combined, your batter is ready to go. Do not be alarmed if the batter seems thicker than regular banana bread batter. Gluten-free flours tend to absorb more moisture, resulting in a thicker consistency.
Step 4: Adding Extra Flavors (Optional)

Now that you have combined all the dry and wet ingredients for your gluten-free banana bread, it’s time to take it up a notch and add some extra flavors. While the classic banana bread is delicious on its own, adding a few additional ingredients can elevate the taste and create a unique twist. Here are some ideas to consider:
- Chocolate Chips: Who can resist the combination of chocolate and bananas? Adding a handful of chocolate chips to your batter will give your banana bread a rich and indulgent flavor. The melted chocolate will create pockets of gooey goodness throughout the loaf.
- Nuts: If you enjoy a bit of crunch in your baked goods, consider adding some chopped nuts to your banana bread. Walnuts or pecans work particularly well with the sweet and moist texture of the bread. Toasting the nuts beforehand will enhance their flavor even more.
- Dried Fruit: For a burst of natural sweetness and added texture, try incorporating some dried fruit into your banana bread. Raisins, cranberries, or chopped dates are all great options. Soak the dried fruit in hot water for a few minutes to soften them before adding them to the batter.
- Spices: Experimenting with spices can take your banana bread to a whole new level. Cinnamon, nutmeg, or even a dash of cardamom can add warmth and depth to the flavor profile. Don’t be afraid to get creative and find your perfect combination.
Remember, these additional ingredients are optional and should be added to the batter after you have combined the wet and dry ingredients. Gently fold them in until they are evenly distributed throughout the batter.
Step 5: Baking the Banana Bread
Now that your batter is all mixed and ready, it’s time to bake your gluten-free banana bread! This step is crucial to achieve that perfect golden brown crust and moist interior.
Here’s how you can bake your banana bread to perfection:
- Preheat your oven to 350°F (175°C). This temperature ensures that your banana bread bakes evenly and retains its moisture.
- Grease a loaf pan with some cooking spray or line it with parchment paper. This will prevent the bread from sticking and make it easier to remove from the pan later.
- Pour your banana bread batter into the prepared pan, spreading it out evenly. You can give the pan a gentle tap on the countertop to remove any air bubbles.
- Place the pan on the center rack of your preheated oven. This ensures even heat distribution and helps the bread bake evenly.
- Bake the banana bread for 50-60 minutes, or until a toothpick inserted into the center comes out clean. Keep an eye on it during the last few minutes to prevent overbaking.
- Once baked, remove the pan from the oven and let the banana bread cool in the pan for about 10 minutes. This allows it to set and makes it easier to remove from the pan.
- After 10 minutes, carefully transfer the banana bread onto a wire rack to cool completely. This will prevent it from becoming soggy on the bottom.
Remember, every oven is different, so the baking time may vary slightly. Keep an eye on your banana bread as it bakes to achieve the desired level of doneness.

Once your banana bread has cooled, it’s time to indulge in its deliciousness! You can enjoy a slice as is, or if you prefer, spread some butter or cream cheese on top for an extra decadent treat.
Now that you know how to bake the banana bread, you’re ready to impress your friends and family with your gluten-free baking skills! So, gather your ingredients, follow the steps, and get ready to enjoy the delightful flavors of homemade gluten-free banana bread.
Step 6: Cooling and Serving
After the hard work of baking your gluten-free banana bread, it’s time to let it cool and get ready to enjoy the deliciousness. This step is crucial to ensure that your bread has the perfect texture and is easy to slice. Here’s what you need to do:
- Allow the bread to cool in the pan for about 10 to 15 minutes. This will help it set and firm up a bit, making it easier to remove from the pan without falling apart. Be patient and resist the temptation to dig in right away!
- Carefully remove the bread from the pan. Gently run a butter knife or spatula along the edges of the pan to loosen the bread. Then, holding onto the parchment paper or using oven mitts, carefully lift the bread out of the pan and onto a cooling rack.
- Let the bread cool completely on the rack. This usually takes about 1 to 2 hours. Cooling the bread on a rack allows air to circulate around it, preventing it from becoming soggy on the bottom. Plus, it gives the flavors a chance to develop and meld together, resulting in even more deliciousness.
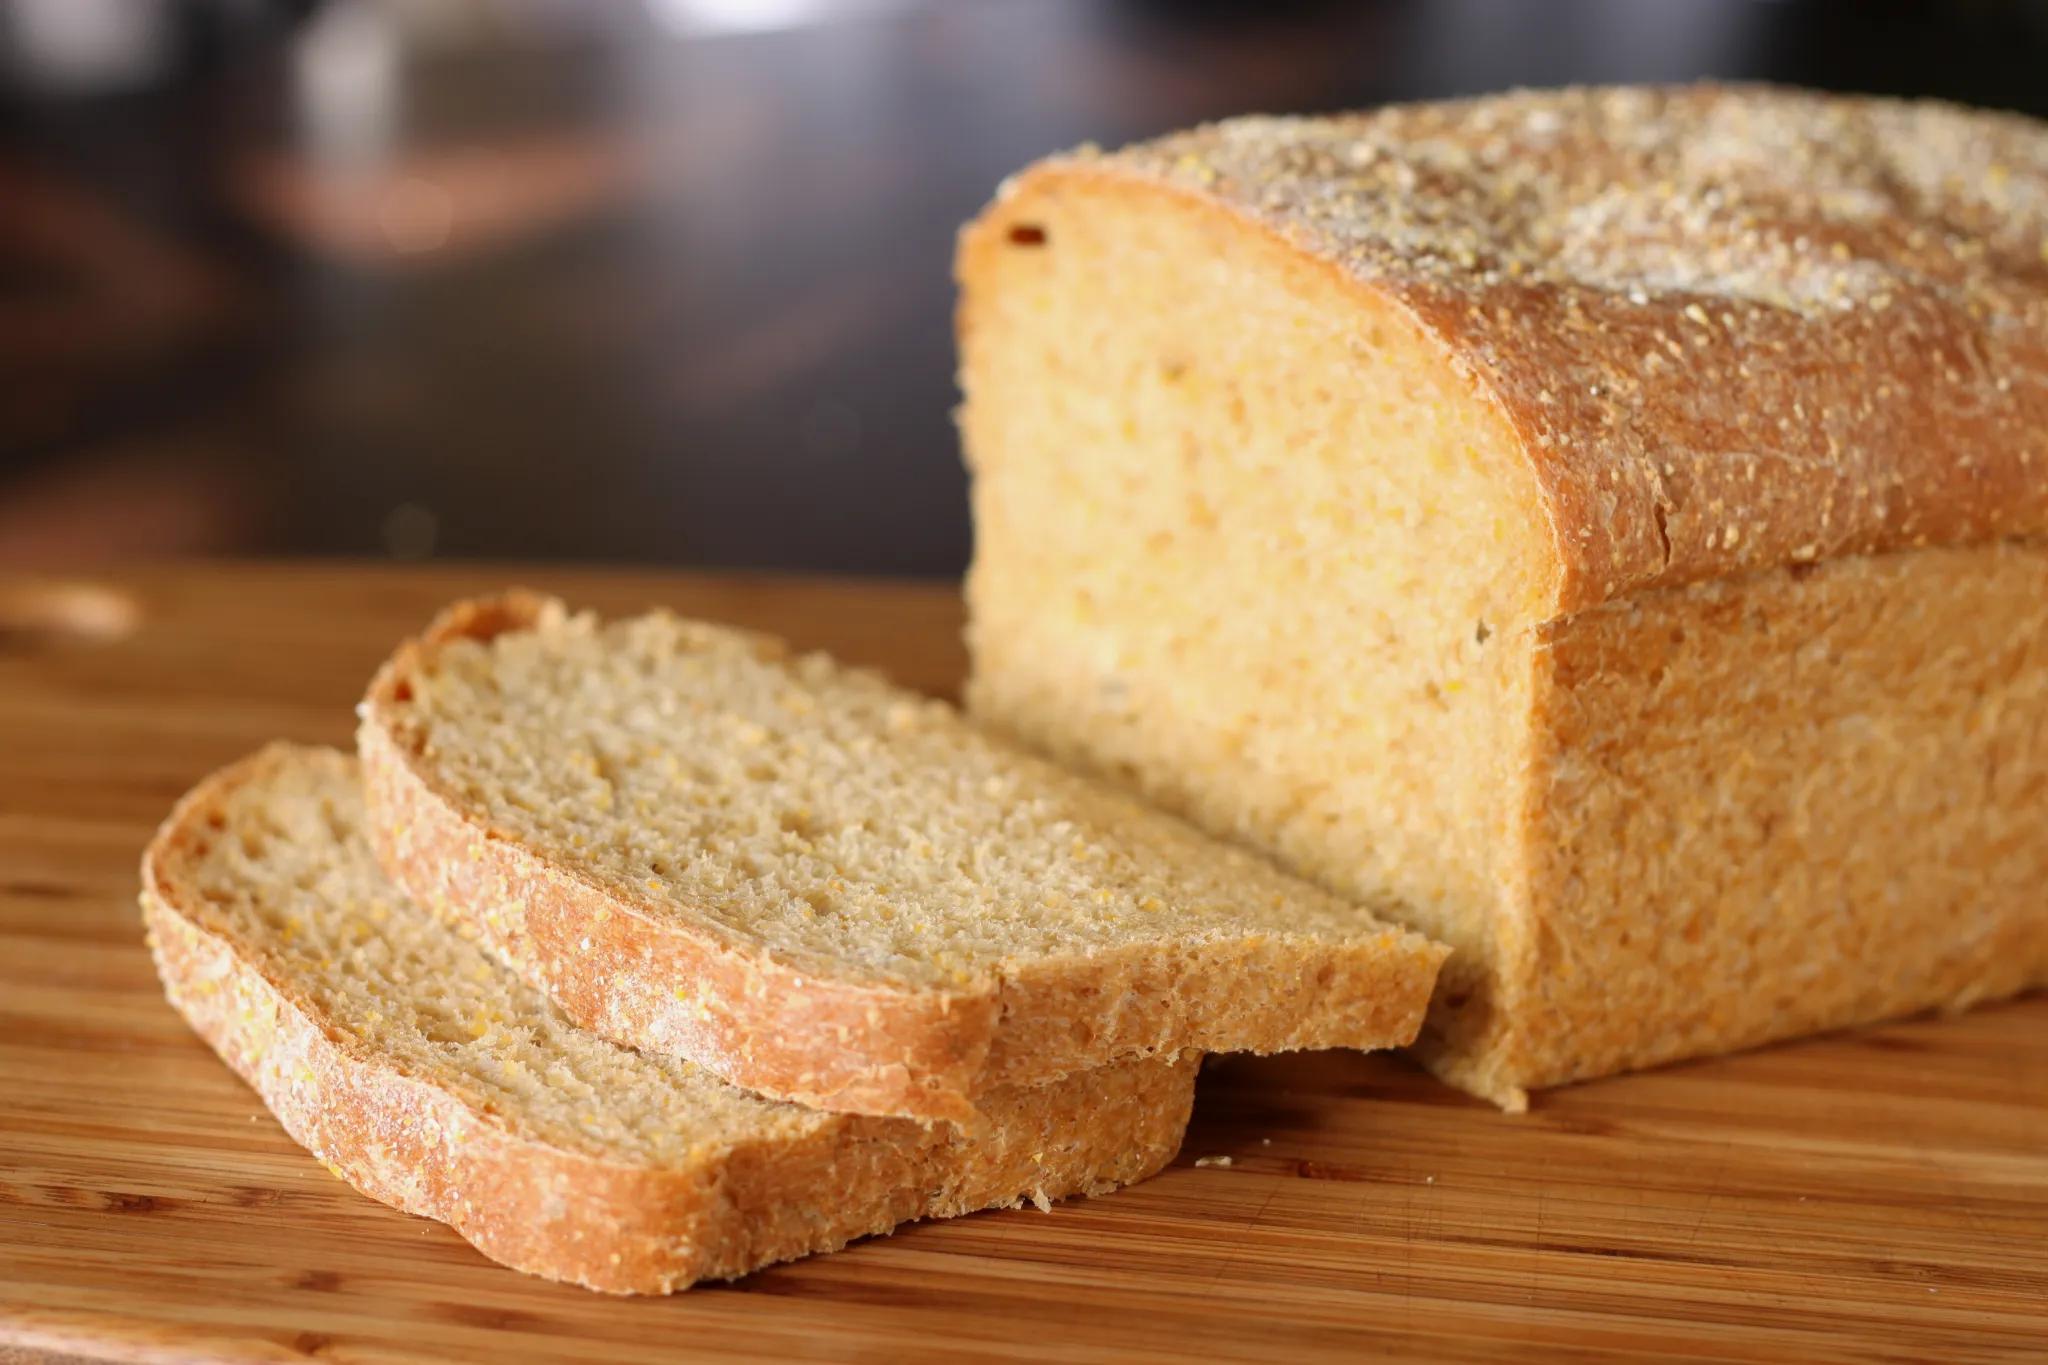
- Once the bread has cooled, it’s time to serve and enjoy! Slice it up into thick or thin slices, depending on your preference. You can serve it as is, or if you want to take it to the next level, spread some butter or cream cheese on top. The creamy goodness will complement the moistness of the bread perfectly.
Remember, homemade gluten-free banana bread is best enjoyed fresh. However, if you have any leftovers, you can store them in an airtight container at room temperature for up to 3 days. You can also freeze the bread for longer storage. Just make sure to wrap it tightly in plastic wrap or place it in a freezer-safe bag before popping it into the freezer.
Conclusion
Now that you have the recipe for gluten-free banana bread, you can enjoy a moist and flavorful loaf without worrying about gluten. With simple ingredients and easy-to-follow instructions, this recipe ensures that you can create a delicious treat that everyone will love.

Once you have baked the banana bread, make sure to follow the steps for cooling and serving. By allowing it to cool in the pan, removing it carefully, and cooling it completely on a rack, you will ensure that the bread maintains its texture and taste. And don’t forget to add your favorite toppings for an extra touch of flavor!
If you have any leftovers, it’s important to store them properly. Keep your gluten-free banana bread in an airtight container at room temperature for up to three days, or in the refrigerator for up to a week. This way, you can savor the deliciousness of your homemade bread for days to come.
So, what are you waiting for? Gather your ingredients, follow the recipe, and enjoy the delightful taste of gluten-free banana bread. Happy baking!


