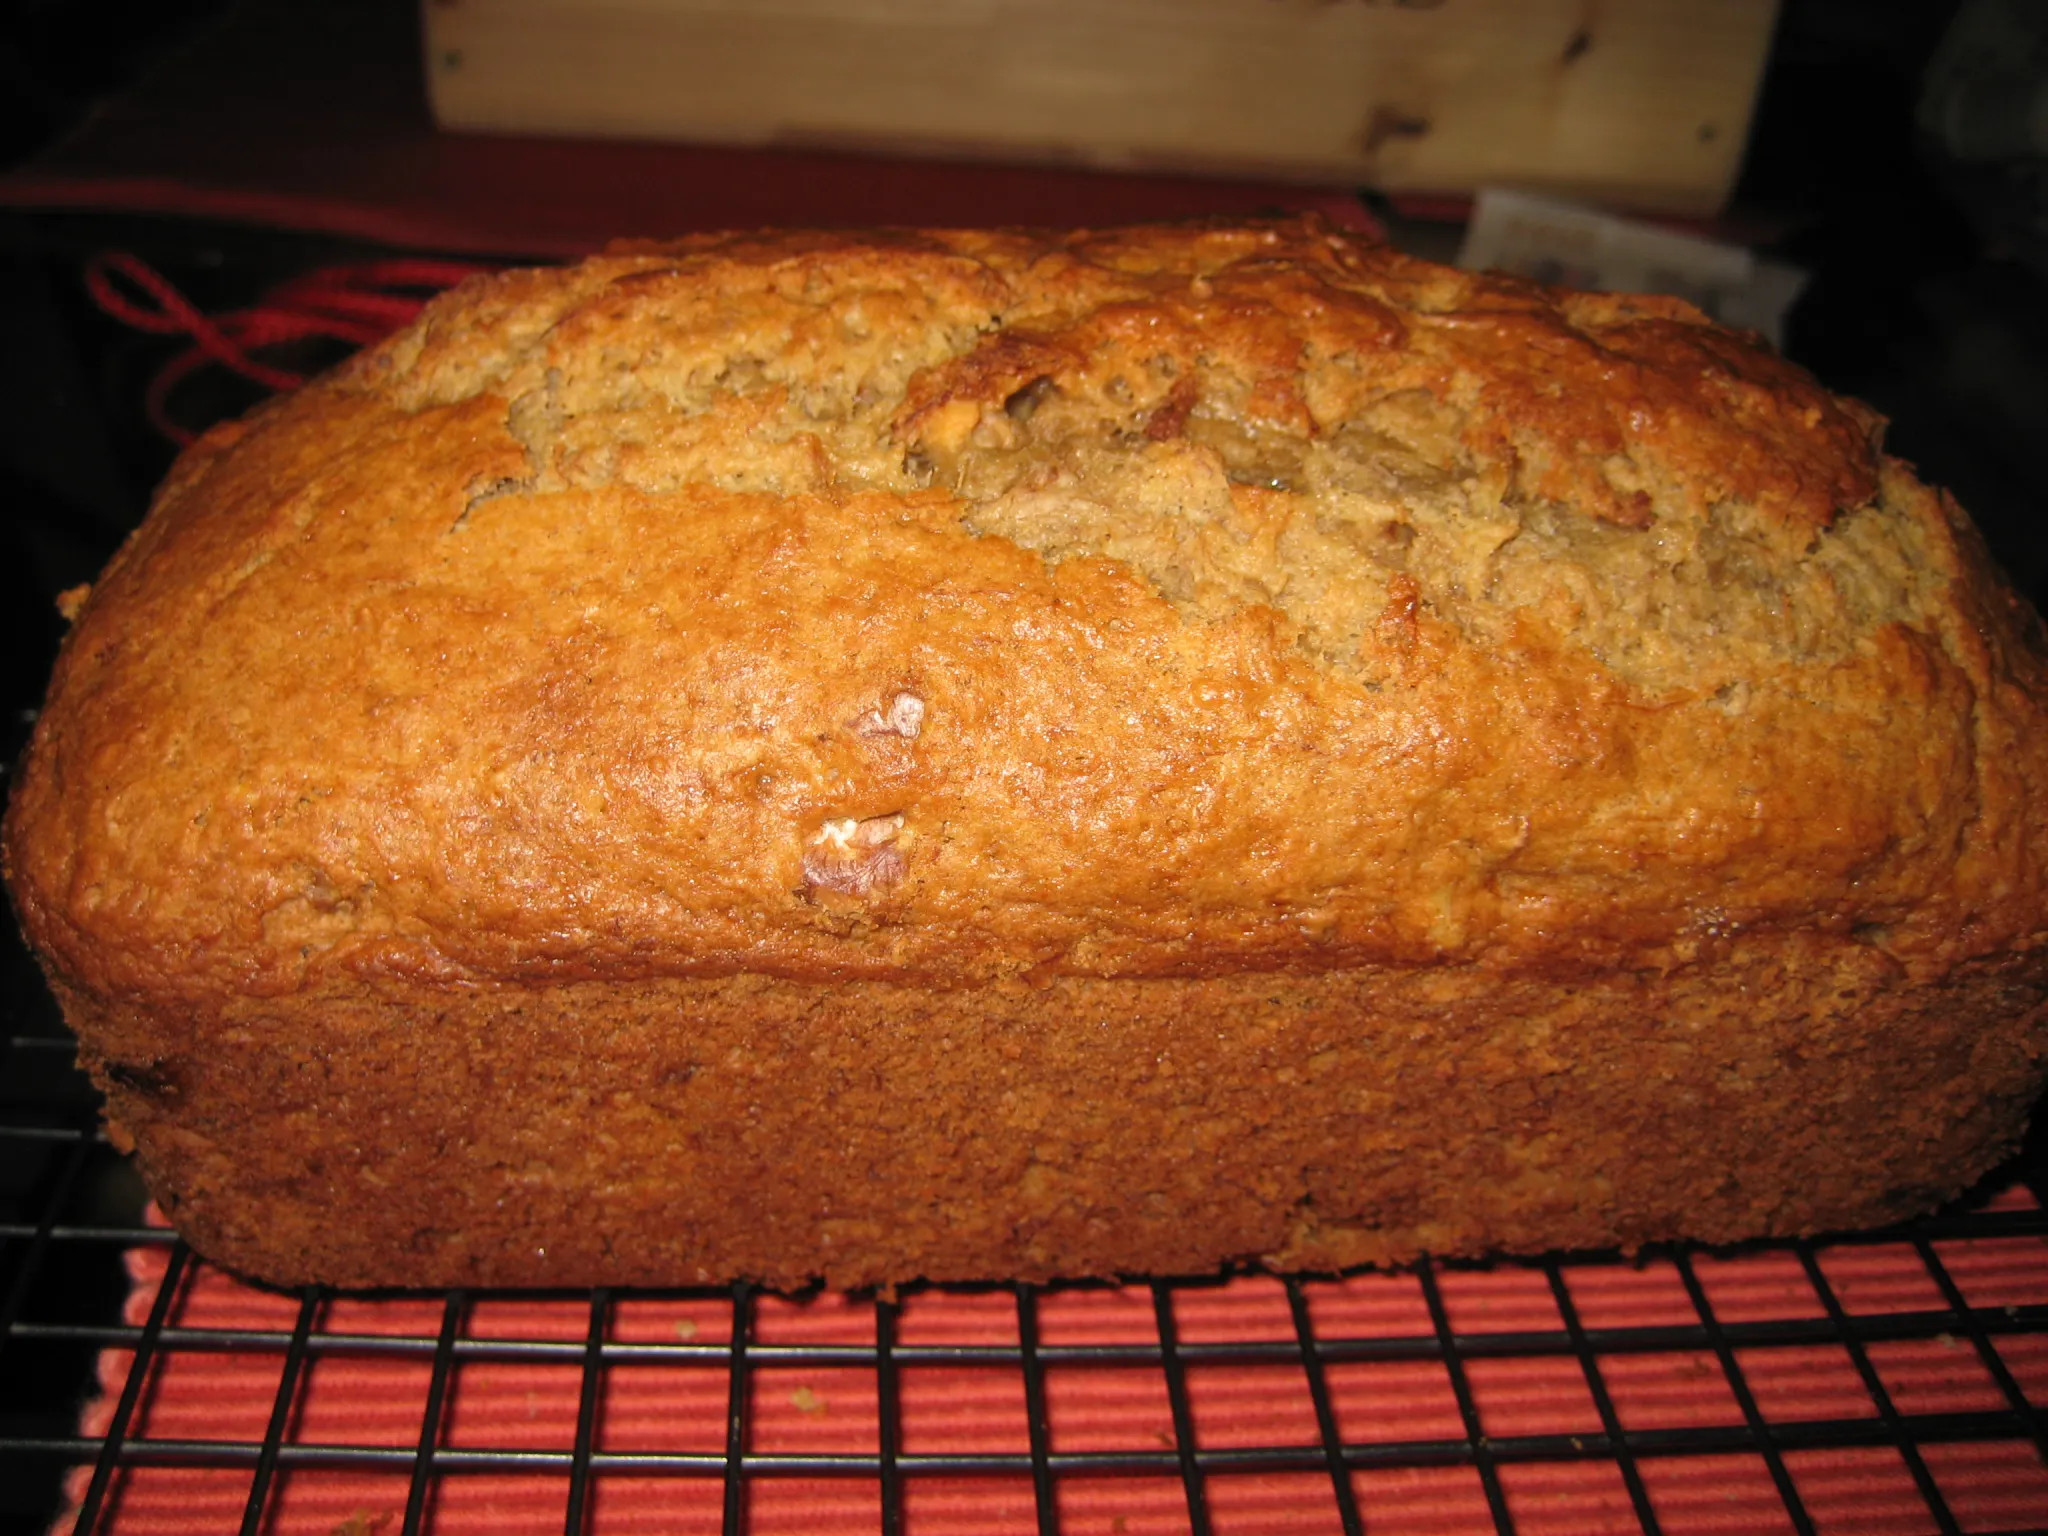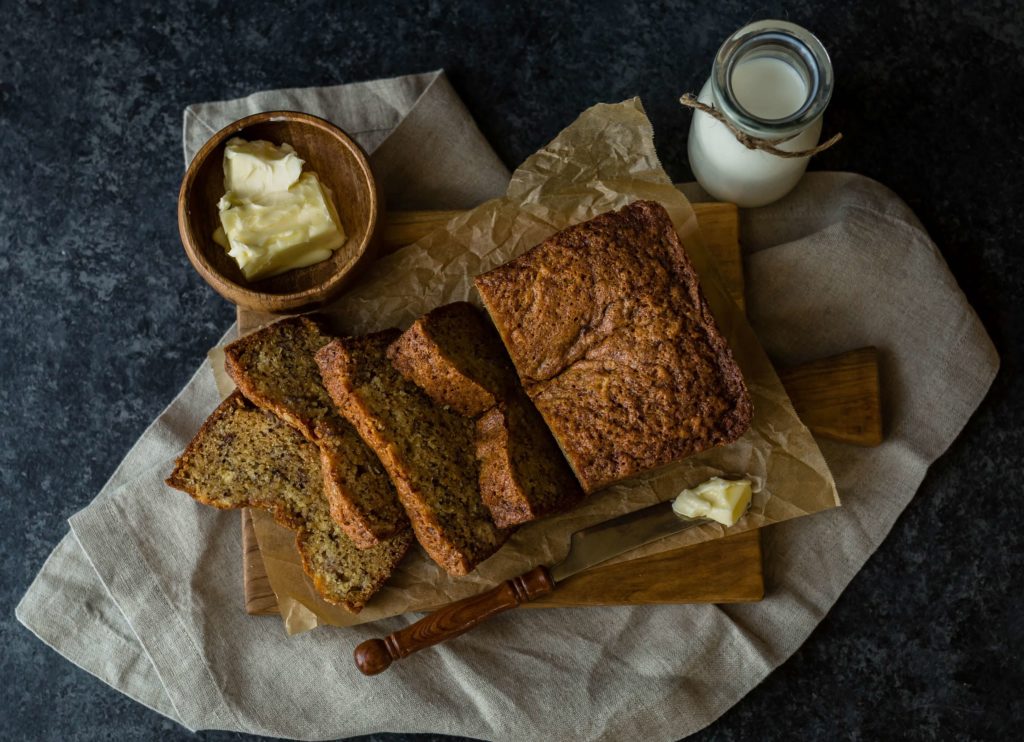
Are you craving a delicious and moist banana loaf? Look no further! In this article, I’ll share with you a fantastic banana loaf recipe that uses self-raising flour. With just a few simple ingredients and easy-to-follow steps, you’ll be able to whip up a mouthwatering banana loaf in no time. Whether you’re a seasoned baker or a beginner in the kitchen, this recipe is perfect for anyone looking to satisfy their sweet tooth.
If you’re tired of the same old banana bread recipe, it’s time to switch things up! By using self-raising flour, you’ll achieve a lighter and fluffier texture in your banana loaf. No need to worry about adding baking powder or baking soda – the self-raising flour takes care of it all. With this recipe, you’ll be able to enjoy a perfectly risen and tender banana loaf every time.
Ingredients

Now that you’re ready to embark on your banana loaf baking adventure, let’s gather all the ingredients you’ll need. Don’t worry, it’s a simple and straightforward list of items that you probably already have in your pantry. Here’s what you’ll need:
- 3 ripe bananas: Look for bananas that are yellow with brown spots, as they will add natural sweetness and flavor to your loaf.
- 2 cups of self-raising flour: Using self-raising flour will make your banana loaf light and fluffy without the need for additional leavening agents.
- 1 cup of granulated sugar: This will provide the necessary sweetness to balance the flavors.
- 1/2 cup of unsalted butter: Make sure it’s softened at room temperature for easy mixing.
- 2 large eggs: They will help bind the ingredients together and add structure to your loaf.
- 1 teaspoon of vanilla extract: This will enhance the overall flavor of your banana loaf.
- 1/2 cup of milk: It will keep your loaf moist and tender.
- A pinch of salt: This will help balance the sweetness and enhance the flavors.
That’s it! With these simple ingredients, you’re well on your way to creating a delicious banana loaf. Now, let’s move on to the next step: the preparation.
Step 1: Preparing the Ingredients
When it comes to making a delicious banana loaf with self-raising flour, the first step is to gather all the necessary ingredients. Let’s take a look at what you’ll need:
- Ripe Bananas: To achieve that rich and sweet banana flavor, make sure to use ripe bananas. The riper they are, the sweeter and more flavorful your banana loaf will be.
- Self-Raising Flour: This is the key ingredient that will give your banana loaf its light and fluffy texture. The self-raising flour already contains the perfect amount of leavening agents, so you won’t need to add any baking powder or baking soda.
- Granulated Sugar: A little bit of sweetness goes a long way in enhancing the flavor of your banana loaf. Use granulated sugar to add just the right amount of sweetness to your recipe.
- Unsalted Butter: Butter adds richness and moisture to your banana loaf. Make sure to use unsalted butter so you can control the amount of salt in your recipe.
- Eggs: Eggs act as a binding agent and help to give your banana loaf structure. They also add richness and flavor to the final product.
- Vanilla Extract: A touch of vanilla extract adds a subtle but delightful flavor to your banana loaf. It complements the sweetness of the bananas perfectly.
- Milk: Milk helps to keep your banana loaf moist and tender. Use whole milk for a richer texture or low-fat milk if you prefer a lighter option.
- Pinch of Salt: A pinch of salt helps to balance out the sweetness and enhances the overall flavor of your banana loaf.
Now that you have all your ingredients ready, it’s time to move on to the next step: mixing the batter.
Step 2: Mixing the Batter
Now that you have gathered all the ingredients, it’s time to mix them together and create a delicious banana loaf. Mixing the batter is a crucial step in ensuring that your banana loaf turns out moist and flavorful. Here’s how you can do it:
- Mash the bananas: Start by peeling the ripe bananas and placing them in a large mixing bowl. Use a fork or a potato masher to mash the bananas until they form a smooth puree. The riper the bananas, the sweeter and more flavorful your banana loaf will be.
- Add the wet ingredients: To the mashed bananas, add the unsalted butter (softened), granulated sugar, eggs, and vanilla extract. Mix well until all the ingredients are thoroughly combined. The butter should be at room temperature to ensure easy mixing.
- Incorporate the dry ingredients: In a separate bowl, sift the self-raising flour and add a pinch of salt. Sifting the flour helps remove any lumps and ensures a smooth batter. Gradually add the dry ingredients to the wet ingredients, alternating with small amounts of milk. Mix gently until the batter is just combined. Be careful not to overmix, as this can result in a dense and tough banana loaf.
- Optional: Add mix-ins: If you want to take your banana loaf to the next level, you can add some mix-ins like chocolate chips, chopped nuts, or dried fruits. Fold them into the batter gently to distribute them evenly throughout.
And that’s it! Your banana loaf batter is now ready to be baked. Remember, the key to a moist and fluffy banana loaf is to mix the batter just until everything is combined. Overmixing can lead to a dense and heavy texture. So, take your time and enjoy the process of creating this delightful treat.
Step 3: Baking the Banana Loaf
Now that you have prepared the batter for your delicious banana loaf, it’s time to bake it to perfection! Follow these simple steps to ensure a moist and fluffy loaf that will have your taste buds dancing with delight.
- Preheat your oven to 350°F (175°C). This will ensure that your banana loaf bakes evenly and has a beautiful golden crust.
- Grease a loaf pan with butter or cooking spray. This will prevent the loaf from sticking to the pan and make it easier to remove once it’s baked.
- Pour the batter into the prepared loaf pan, making sure to spread it evenly. You can give the pan a gentle tap on the counter to remove any air bubbles.
- Place the loaf pan in the preheated oven and bake for about 50-60 minutes, or until a toothpick inserted into the center comes out clean. Keep an eye on it towards the end to prevent overbaking.
- Once the banana loaf is baked to perfection, remove it from the oven and let it cool in the pan for about 10 minutes. This will make it easier to remove from the pan without falling apart.
- After the initial cooling period, transfer the loaf to a wire rack to cool completely. This will ensure that the loaf sets properly and maintains its moisture.
- Once the banana loaf has cooled completely, it’s time to slice and enjoy! Grab a knife, cut yourself a generous slice, and savor the delightful combination of moist banana goodness.
Remember, baking times may vary depending on your oven, so keep an eye on the loaf towards the end to prevent it from overbaking. Once your banana loaf is ready, feel free to get creative and add a sprinkle of powdered sugar, a drizzle of chocolate sauce, or even some chopped nuts on top for an extra touch of flavor and texture.
Step 4: Cooling and Serving
Once your banana loaf is baked to perfection, it’s time to let it cool and get ready for serving. This step is crucial to ensure that the loaf sets properly and retains its moist texture. Here’s what you need to do:
- Cooling in the Pan: After taking the loaf out of the oven, let it cool in the pan for about 10 minutes. This allows the loaf to settle and makes it easier to remove from the pan later on.
- Transferring to a Wire Rack: After the initial cooling period, carefully transfer the loaf from the pan to a wire rack. You can use a butter knife to gently loosen the edges if needed. Placing the loaf on a wire rack allows air to circulate all around, preventing the bottom from becoming soggy.
- Complete Cooling: Allow the banana loaf to cool completely on the wire rack before slicing and serving. It’s tempting to dig in right away, but this step is essential for the flavors to develop and the loaf to hold its shape.
- Serving Suggestions: Once your banana loaf has cooled, it’s time to enjoy the deliciousness! Here are a few serving suggestions to enhance your experience:
- Plain and Simple: Slice a piece of the banana loaf and savor its natural sweetness and moistness. It’s perfect on its own as a delicious treat.
- Spread Some Love: Slather a generous amount of butter or cream cheese on a slice for an extra indulgent taste.
- Add Some Crunch: Top your banana loaf slice with a sprinkle of chopped nuts, such as walnuts or pecans, for added texture and flavor.
- Get Creative: Experiment with different toppings and spreads like chocolate-hazelnut spread, honey, or even a dollop of whipped cream.
Remember, the possibilities are endless when it comes to serving your banana loaf. Get creative and have fun exploring different flavor combinations!
Conclusion

Now that you have all the steps and ingredients needed, you are ready to bake a delicious and moist banana loaf using self-raising flour. This recipe is perfect for both experienced bakers and beginners, as it is easy to follow and yields fantastic results. By using self-raising flour, you can achieve a lighter and fluffier texture without the hassle of adding additional leavening agents.
Remember, the key to a moist and fluffy banana loaf is to mix the batter just until everything is combined. Be sure to follow the step-by-step instructions for baking the loaf, including preheating the oven, greasing the loaf pan, pouring the batter, and baking for 50-60 minutes.
Once your banana loaf is baked to perfection, allow it to cool in the pan for 10 minutes before transferring it to a wire rack to cool completely. Once cooled, you can slice it and enjoy it plain, with butter or cream cheese, or get creative with toppings like chopped nuts or a drizzle of chocolate.
So go ahead and give this banana loaf recipe a try. Your taste buds will thank you!


