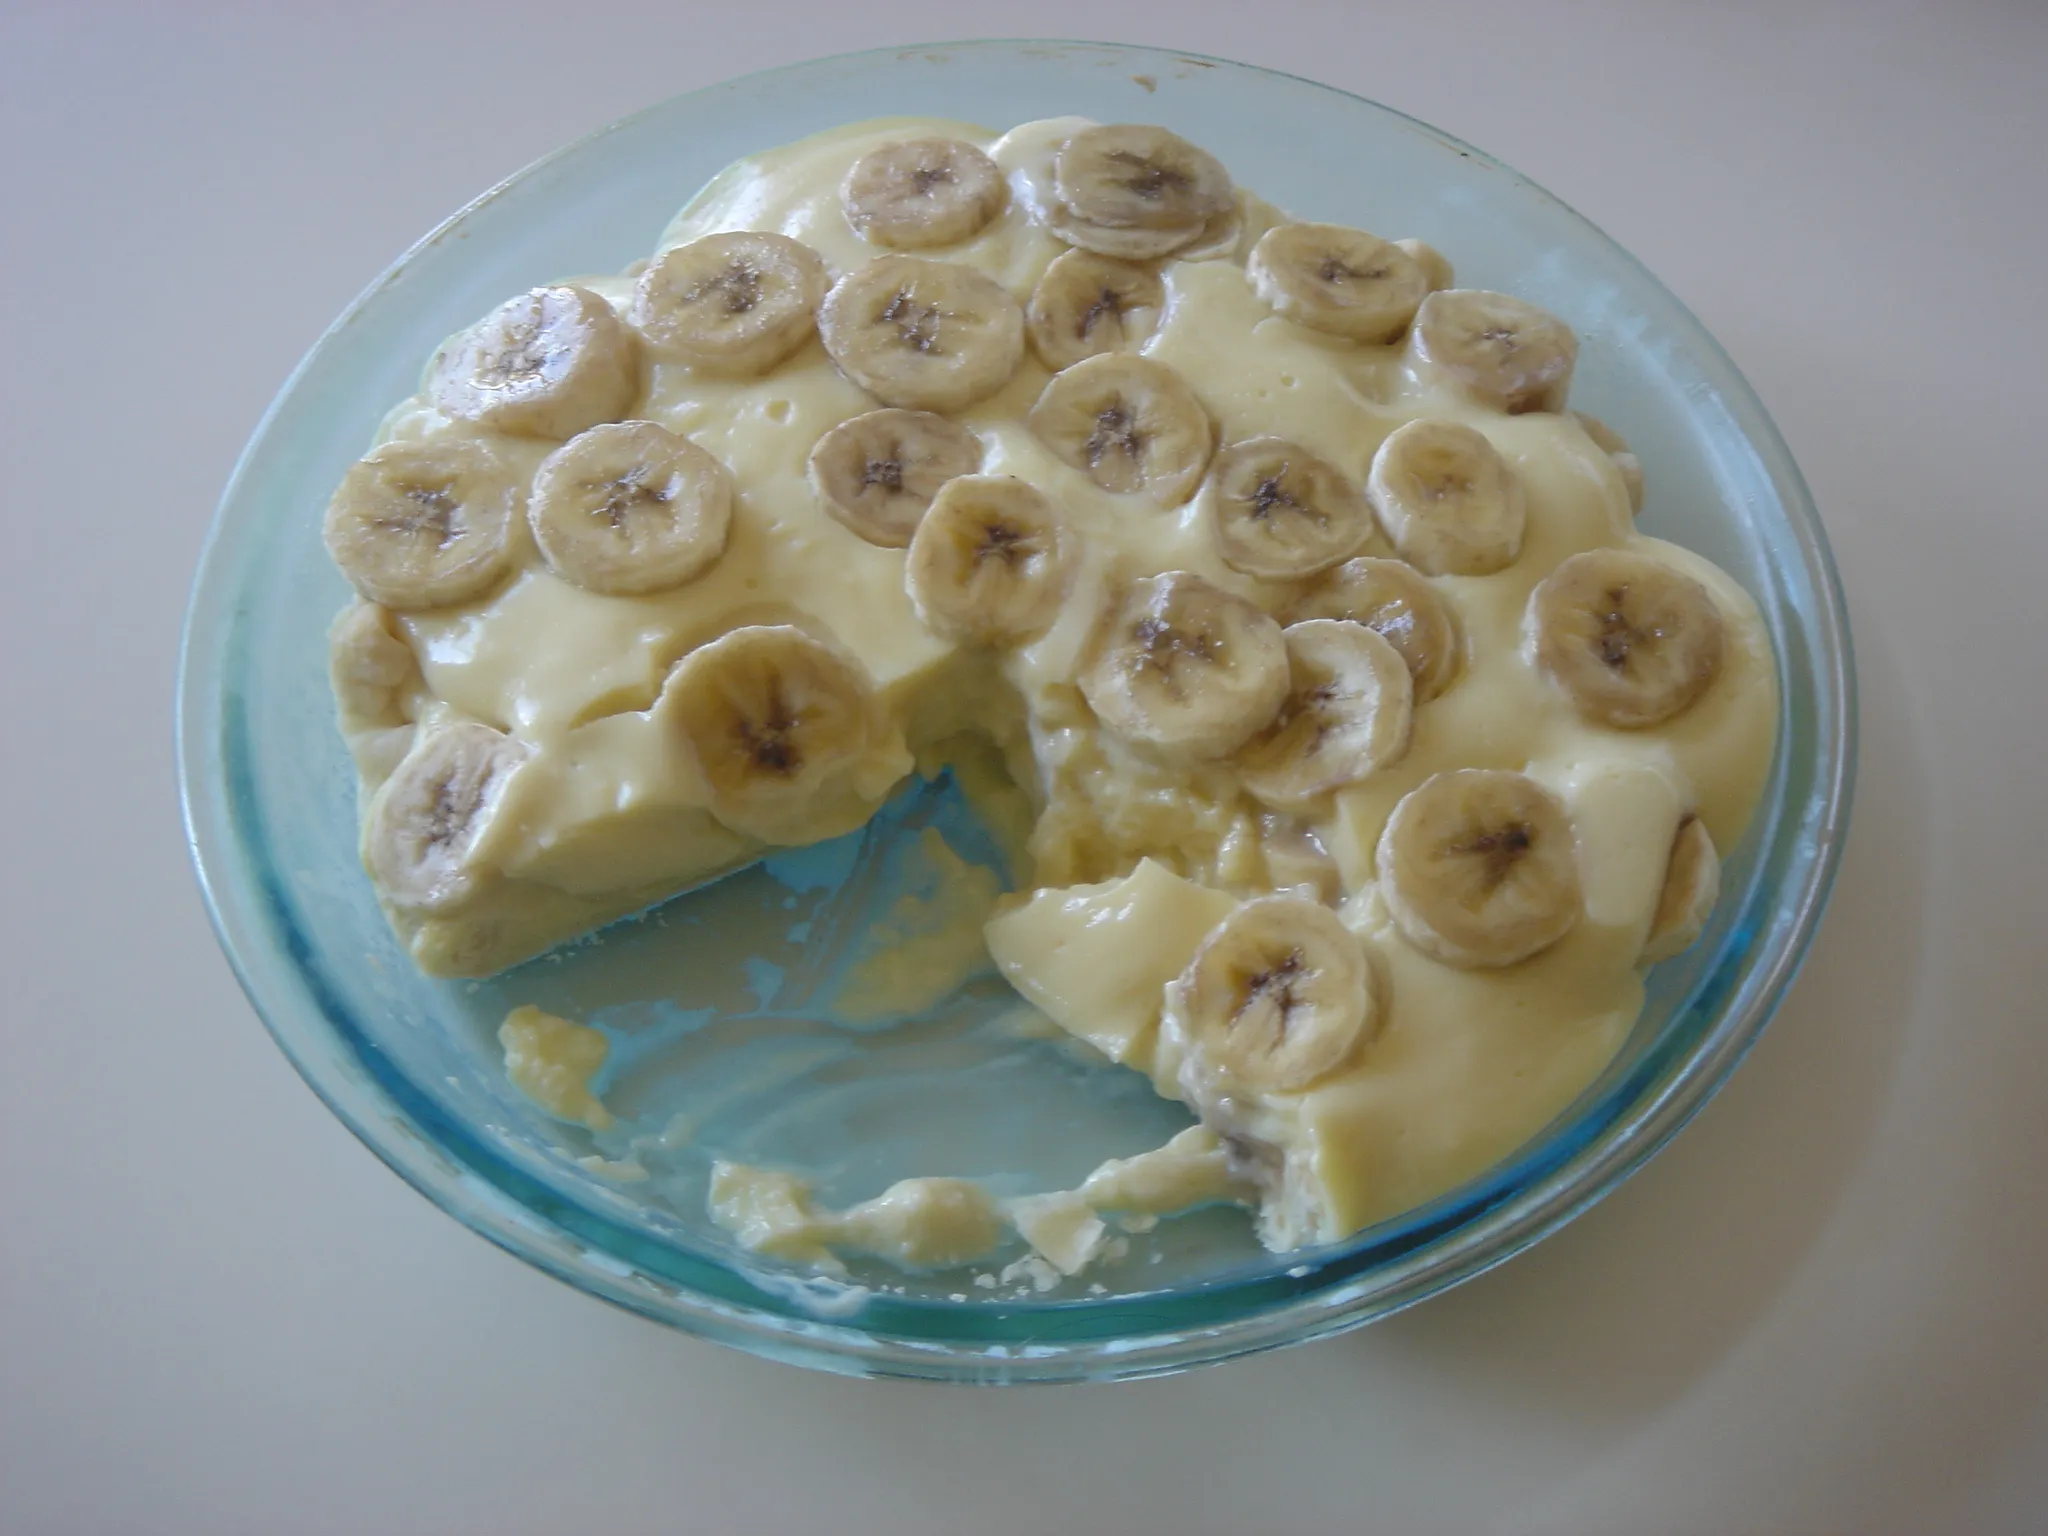
Are you craving a delicious homemade dessert but don’t have an oven? Look no further! In this article, we’ll share with you a mouthwatering banana cake recipe that you can easily make on your gas stove. Yes, you heard that right – no need for an oven! With just a few simple ingredients and some basic cooking equipment, you’ll be able to whip up a moist and flavorful banana cake that will impress your family and friends.
Imagine the delightful aroma of freshly baked banana cake filling your kitchen, without the need for an oven. With our gas stove banana cake recipe, you can enjoy this classic treat anytime, even if you don’t have access to an oven. The best part? You probably have most of the ingredients already in your pantry. So, grab some ripe bananas and let’s get started on this easy and delicious baking adventure.
Banana cake lovers, rejoice! We have the perfect recipe for you, and the best part is that you can make it on your trusty gas stove. This banana cake is moist, tender, and bursting with the natural sweetness of ripe bananas. Whether you’re a seasoned baker or just starting out, this recipe is sure to be a hit. So, roll up your sleeves, preheat your gas stove, and let’s bake a scrumptious banana cake that will have everyone asking for seconds.
Gathering the Ingredients
Now that you’re ready to embark on your banana cake baking adventure, it’s time to gather all the necessary ingredients. Don’t worry, you won’t need any fancy or hard-to-find items. In fact, you probably already have most of them in your pantry!
Here’s what you’ll need:
- Ripe Bananas: The star of the show! Choose bananas that are fully ripe, with brown spots on the skin. These bananas are sweeter and have a stronger flavor, which will make your cake extra delicious.
- All-Purpose Flour: This is the base of the cake. Make sure you have enough flour on hand, as it’s an essential ingredient for creating the perfect texture.
- Baking Powder: This will help your cake rise and become light and fluffy. Double-check that you have some in your pantry, as it’s a key ingredient for achieving the desired structure.
- Baking Soda: This ingredient works in tandem with the baking powder to ensure a well-risen cake. It also helps to balance the acidity of the bananas.
- Salt: Just a pinch is all you need to enhance the flavors of the cake. It adds a touch of balance to the sweetness of the bananas.
- Butter: Look for unsalted butter, as it allows you to control the amount of salt in the recipe. Make sure it’s softened before using, so it incorporates smoothly into the batter.
- Sugar: Choose either granulated or brown sugar, depending on your preference. Granulated sugar will give your cake a lighter color, while brown sugar will add a hint of caramel flavor.
- Eggs: These will provide structure and moisture to the cake. Make sure they’re at room temperature before using, as they incorporate better into the batter.
- Milk: This ingredient adds moisture and richness to the cake. You can use any type of milk you prefer, whether it’s whole, skim, or plant-based.
- Vanilla Extract: A splash of vanilla extract enhances the overall flavor of the cake and adds a delightful aroma.
Now that you have all the ingredients on hand, it’s time to move on to the next step: preparing the batter.
Preparing the Batter
Now that you have gathered all the necessary ingredients, it’s time to start preparing the batter for your delicious banana cake. This step is crucial as it sets the foundation for a moist and flavorful cake that you’ll love.
To begin, take those ripe bananas you have on hand. They should be nice and soft, with a few brown spots on the peel. These bananas are perfect for baking as they are sweeter and have a stronger banana flavor. Peel the bananas and place them in a large mixing bowl.
Next, grab your trusty fork or a potato masher. Mash the bananas until they are smooth and creamy. This will ensure that the banana flavor is evenly distributed throughout the cake.
In a separate bowl, combine the dry ingredients. This includes the all-purpose flour, baking powder, baking soda, and a pinch of salt. Whisk them together to make sure they are well mixed.
It’s time to bring everything together. In a large mixing bowl, cream the butter and sugar together until light and fluffy. You can use an electric mixer or do it by hand with a wooden spoon. Then, add the eggs one at a time, mixing well after each addition.
Once the butter, sugar, and eggs are well combined, it’s time to add the mashed bananas. Stir in the mashed bananas until they are fully incorporated into the batter.

It’s time to add the dry ingredients. Gradually add the dry mixture to the wet ingredients, alternating with the milk. Start and end with the dry ingredients, mixing just until everything is combined. Be careful not to overmix as this can result in a dense cake.
Finally, add a splash of vanilla extract to enhance the flavors of the cake. Give the batter one final gentle stir to incorporate the vanilla.
Baking the Cake
Now that you have prepared the batter for your delicious banana cake, it’s time to bake it to perfection. Don’t worry if you don’t have an oven – you can easily bake this cake on a gas stove! Just follow these simple steps:
- Prepare your cooking vessel: To bake the cake on a gas stove, you’ll need a deep, heavy-bottomed pan with a tight-fitting lid. Grease the pan with butter or cooking spray to prevent the cake from sticking.
- Create a makeshift oven: Place a heatproof stand or a small, empty tin can in the center of the pan. This will act as a base to elevate the cake and ensure even heat distribution.
- Preheat the pan: Place the greased pan on the gas stove over medium heat and preheat it for a few minutes. This will help create a stable and consistent temperature for baking.
- Add the batter: Carefully pour the prepared batter into the preheated pan. Smooth the top with a spatula to ensure an even surface.
- Cover and bake: Place the tight-fitting lid on the pan. This will create a sealed environment, trapping the heat inside and allowing the cake to bake evenly. Reduce the heat to low and let the cake bake for about 40-50 minutes.
- Check for doneness: To check if the cake is done, insert a toothpick or a skewer into the center. If it comes out clean or with a few crumbs, the cake is ready. If not, cover and continue baking for a few more minutes.
- Cool and serve: Once the cake is done, remove it from the heat and let it cool in the pan for a few minutes. Then, carefully transfer it to a wire rack to cool completely. Once cooled, slice and serve your delicious homemade banana cake!
Checking the Cake for Doneness
Once you’ve baked your banana cake on the gas stove, it’s important to check if it’s done before taking it out of the pan. This way, you can ensure that your cake is perfectly cooked and ready to be enjoyed. Here are a few ways to check if your banana cake is done:
1. Toothpick Test
One of the most common methods to test the doneness of a cake is by using a toothpick. Simply insert a toothpick into the center of the cake and gently pull it out. If the toothpick comes out clean or with just a few crumbs clinging to it, then your cake is done. However, if the toothpick comes out with wet batter, it needs more time to bake.
2. Finger Press Test
Another way to check if your banana cake is done is by gently pressing the top of the cake with your finger. If the cake springs back and feels firm to the touch, it’s likely done. On the other hand, if your finger leaves an indentation, the cake needs more time to bake.

3. Visual Cues
« The Ultimate Guide to Freezing and Serving Delicious Banana Bread
Make Smooth and Creamy Banana Juice Without a Blender »
A well-baked banana cake will have a golden brown color on the top and the edges. The cake should also start pulling away from the sides of the pan. These visual cues can give you a good idea of whether your cake is done or not.
Remember, every oven is different, so baking times may vary. It’s always a good idea to start checking for doneness a few minutes before the recommended baking time. If your cake needs more time, you can always cover it with foil to prevent the top from browning too much while it finishes baking.
Cooling and Frosting the Cake
Once your banana cake is done baking, it’s time to let it cool and add some delicious frosting! Here are a few steps to follow for the perfect finishing touches:
- Cooling the Cake:
- Choosing the Frosting:
- Applying the Frosting:
- Adding Decorations:
Remember, the frosting is the icing on the cake (pun intended)! It adds an extra layer of flavor and visual appeal to your delicious banana cake. Experiment with different frostings and decorations to make it your own.
Now that your banana cake is cooled and frosted, it’s ready to be enjoyed! Whether you’re serving it for a special occasion or just as a sweet treat, this homemade gas stove banana cake is sure to impress.
Conclusion
Now that you have the recipe for a delicious banana cake that can be made on your gas stove, you can enjoy this moist and tender treat anytime. With simple ingredients that you likely already have in your pantry, this recipe is perfect for both experienced bakers and beginners. Once you’ve baked the cake, don’t forget to cool it and add your favorite frosting. Whether you choose cream cheese frosting, buttercream frosting, whipped cream frosting, or powdered sugar, the frosting will add an extra layer of flavor and visual appeal to the cake. You can even get creative with decorations like sliced bananas, banana chips, or chopped nuts. The possibilities are endless! Once your banana cake is cooled and frosted, it’s time to dig in and savor every bite. So go ahead and enjoy this delightful homemade treat that’s made with love right on your gas stove.


