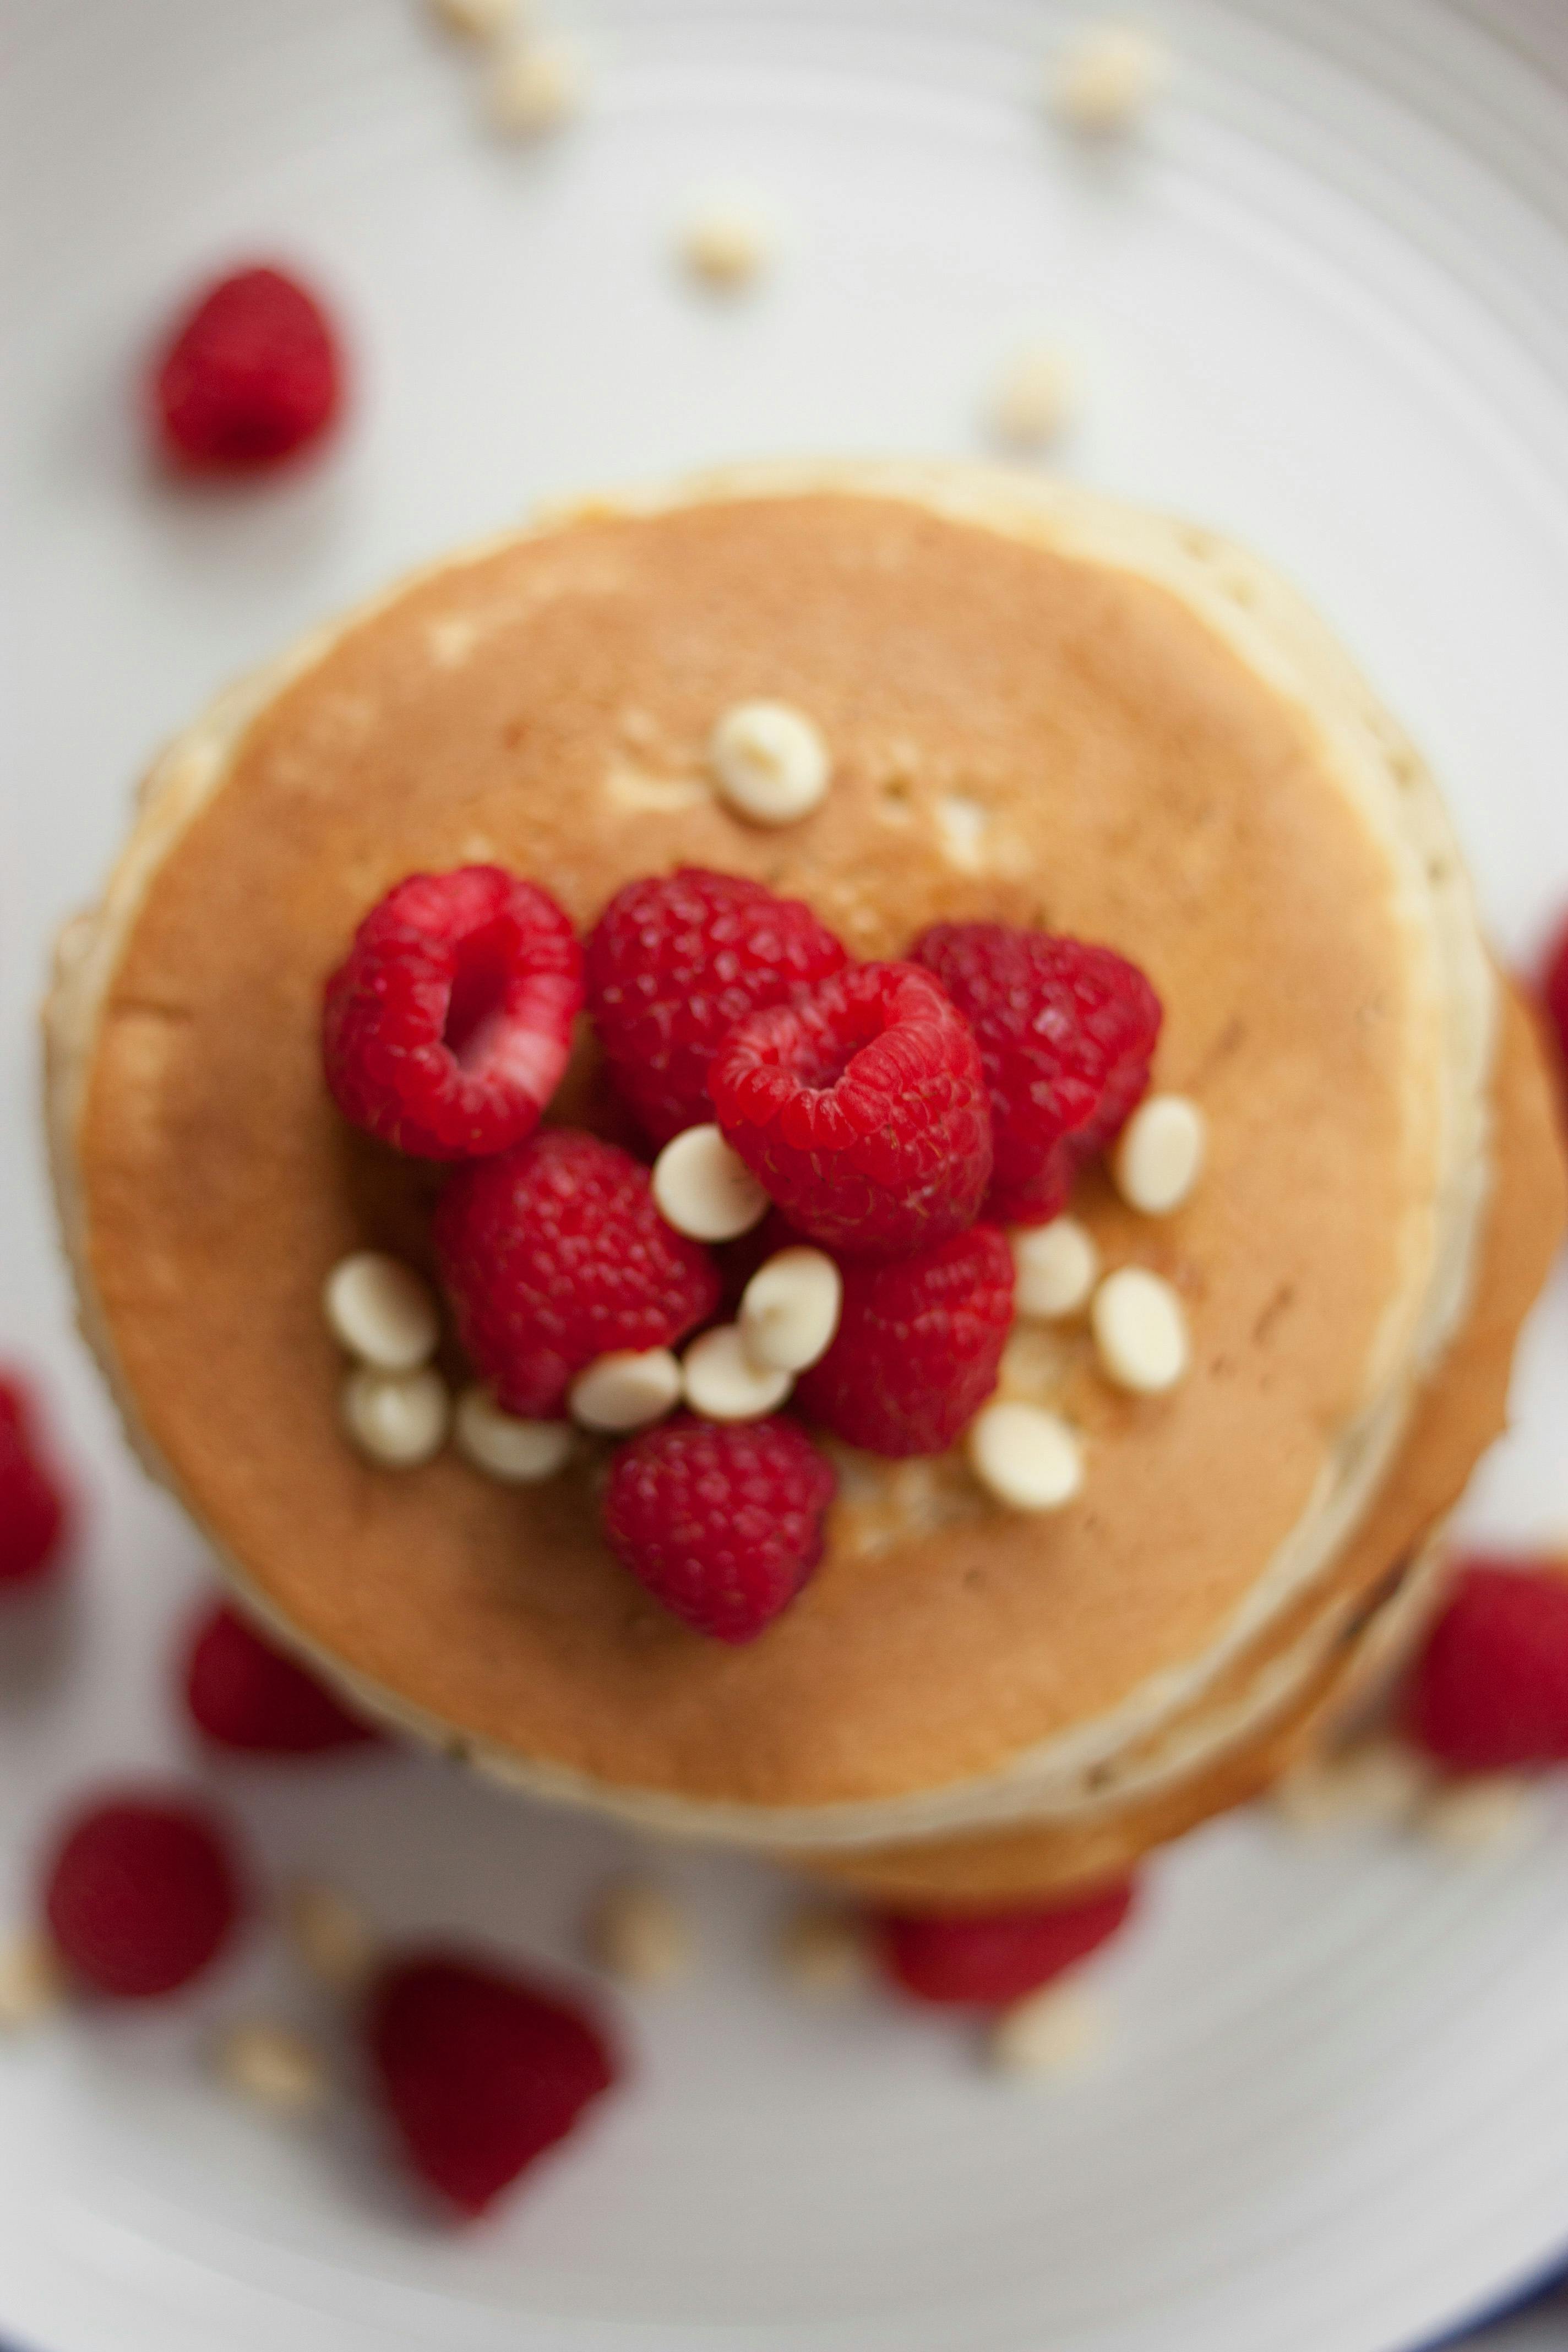
There’s something so comforting about a stack of pancakes in the morning, isn’t there? These gluten-free banana and buckwheat pancakes are a wholesome twist on the classic breakfast favorite. They’re fluffy, flavorful, and packed with natural sweetness from the bananas—perfect for starting your day on a delicious note.

Buckwheat flour gives these pancakes a nutty, earthy flavor while keeping them completely gluten-free. It’s amazing how such a simple ingredient swap can create a dish that feels both nourishing and indulgent. Plus, they’re quick to whip up, making them a go-to for busy mornings or lazy weekends.
Ingredients
When it comes to bananas, I can’t get enough of their versatility and natural sweetness. Ripe bananas are the key to creating these gluten-free banana and buckwheat pancakes. With just a handful of wholesome ingredients, you’ll have a stack of fluffy goodness ready to enjoy.
For The Pancake Batter
- 2 medium ripe bananas (mashed)
- 1 cup buckwheat flour
- 1 teaspoon baking powder
- 1/4 teaspoon baking soda
- 1/4 teaspoon salt
- 1 egg (room temperature)
- 3/4 cup almond milk (or any milk of choice)
- 1 teaspoon vanilla extract
- 1 tablespoon maple syrup (optional, for added sweetness)
- 1 tablespoon coconut oil (melted, plus extra for greasing the pan)
Optional Toppings
- Sliced banana rounds (my favorite topping!)
- Fresh berries (like blueberries or strawberries)
- Drizzle of maple syrup
- Dollop of Greek yogurt or coconut cream
- Chopped nuts (walnuts or pecans pair beautifully)
- Dark chocolate shavings or chips (for a touch of indulgence)
Tools And Equipment

When it comes to creating the perfect gluten-free banana and buckwheat pancakes, having the right tools is just as important as the ripe bananas themselves. Here’s what I always use in my kitchen to make sure each pancake comes out just right:
- Mixing bowls: I use two medium-sized mixing bowls—one for whisking my dry ingredients like buckwheat flour and baking powder, and the other for combining my mashed bananas with almond milk and other wet ingredients.
- Fork or potato masher: To properly mash the bananas, I rely on a sturdy fork or a potato masher to get that smooth, lump-free consistency for the batter. Overripe bananas always work best for this.
- Whisk: A whisk is essential for mixing the batter evenly. I use it to combine dry and wet ingredients until the mixture becomes smooth but not overworked.
- Measuring cups and spoons: Precise measurements are key for a great pancake batter, so I keep my standard set of measuring tools handy. Both the sweetness and the texture depend on careful proportions.
- Ladle or measuring cup: To ensure uniform pancakes, I use a small ladle or a 1/4-cup measuring cup to scoop the batter onto the pan. This creates consistently sized pancakes that are easy to stack.
- Nonstick skillet or griddle: A heavy-bottomed nonstick skillet or griddle is my go-to for flawless pancakes. I heat it evenly to medium heat to avoid sticking or burning.
- Spatula: A wide, flat spatula makes flipping the pancakes simple. I like ones with a beveled edge for precision and ease.
Each of these tools plays a part in transforming mashed bananas and buckwheat flour into a stack of fluffy, nutty pancakes. I love the way the aroma of bananas fills the kitchen as the batter sizzles on the skillet! It’s always a little piece of pancake paradise in my house.
Directions
Nothing brings me more joy than turning the fruits of my banana trees into delicious recipes. These gluten-free banana and buckwheat pancakes are a must-try, and I’ll guide you through each step to achieve that perfect fluffy stack.
Prep
- Start by peeling and mashing 2 large ripe bananas. Use a fork or potato masher until the bananas are smooth, with just a few small lumps. The riper the bananas, the sweeter and more flavorful your pancakes will be.
- Measure out your other ingredients to ensure everything is ready to go. This includes 1 cup of buckwheat flour, 1 teaspoon of baking powder, 1 teaspoon of cinnamon (optional), and a pinch of salt for the dry mix. For the wet ingredients, have ¾ cup of almond milk (or your favorite plant-based milk) and 1 teaspoon of vanilla extract set aside.
Make The Pancake Batter
- In one medium-sized mixing bowl, whisk together the buckwheat flour, baking powder, cinnamon (if using), and salt. Mixing the dry ingredients first prevents clumping and ensures even distribution of the ingredients.
- In a separate mixing bowl, combine the mashed bananas, almond milk, and vanilla extract. Whisk until the mixture is smooth and well-blended.
- Slowly pour the wet ingredients into the dry ingredients. Use a whisk or spatula to gently fold the ingredients together. Be sure not to overmix—this keeps the batter light and prevents the pancakes from becoming dense.
Cook The Pancakes
- Heat a heavy-bottomed nonstick skillet or griddle over medium heat. Lightly grease the surface with coconut oil or a small amount of butter. Use just enough to coat the pan without making it greasy.
- Use a ladle or ¼ cup measuring cup to pour the batter onto the hot skillet. Each pancake should be roughly 4-5 inches wide for the perfect size.
- Cook for about 2-3 minutes, or until small bubbles form on the surface and the edges look set. Carefully flip the pancake with a wide spatula and cook the other side for 1-2 minutes, until golden brown.
- Transfer cooked pancakes to a plate and cover them with a clean kitchen towel to keep warm while finishing the rest of the batter. Repeat until all the batter is used.
Tips For Success
As a banana lover and grower, I’ve learned a few secrets to ensure these Gluten-Free Banana and Buckwheat Pancakes turn out perfectly every time. Here are my tips to help you elevate your pancake-making game.
Choose the Ripest Bananas
The sweetness and moisture of your pancakes heavily depend on the bananas you use. Look for bananas with plenty of brown spots on the peel. These indicate the bananas are at their sweetest and softest, which makes them easier to mash and enhances the natural sweetness in your pancakes. Avoid green or underripe bananas for this recipe—they won’t provide the same depth of flavor.
Don’t Overmix the Batter
Once you combine the wet and dry ingredients, mix gently until just combined. Overmixing can cause the pancakes to be dense instead of light and fluffy. It’s okay if the batter has small lumps—trust me, those imperfections will vanish as the pancakes cook.
Let the Batter Rest
Give the batter a few minutes to rest after mixing. This step allows the buckwheat flour to hydrate fully, resulting in a smoother texture and fluffier pancakes. While the batter rests, you can prep your skillet or gather your toppings.
Adjust the Heat Properly
The key to evenly cooked pancakes is controlling the heat. Use medium heat to ensure the pancakes cook through without burning. Let the skillet heat up fully before you pour in the batter, and remember to grease it lightly with oil or butter before starting.
Keep an Eye on Bubbles
When cooking, wait for bubbles to form on the surface of the pancakes and the edges to appear set before flipping. This visual cue helps you time the flip perfectly, leading to golden-brown pancakes every time.
Experiment With Toppings
Bananas are so versatile! Try adding extra banana slices on top of the pancakes or caramelize a sliced banana in the skillet with a touch of maple syrup for a delicious topping. Pair them with fresh berries, a dollop of yogurt, or even crunchy nuts for added texture and flavor.
Use Fresh Baking Powder

Always check the freshness of your baking powder, as this ingredient is crucial for fluffy pancakes. An older, inactive baking powder may not give you the lift you need, resulting in flat and dense pancakes.
These tips are rooted in my years of experimenting with bananas and creating recipes to highlight their incredible flavor. Follow these steps, and your kitchen will soon be filled with the warm, sweet scent of perfectly cooked banana pancakes.
Make-Ahead And Storage Instructions
As a banana enthusiast who loves experimenting with banana recipes, I know how important it is to preserve the natural sweetness and texture of these beauties. Let’s talk about how to make these gluten-free banana and buckwheat pancakes ahead of time and store them properly so you can enjoy them without losing their banana-rich flavor and fluffiness.
Make-Ahead Tips
If you’re preparing for a busy morning, you can whip up the pancake batter the night before. Once you combine the wet and dry ingredients, cover the bowl tightly with plastic wrap or transfer the batter to an airtight container. Refrigerate it overnight. This allows the flavors to meld beautifully, and the batter will be perfectly ready when morning arrives.
For a full make-ahead option, you can cook the pancakes as directed, cool them completely, and then store them. Layer each pancake with a piece of parchment paper to prevent sticking, and stack them in an airtight container. This way, your pancakes stay fresh and ready to reheat.
Storing Leftover Pancakes
If you somehow end up with leftover pancakes (a rare occurrence in my house), storing them properly keeps them delicious for later. Let the pancakes cool completely before storing them to avoid condensation, which can make them soggy. Once cooled, stack them with parchment paper between each layer, and place the stack in a freezer-safe bag or an airtight container.

« Vegan Banana and Oat Milkshake Recipe: Creamy, Healthy, and Easy to Make at Home
Paleo Banana and Coconut Flour Muffins: The Perfect Guilt-Free Treat You’ll Crave Every Day »
Here’s a quick storage guide:
| Storage Method | Timeframe | Tips |
|---|---|---|
| Refrigerator | Up to 3 days | Store in an airtight container with parchment paper between each pancake. |
| Freezer | Up to 3 months | Use a freezer-safe bag or container, and remove as much air as possible. |
Reheating Instructions
To reheat refrigerated or frozen pancakes, keep it simple. For a quick option, use a microwave: place a pancake on a microwave-safe plate, and heat it in 20-second intervals until warmed through. If you want to retain that fresh-off-the-griddle texture, reheat them in a nonstick skillet over medium-low heat for about 1–2 minutes on each side. You can also pop them in a toaster for a slightly crisp edge—my personal favorite method!
Serving Suggestions
When it comes to serving these gluten-free banana and buckwheat pancakes, I love to let bananas shine even more. A freshly sliced banana makes the perfect topping, adding extra natural sweetness and a creamy texture to complement the nutty grit of the buckwheat. I also sprinkle a handful of toasted walnuts or pecans for a subtle crunch and nutty depth that pairs gorgeously with banana flavors.
For an indulgent touch, drizzle pure maple syrup over the pancakes. The rich, caramel-like taste amplifies the bananas’ natural sugars. Sometimes, I like to add a dollop of Greek yogurt or coconut cream to balance the sweetness, especially if I’m planning these pancakes for a mid-morning brunch. Freshly grated cinnamon on top gives them a cozy spice, perfect for cooler mornings.
If you’re in the mood for something fruity, fresh berries like blueberries, raspberries, or strawberries create a lovely contrast with their tartness. Or, try warming up mixed berries with a teaspoon of honey in a small saucepan to create a quick berry compote. Pouring the bright, fruity sauce over the pancakes feels like a treat straight from a café.
Another fun serving idea: smear a thin layer of almond butter or peanut butter atop each pancake before stacking them high. It’s a delectable way to enjoy them—especially for those who love bananas paired with nutty spreads. If you’re serving kids, add chocolate chips or a dusting of cocoa powder for an extra special stack.
For those mindful of presentation, I recommend stacking no more than three pancakes, keeping them neat, topped with banana slices, a drizzle of syrup, and a sprinkle of seeds like chia or hemp for a wholesome, visually appealing plate.
Conclusion
Making gluten-free banana and buckwheat pancakes is such a rewarding experience. They bring together wholesome ingredients, comforting flavors, and a touch of creativity with endless topping possibilities. Whether you’re whipping them up for a quick breakfast or a relaxed weekend treat, these pancakes are sure to brighten your day.
I hope this recipe inspires you to try something new in the kitchen and enjoy the process as much as the delicious results. Don’t forget to share your pancake creations—I’d love to hear how you made them your own!


