Love banana pudding? Looking for a delicious homemade recipe that incorporates the classic Nilla wafers? Look no further! In this article, we’ll share a mouthwatering banana pudding recipe that will satisfy your sweet tooth and leave you craving for more. Get ready to indulge in layers of creamy pudding, fresh bananas, and the irresistible crunch of Nilla wafers. Let’s get started!
Are you a fan of nostalgic desserts that bring back childhood memories? Then you’ll absolutely adore this banana pudding recipe featuring the iconic Nilla wafers. With just a few simple ingredients, you can whip up a delectable dessert that will impress your friends and family. Get ready to savor the creamy goodness of homemade pudding, the natural sweetness of ripe bananas, and the delightful texture of crispy Nilla wafers. Get your mixing bowls ready!
About Banana Pudding

If you’re a fan of bananas, then banana pudding is a must-try dessert. This delightful treat combines the natural sweetness of ripe bananas with a creamy and luscious pudding. One variation of this classic dessert includes the addition of Nilla wafers, which adds a delightful crunch and complements the flavors perfectly.
Banana pudding is a beloved dessert that has been enjoyed for generations. It’s a nostalgic treat that brings back memories of family gatherings and special occasions. The combination of creamy pudding, sliced bananas, and Nilla wafers creates a delightful harmony of textures and flavors.
The star of the show, of course, is the banana. Did you know that bananas are not only delicious but also packed with nutrients? They are an excellent source of potassium, vitamin C, and dietary fiber. Potassium is essential for maintaining healthy blood pressure levels, while vitamin C is an antioxidant that helps boost your immune system. The dietary fiber in bananas aids in digestion and helps you feel fuller for longer.
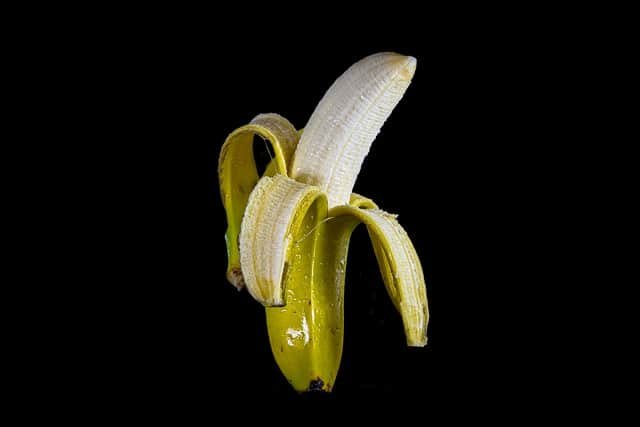
When choosing bananas for your pudding, make sure to use ripe, yellow bananas. Ripe bananas have a sweeter flavor and a softer texture, which is perfect for mashing into the pudding. If you prefer a firmer texture, you can use slightly underripe bananas.
To make the perfect banana pudding, you’ll need a few key ingredients: ripe bananas, instant vanilla pudding mix, milk, whipped cream, and, of course, Nilla wafers. The Nilla wafers add a delicious crunch and a touch of nostalgia to the dessert.
Ingredients Needed
When it comes to making a delicious banana pudding with Nilla wafers, you’ll need a few key ingredients. Let’s take a look at what you’ll need to create this delightful dessert:
- Ripe Bananas: The star of the show, ripe bananas bring a natural sweetness and creamy texture to the pudding. Look for bananas that are yellow with some brown spots, as these are the ripest and will have the best flavor.
- Instant Vanilla Pudding Mix: This mix will form the base of your pudding. It’s quick and easy to prepare, giving you a smooth and velvety pudding in no time.
- Milk: To create the luscious pudding, you’ll need some milk. Opt for whole milk for a rich and creamy consistency.
- Whipped Cream: Whipped cream adds an extra level of indulgence to your banana pudding. You can use store-bought whipped cream or make your own by whipping heavy cream with a little sugar until soft peaks form.
- Nilla Wafers: These classic vanilla-flavored cookies provide a delightful crunch and a hint of sweetness to your pudding. They also add a nostalgic touch to the dessert.
Step 1: Making the Pudding
Making the pudding is the first step in creating a delicious banana pudding with Nilla wafers. It’s a simple process that will have you enjoying creamy layers of pudding in no time.
To begin, gather your ingredients: ripe bananas, instant vanilla pudding mix, milk, whipped cream, and of course, Nilla wafers.
Did you know? Bananas are not only delicious, but they are also packed with nutrients. They are a great source of potassium, vitamin C, and dietary fiber. So, not only will you be indulging in a tasty treat, but you’ll also be giving your body a healthy boost.
Start by preparing the instant vanilla pudding mix according to the package instructions. Usually, you’ll need to whisk the mix with cold milk for a few minutes until it thickens. Make sure to use a whisk or an electric mixer to ensure a smooth and creamy texture.

Once the pudding is ready, it’s time to layer the ingredients. Take a serving dish or individual dessert cups and start with a layer of Nilla wafers at the bottom. Pro tip: You can crumble a few wafers for added texture.
Next, slice the ripe bananas and place a layer of them on top of the wafers. The sweetness of the bananas will complement the creamy pudding perfectly.
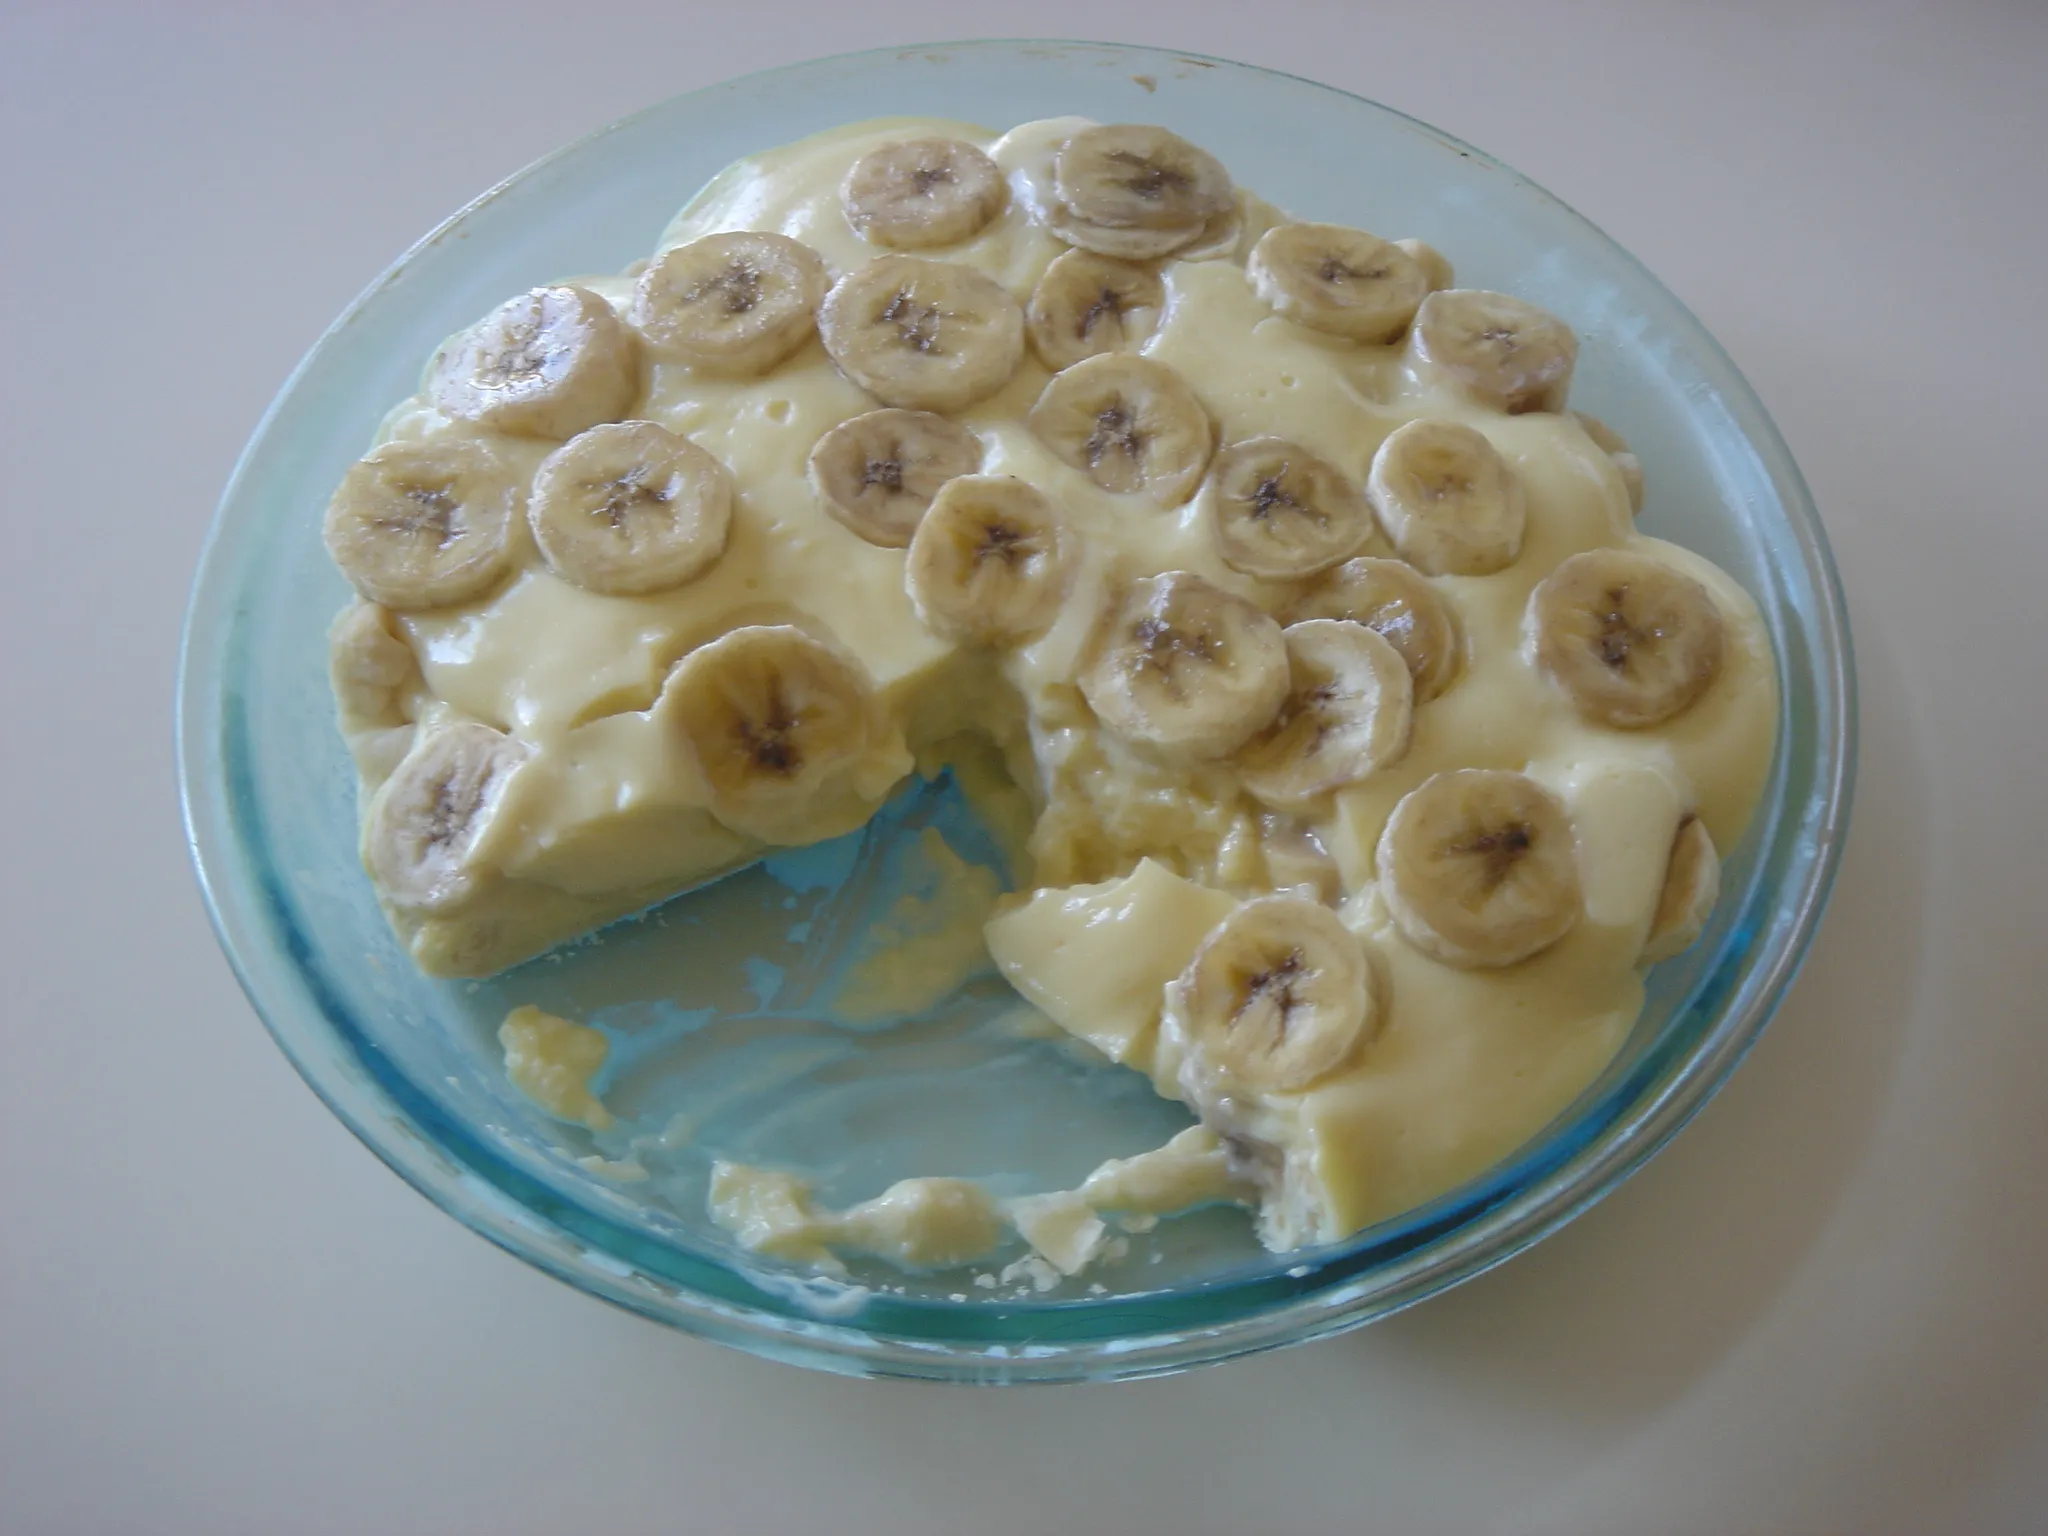
Spoon a generous amount of the prepared pudding over the bananas, making sure to cover them completely. Repeat the layers until you’ve used up all the ingredients, ending with a layer of pudding on top.
Fun fact: The Nilla wafer is a classic cookie that has been around for over a century. It was first introduced in the late 1800s and has been a favorite among dessert lovers ever since.
Finally, finish off your banana pudding with a dollop of whipped cream on top. This will add a light and airy touch to the dessert.
And there you have it, a homemade banana pudding with Nilla wafers that is both nostalgic and delicious. It’s a dessert that will transport you back to your childhood and leave you wanting more.

Step 2: Assembling the Layers
« Discover Delicious and Nutritious Banana Flower Recipes
Easy Homemade Banana Loaf Recipe for Babies with Essential Nutrients »
Now that you have prepared the delicious instant vanilla pudding mix, it’s time to bring all the elements together and assemble the layers of your homemade banana pudding with Nilla wafers.
To start, gather your serving dish or individual dessert cups. Having individual portions adds a touch of elegance to your presentation. Plus, everyone gets to enjoy their own little serving of this delightful dessert.
Next, grab your Nilla wafers and begin creating the first layer. Arrange the wafers in a single layer at the bottom of the dish or cup. The wafers will provide a delightful crunch and a hint of vanilla flavor that perfectly complements the creamy banana pudding.
It’s time to add the star of the show – the sliced bananas. Make sure to use ripe bananas for the best flavor and texture. Layer the sliced bananas on top of the Nilla wafers, spreading them out evenly. The natural sweetness and creamy texture of the bananas will create a luscious contrast against the crunchy wafers and silky pudding.
Once the bananas are in place, it’s time to add the prepared instant vanilla pudding. Pour the pudding over the banana slices, making sure to cover them completely. The pudding will seep into the layers, infusing them with its velvety goodness.
Repeat the layering process with more Nilla wafers, sliced bananas, and pudding until you reach the top of the dish or cup. The number of layers will depend on the size of your serving container, but usually, two to three layers are sufficient to create a delightful balance of flavors and textures.
To add that special finishing touch, place a dollop of whipped cream on top of each individual portion or spread it evenly over the entire dish. The light and fluffy whipped cream will not only enhance the visual appeal but also provide a creamy and dreamy contrast to the other layers.
And there you have it! Your homemade banana pudding with Nilla wafers is now ready to be enjoyed. The layers of creamy pudding, fresh bananas, and the delightful crunch of Nilla wafers will transport you back to your childhood with every heavenly bite.
Step 3: Refrigerating and Serving
After assembling the layers of Nilla wafers, sliced bananas, and creamy pudding, it’s time to refrigerate your homemade banana pudding. This step is crucial to allow the flavors to meld together and for the pudding to set properly.

Refrigerating: Place your assembled banana pudding in the refrigerator for at least 2 hours, or overnight if possible. This will give the pudding enough time to firm up and become even more delicious. The chilling process will also soften the Nilla wafers slightly, creating a perfect balance between the creamy pudding and the crunchy wafers.
Serving: When you’re ready to serve your banana pudding, you have a few options. You can either scoop it directly from the dish, or you can portion it out into individual dessert cups for a more elegant presentation. Whichever way you choose, make sure to garnish each serving with a dollop of whipped cream for an extra touch of indulgence.
Variations: While the classic banana pudding with Nilla wafers is a timeless favorite, feel free to get creative with your toppings. You can sprinkle some crushed Nilla wafers on top for added crunch or drizzle some caramel sauce for a sweet and sticky twist. You can even add a sprinkle of cinnamon or a dash of nutmeg for a warm and comforting flavor.
Remember, homemade banana pudding with Nilla wafers is best enjoyed fresh, so try to serve it soon after refrigeration. The combination of creamy pudding, ripe bananas, and crunchy wafers will transport you to a nostalgic and comforting place. So go ahead, indulge in a slice of this delightful dessert and savor every bite.
Conclusion
Now that you have the recipe for homemade banana pudding with Nilla wafers, you can easily recreate this nostalgic and comforting dessert in your own kitchen. With its layers of creamy pudding, fresh bananas, and the satisfying crunch of Nilla wafers, this dessert is sure to impress your friends and family.

Remember, the key to the perfect banana pudding is using ripe bananas, instant vanilla pudding mix, milk, whipped cream, and of course, Nilla wafers. By following the simple steps of preparing the pudding mix, layering the ingredients, and allowing the dessert to chill in the refrigerator, you’ll be rewarded with a delicious treat that will transport you back to your childhood.
Feel free to get creative with your toppings, such as whipped cream, crushed Nilla wafers, caramel sauce, cinnamon, or nutmeg. The possibilities are endless!
So go ahead, give this banana pudding recipe a try and enjoy the delightful combination of flavors and textures. It’s a dessert that’s sure to bring smiles to the faces of everyone who takes a bite.


