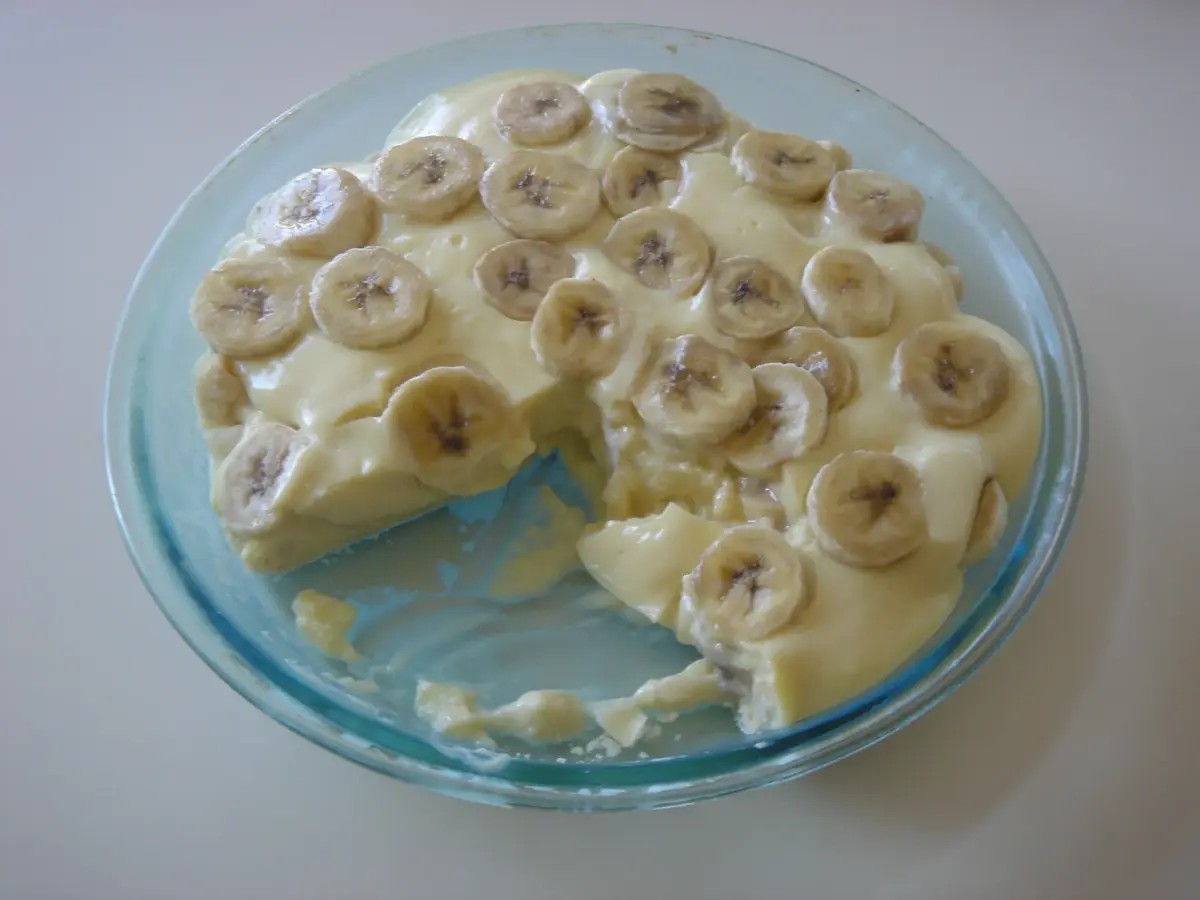
Are you craving a delicious and creamy dessert that will satisfy your sweet tooth? Look no further than this irresistible banana pudding recipe with cooked pudding. This classic Southern dessert is a crowd-pleaser and perfect for any occasion. With its layers of vanilla wafers, fresh bananas, and luscious homemade pudding, this dessert is sure to become a family favorite. Get ready to indulge in a dessert that is both comforting and full of flavor.
If you’re tired of the same old desserts and want to try something new, this banana pudding recipe with cooked pudding is a must-try. Unlike traditional recipes that use instant pudding mix, this recipe takes it up a notch by making the pudding from scratch. The result is a velvety smooth and rich pudding that elevates the flavors of the dessert. Whether you’re hosting a dinner party or simply want to treat yourself, this recipe is a winner.
What sets this banana pudding recipe apart is the use of cooked pudding. The process of making the pudding from scratch allows for a thicker and more flavorful base. The combination of ripe bananas, creamy pudding, and crunchy vanilla wafers creates a delightful contrast of textures. Plus, the dessert can be easily assembled ahead of time, making it a convenient option for any occasion. Get ready to impress your friends and family with this homemade banana pudding recipe.
Step 1: Gather the ingredients
Before you embark on your banana pudding adventure, it’s important to gather all the necessary ingredients. Here’s what you’ll need:
- 2/3 cup of granulated sugar
- 1/4 cup of all-purpose flour
- 1/4 teaspoon of salt
- 3 cups of milk
- 3 large eggs, separated
- 1 teaspoon of vanilla extract
- 2 tablespoons of unsalted butter
- 3 ripe bananas
- 1 box of vanilla wafers
Now that you have everything you need, let’s dive into the process of making this delicious banana pudding.
Step 2: Prepare the Pudding
Now that you have gathered all the necessary ingredients, it’s time to dive into making the velvety smooth and rich pudding for your banana pudding. Don’t worry, it’s easier than you may think!
- In a medium-sized saucepan, whisk together 3/4 cup of sugar, 1/4 cup of all-purpose flour, and a pinch of salt. This will be the base of your pudding mixture.
- Gradually add 2 3/4 cups of milk, whisking constantly to ensure there are no lumps. Whisk until the mixture is smooth and well combined.
- Separate 3 large eggs and set aside the egg whites for another use. In a small bowl, lightly beat the egg yolks.
- Slowly pour about a cup of the hot milk mixture into the beaten egg yolks, whisking constantly. This step is called tempering and helps to gradually bring up the temperature of the eggs without scrambling them.
- Pour the tempered egg yolk mixture back into the saucepan with the remaining milk mixture. Cook over medium heat, whisking constantly, until the mixture thickens and comes to a gentle boil. This should take about 5-7 minutes.
- Once the pudding has thickened, remove the saucepan from the heat and stir in 2 teaspoons of vanilla extract and 2 tablespoons of unsalted butter. Mix until the butter has melted and the vanilla is well incorporated.
- Transfer the pudding to a bowl and cover the surface with plastic wrap to prevent a skin from forming. Allow it to cool to room temperature, then refrigerate for at least 2 hours to let it set and chill.
Step 3: Assemble the Layers
Now that you have prepared the velvety smooth and rich banana pudding, it’s time to assemble the layers and create a dessert that is as delightful to look at as it is to eat. Get ready to indulge in the creamy goodness of ripe bananas, luscious pudding, and crunchy vanilla wafers. Here’s how you can assemble the layers:
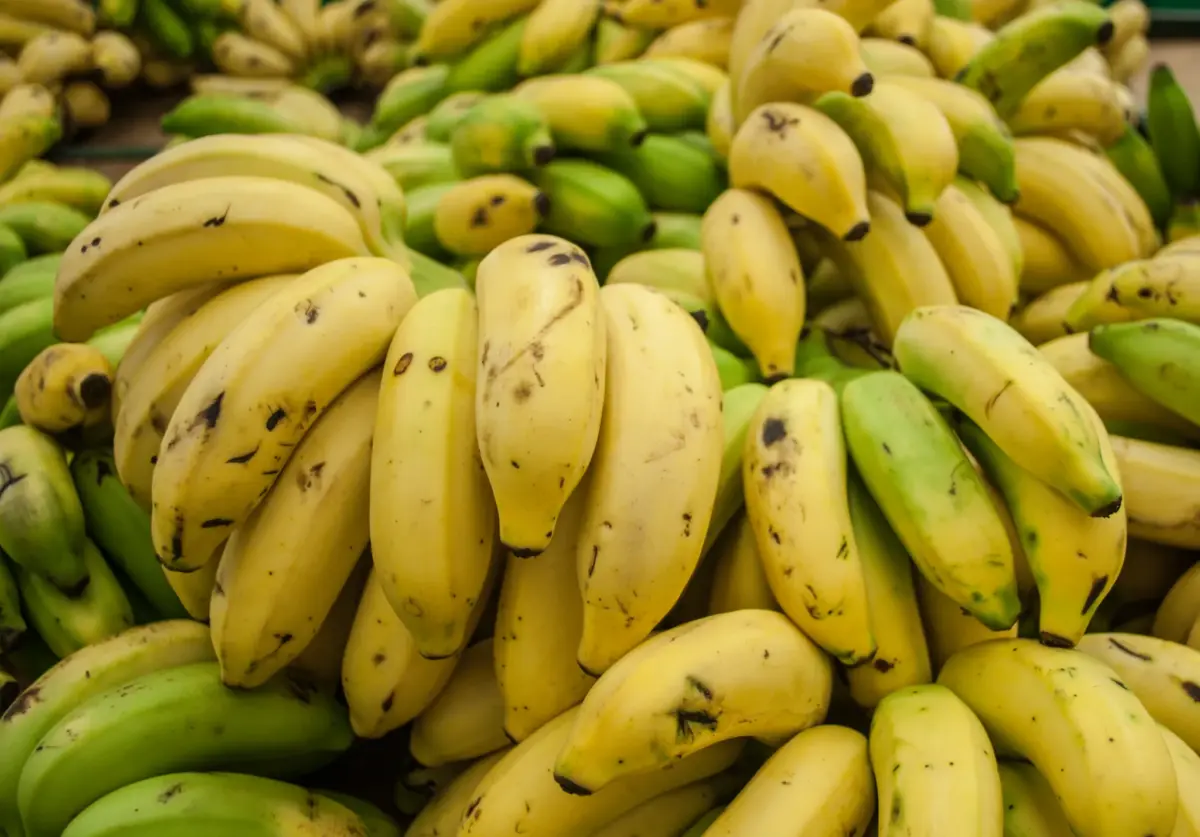
- Start by slicing some ripe bananas into thin rounds. Make sure to use bananas that are perfectly ripe, with a vibrant yellow color and just a few brown speckles. These bananas will not only add a natural sweetness to the pudding but also provide a creamy texture that melts in your mouth.
- Take a deep glass dish or individual serving bowls and arrange a layer of vanilla wafers at the bottom. The wafers will provide a satisfying crunch and act as a sturdy base for the layers of pudding and bananas.
- Next, spoon a generous amount of the homemade cooked pudding over the layer of wafers. Ensure that the pudding covers the wafers evenly, creating a smooth and creamy base for the dessert.
- Now, it’s time to add a layer of sliced bananas. Arrange the banana rounds over the pudding, covering it completely. The natural sweetness of the bananas will complement the rich flavor of the pudding, creating a harmonious combination of tastes.
- Repeat the layers – wafers, pudding, and bananas – until you reach the top of the dish or individual serving bowls. You can be as creative as you like with the layering, alternating the direction of the wafers or adding extra banana slices for an extra burst of flavor.
- Finish off the dessert with a final layer of pudding, ensuring that it covers the bananas completely. You can also garnish the top with a few remaining vanilla wafers for an added touch of elegance.
- Refrigerate the assembled banana pudding for at least 2 hours, allowing it to set and chill. This step is crucial as it allows the flavors to meld together and the pudding to thicken, resulting in a perfectly creamy and delectable dessert.
Step 4: Chill and Serve
Now that you have assembled your delicious banana pudding, it’s time to let it chill and set before indulging in its creamy goodness. The chilling process is crucial as it allows the flavors to meld together and the pudding to firm up. Follow these simple steps to ensure your banana pudding is perfectly chilled and ready to serve:
- Cover and refrigerate: Carefully cover your assembled banana pudding with plastic wrap or a lid to prevent any air from getting in. This will help prevent a skin from forming on top of the pudding. Place the pudding in the refrigerator and let it chill for at least 2 hours.
- Patience is key: I know it’s tempting to dive right into that luscious dessert, but trust me, allowing it to chill for the recommended time is worth the wait. The flavors will intensify, and the texture will become even more creamy and satisfying.
- Garnish and serve: Once your banana pudding has chilled, it’s time to add some final touches before serving. Consider topping it off with a dollop of whipped cream, a sprinkle of crushed vanilla wafers, or even a few slices of fresh banana. These garnishes not only add visual appeal but also enhance the overall flavor profile of the dessert.
Remember, banana pudding is best served chilled, so make sure to keep any leftovers refrigerated. It can be enjoyed for up to 3 days, although I doubt it will last that long with its irresistible taste!
Conclusion
Now that you have all the steps and tips to make a delicious banana pudding with cooked pudding, you are ready to impress your friends and family with this classic dessert. By following the detailed instructions in this article, you can create a dessert that is both visually appealing and incredibly tasty.
Remember to take your time when assembling the layers, ensuring that each one is evenly distributed with ripe bananas, creamy pudding, and crunchy vanilla wafers. The refrigeration time is crucial for allowing the flavors to meld together and for the pudding to set properly.
Once chilled, feel free to get creative with your garnishes. Whether you prefer whipped cream, crushed vanilla wafers, or fresh banana slices, these additions will add an extra touch of flavor and texture to your banana pudding.

Lastly, don’t forget to store any leftovers in the refrigerator. This way, you can enjoy this delightful dessert for up to 3 days after making it.
Go ahead and give this banana pudding recipe a try. Your taste buds will thank you!


