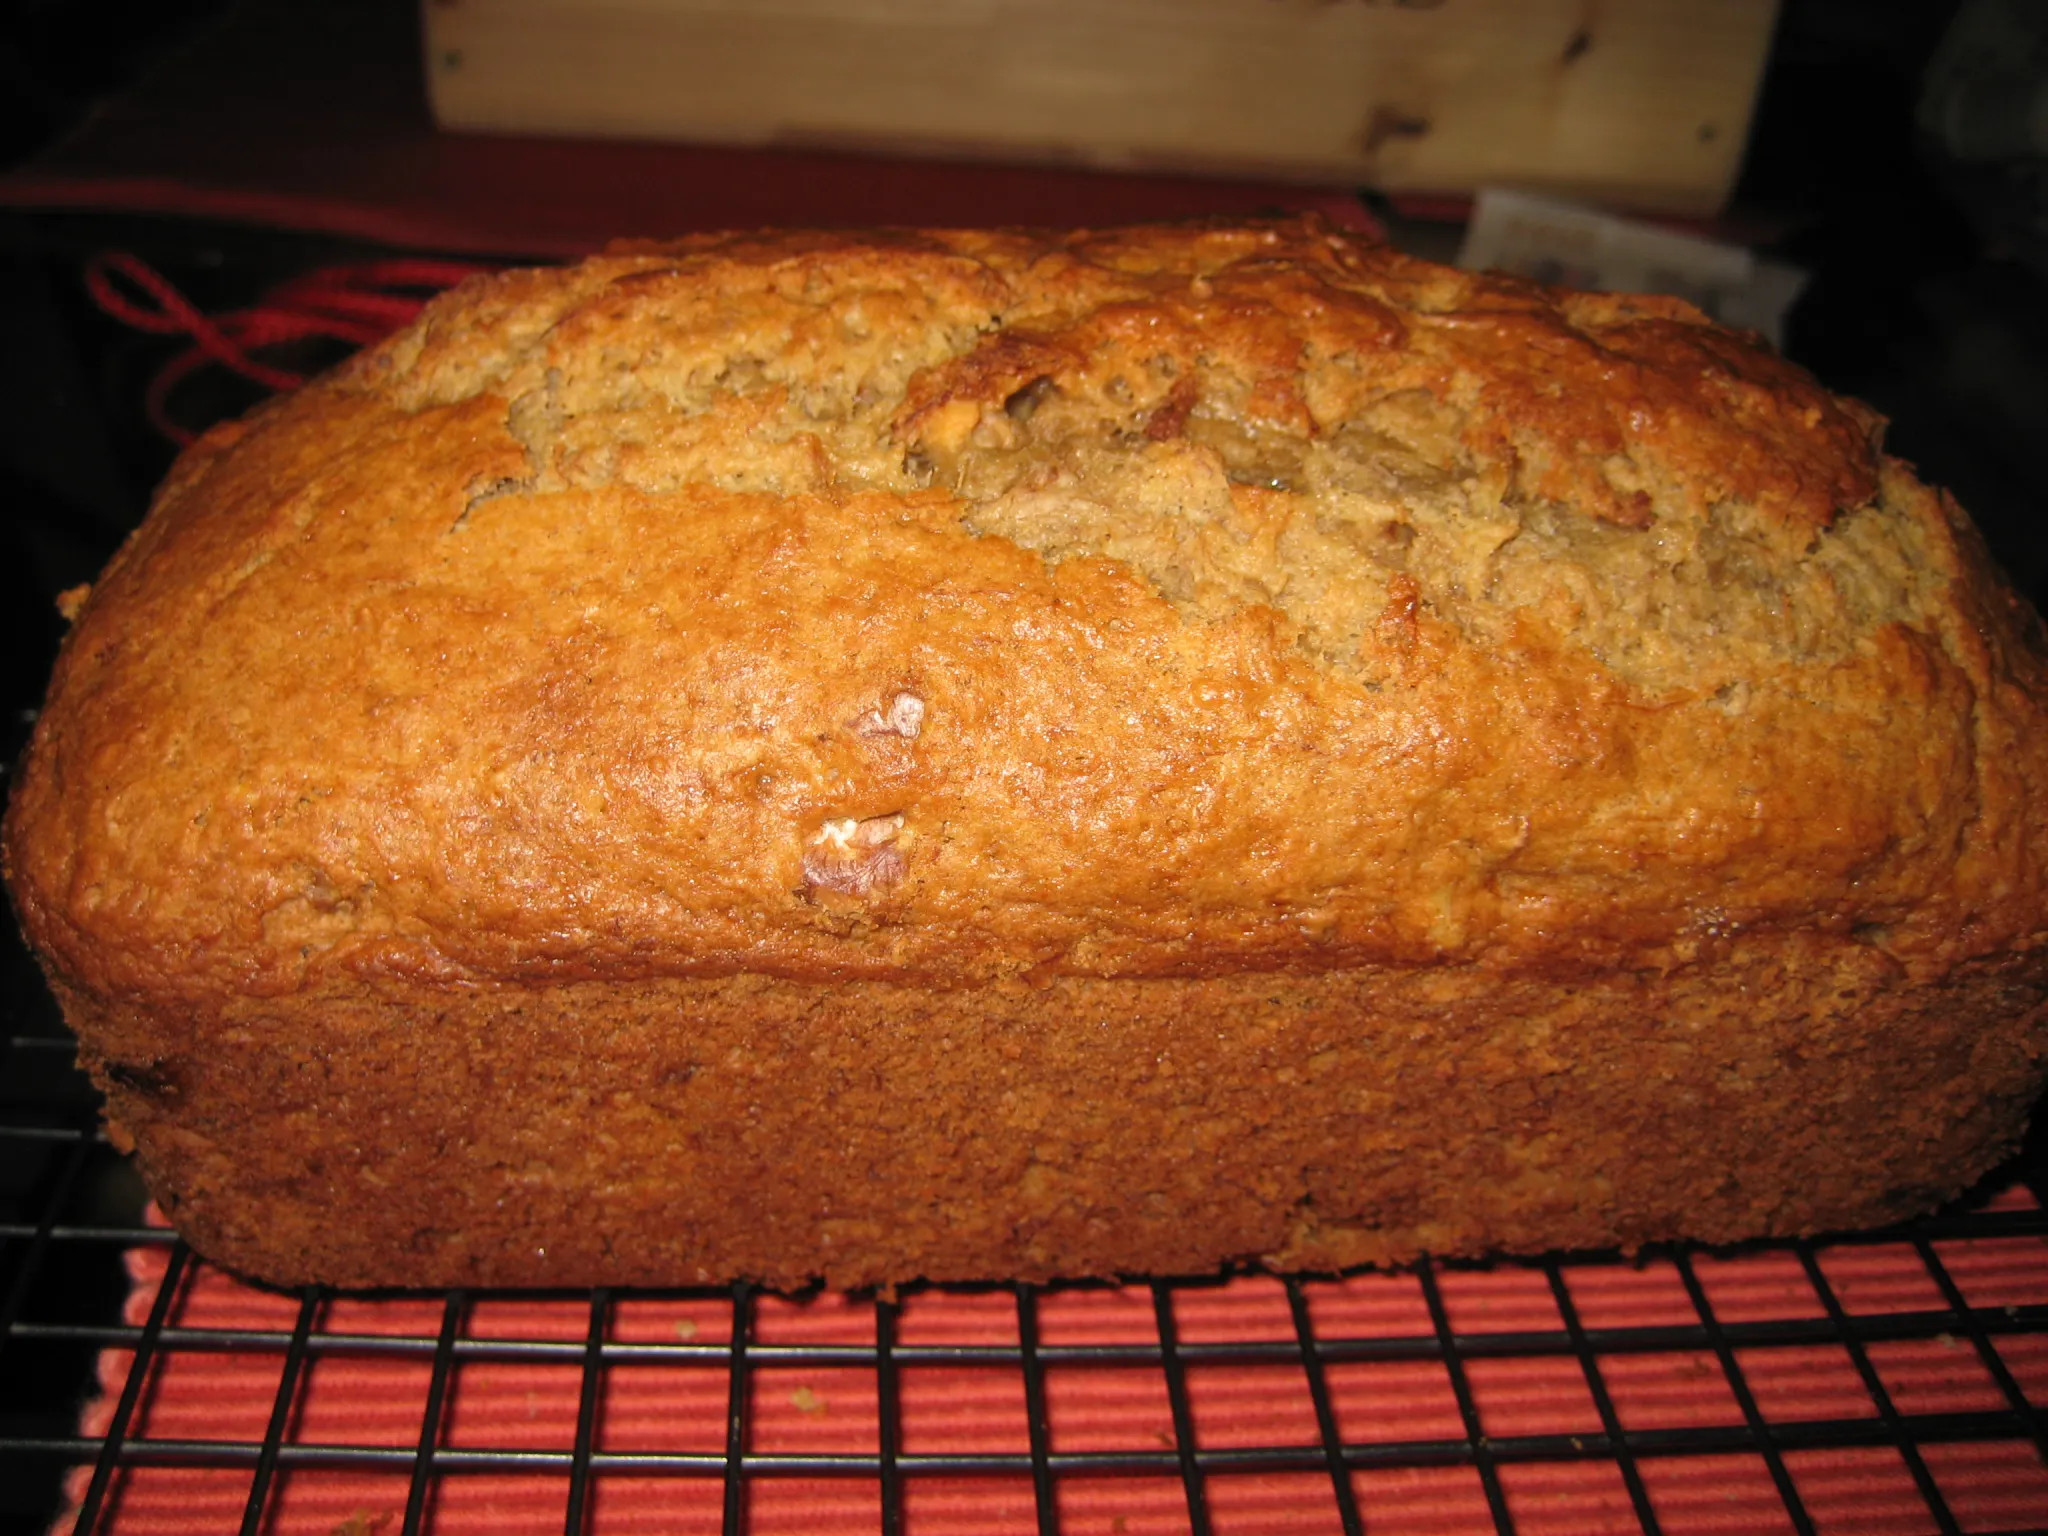
Are you a fan of banana bread, but not a fan of nuts? Well, you’re in luck! In this article, we’ll be sharing a delicious banana loaf recipe that is completely nut-free. Whether you have a nut allergy or simply prefer your banana bread without them, this recipe is sure to satisfy your cravings. So grab your apron and get ready to whip up a loaf of moist and flavorful banana bread, without a single nut in sight!
There’s nothing quite like the aroma of freshly baked banana bread wafting through your kitchen. And with this nut-free recipe, you can enjoy that delightful scent without worrying about any nut allergies or preferences. We’ve carefully crafted this recipe to ensure that you still get all the deliciousness of a classic banana loaf, but without the addition of nuts. So if you’ve been searching for a nut-free alternative, look no further – we’ve got you covered!
Banana bread is a classic treat that is loved by many, but it’s not always easy to find a recipe that suits your dietary needs. That’s why we’ve created this nut-free version of the beloved banana loaf. Whether you’re baking for yourself, your family, or a gathering of friends, this recipe is a great option for those who want to enjoy the flavors of banana bread without the nuts. So let’s dive in and discover how to make a delicious banana loaf that everyone can enjoy, regardless of their nut preferences.
Ingredients
When it comes to making a delicious banana loaf without nuts, it’s important to have the right ingredients on hand. Don’t worry, you won’t need any nuts for this recipe! Here’s what you’ll need:
- 3 ripe bananas: Make sure they’re nice and ripe, with a few brown spots on the skin. This will give your banana loaf that sweet, intense banana flavor.
- 1/2 cup of unsalted butter: You’ll want to use softened butter for this recipe, as it will blend more easily with the other ingredients.
- 1 cup of granulated sugar: This will add sweetness and help to balance out the flavors of the bananas.
- 2 large eggs: These will help to bind the ingredients together and give your banana loaf a nice texture.
- 1 teaspoon of vanilla extract: This will add a touch of warmth and depth to the flavor of your banana loaf.
- 1 1/2 cups of all-purpose flour: This is the main ingredient for the base of your loaf.
- 1 teaspoon of baking soda: This will help your banana loaf to rise and become light and fluffy.
- 1/2 teaspoon of salt: Just a pinch of salt will enhance the flavors and balance out the sweetness.
Step 1: Preparing the bananas
Bananas are not only delicious, but they also add a natural sweetness and moisture to baked goods like banana bread. In this section, we’ll walk you through the process of preparing the bananas for your nut-free banana loaf.
1. Choose ripe bananas – The key to a flavorful banana bread lies in using ripe bananas. Look for bananas that have a vibrant yellow color with a few brown spots. These bananas are at their peak sweetness and will mash easily, adding richness to your loaf.
2. Peel and mash the bananas – Start by peeling the bananas and placing them in a mixing bowl. Using a fork, mash the bananas until they reach a smooth consistency. You can leave a few small lumps for added texture, if desired.
3. Measure the mashed bananas – It’s important to measure the mashed bananas accurately to ensure the perfect texture and moisture in your banana loaf. Typically, you’ll need about 1 and 1/2 cups of mashed bananas for a standard-sized loaf.
4. Add flavor variations (optional) – While the classic banana bread recipe is delicious on its own, you can also experiment with adding some extra flavor to your loaf. Consider mixing in a teaspoon of cinnamon or a handful of chocolate chips to take your banana bread to the next level.
By following these simple steps, you’ll have perfectly prepared bananas ready to be incorporated into your nut-free banana loaf recipe. Stay tuned for the next step, where we’ll guide you through the process of combining the ingredients and baking your delicious banana bread.
Step 2: Mixing the Wet Ingredients
Now that you have your ripe bananas mashed and ready to go, it’s time to move on to the next step: mixing the wet ingredients. This is where the magic happens and your banana loaf starts to come together.
In a large mixing bowl, cream together the unsalted butter and granulated sugar until it becomes light and fluffy. This step is important as it helps to incorporate air into the batter, resulting in a lighter and more tender banana loaf.

Next, add in the eggs, one at a time, and mix well after each addition. The eggs not only add moisture to the bread but also act as a binding agent, helping to hold everything together.
Once the eggs are well incorporated, stir in the mashed bananas and vanilla extract. The bananas add natural sweetness and moisture to the bread, while the vanilla extract enhances the overall flavor.
It’s time to sift in the dry ingredients. Combine the all-purpose flour, baking soda, and salt in a separate bowl and gradually add it to the wet ingredients. Fold the dry ingredients in gently, just until everything is well combined. Overmixing can result in a dense and tough loaf, so be careful not to overdo it.
Optional: This is the perfect time to get creative and add any additional flavors or mix-ins that you desire. If you’re a fan of cinnamon, sprinkle in a teaspoon or two for a warm and cozy flavor. Or, if you’re a chocolate lover, stir in a handful of chocolate chips for a delightful surprise in every bite.
And that’s it for mixing the wet ingredients! Your banana loaf batter is now ready to be poured into the prepared loaf pan and baked to perfection. Stay tuned for the next step where we’ll dive into baking your delicious creation.
Step 3: Mixing the Dry Ingredients
Now that you have mashed your ripe bananas and mixed the wet ingredients, it’s time to move on to the next step: mixing the dry ingredients. This is an important part of the process as it helps to create the perfect texture and flavor in your banana loaf.

« How to Use Glow Recipe’s Banana Soufflé Moisture Cream
How to Make Banana Bread: Step-by-Step Recipe without Video »
To begin, you’ll need the following dry ingredients:
- All-purpose flour: This provides the structure and bulk to the banana loaf. Measure out the flour accurately to ensure the right balance of ingredients.
- Baking soda: This acts as a leavening agent, helping the loaf to rise and become light and fluffy.
- Salt: Just a pinch of salt enhances the flavors in the bread and balances the sweetness of the bananas.
To mix the dry ingredients, start by sifting the all-purpose flour into a separate bowl. Sifting helps to remove any lumps and aerates the flour, resulting in a lighter texture. Next, add the baking soda and salt to the bowl and whisk everything together until well combined.
Once the dry ingredients are mixed, it’s time to incorporate them into the wet mixture. Gradually add the dry ingredients to the wet mixture, stirring gently until just combined. Be careful not to overmix, as this can lead to a dense and tough banana loaf.
At this stage, you can also add any optional flavor variations that you desire. If you love the warmth of cinnamon, feel free to sprinkle in a teaspoon or two. If you’re a chocolate lover, fold in a handful of chocolate chips. Get creative and add your own personal touch to the banana loaf!
Remember, the key to a successful banana loaf is to mix the dry ingredients gently and not overmix the batter. This will ensure that your loaf is moist, tender, and full of delicious banana flavor.
Step 4: Combining Wet and Dry Ingredients
Now that you have prepared both the wet and dry ingredients, it’s time to bring them together to create the perfect banana loaf. This step is crucial in ensuring that your loaf turns out moist, tender, and bursting with delicious banana flavor.
To begin, take the bowl containing the wet ingredients and slowly incorporate the dry ingredients into it. Be sure not to overmix the batter, as this can result in a dense and tough loaf. Use a spatula or wooden spoon to gently fold the dry ingredients into the wet mixture until just combined.
Remember, the key here is to mix the ingredients just enough to combine them. Overmixing can lead to gluten formation, which can result in a tough texture. So, be gentle and take your time. You want the batter to be smooth and well-incorporated, but not overworked.
At this stage, you can also add any optional flavor variations you desire. Whether it’s a sprinkle of cinnamon for warmth or a handful of chocolate chips for extra indulgence, feel free to get creative and customize your banana loaf to suit your tastes.

Once the wet and dry ingredients are fully combined, it’s time to transfer the batter to your prepared loaf pan. Make sure to scrape down the sides of the bowl to get every last bit of batter. Smooth out the top with the back of a spoon or spatula to ensure an even bake.
It’s time to pop your banana loaf into the preheated oven and let the magic happen. The exact baking time will depend on your oven, but a good rule of thumb is to start checking for doneness around 50-60 minutes. A toothpick inserted into the center should come out clean or with a few moist crumbs clinging to it.
Avoid opening the oven door too often while baking, as this can cause the temperature to fluctuate and affect the loaf’s texture. Once your banana loaf is beautifully golden brown and fragrant, remove it from the oven and let it cool in the pan for about 10 minutes before transferring it to a wire rack to cool completely.
And there you have it! By combining the wet and dry ingredients with care and attention, you are one step closer to enjoying a scrumptious slice of nut-free banana loaf.
Step 5: Baking the Banana Loaf
Now that you have prepared the batter for your delicious nut-free banana loaf, it’s time to bake it to perfection. Follow these simple steps to ensure a moist and flavorful loaf:

1. Preheat your oven: Before you start baking, preheat your oven to 350°F (175°C). This will ensure that the loaf bakes evenly.
2. Prepare the loaf pan: Grease and flour a 9×5-inch loaf pan to prevent the banana loaf from sticking to the sides. This will make it easier to remove the loaf once it’s baked.
3. Transfer the batter: Carefully pour the banana bread batter into the prepared loaf pan, making sure to spread it evenly. You can also tap the pan gently on the countertop to remove any air bubbles.
4. Bake to perfection: Place the loaf pan in the preheated oven and bake for approximately 50-60 minutes. Keep an eye on the loaf towards the end of the baking time to prevent it from over-browning. A toothpick inserted into the center of the loaf should come out clean or with a few moist crumbs.
5. Cool and enjoy: Once the banana loaf is done, remove it from the oven and let it cool in the pan for about 10 minutes. This will allow the loaf to set before transferring it to a wire rack to cool completely. Once cooled, you can slice and enjoy your delicious nut-free banana bread!

Remember, baking times may vary slightly depending on your oven, so keep an eye on the loaf as it bakes. The aroma of freshly baked banana bread will fill your kitchen, enticing you to take that first bite.
Whether you’re enjoying a slice for breakfast, as a snack, or for dessert, this nut-free banana loaf is sure to satisfy your cravings. So grab those ripe bananas, follow the steps, and indulge in the delightful flavors of homemade banana bread, without the nuts!
No conclusion paragraph is needed here as the article will continue with the next section.
Step 6: Testing for Doneness
Now that your nut-free banana loaf is baking in the oven, it’s important to know how to test if it’s done. You don’t want to underbake or overbake your delicious creation! Here are a few ways to check for doneness:
- Toothpick Test: This is the most common method used to check if your banana loaf is fully baked. Simply insert a toothpick into the center of the loaf. If it comes out clean or with just a few crumbs clinging to it, then your banana loaf is ready to be taken out of the oven.
- Finger Test: Another way to check for doneness is by gently pressing the top of the loaf with your finger. If it feels firm and springs back, then your banana loaf is likely done. However, if your finger leaves an indentation or the loaf feels too soft, it needs a little more time to bake.
- Internal Temperature: If you have a food thermometer, you can also use it to test the internal temperature of your banana loaf. Insert the thermometer into the center of the loaf, making sure it doesn’t touch the pan. The ideal temperature for a fully baked banana loaf is around 200°F (93°C).
Remember, baking times may vary depending on your oven, so it’s always best to rely on these tests rather than sticking to a specific time. If your banana loaf needs more time in the oven, continue baking in 5-minute increments until it passes the toothpick test or reaches the desired internal temperature.

Once your banana loaf is fully baked, remove it from the oven and let it cool in the pan for about 10 minutes. Then, transfer it to a wire rack to cool completely before slicing it. This will ensure that your banana loaf retains its moisture and doesn’t become soggy.
Step 7: Cooling and Serving
Once your delicious nut-free banana loaf is baked to perfection, it’s important to let it cool before indulging in a slice. This will help retain its moisture and ensure that you get the best possible texture and flavor.
When you take the banana loaf out of the oven, resist the temptation to slice into it right away. Instead, place the loaf pan on a wire rack and allow it to cool for at least 15-20 minutes. This will give the bread time to set and firm up a bit.
After the initial cooling period, you can gently remove the loaf from the pan by running a knife along the edges and then inverting it onto the wire rack. Let it cool completely before slicing. This could take anywhere from 1 to 2 hours, depending on the temperature of your kitchen.
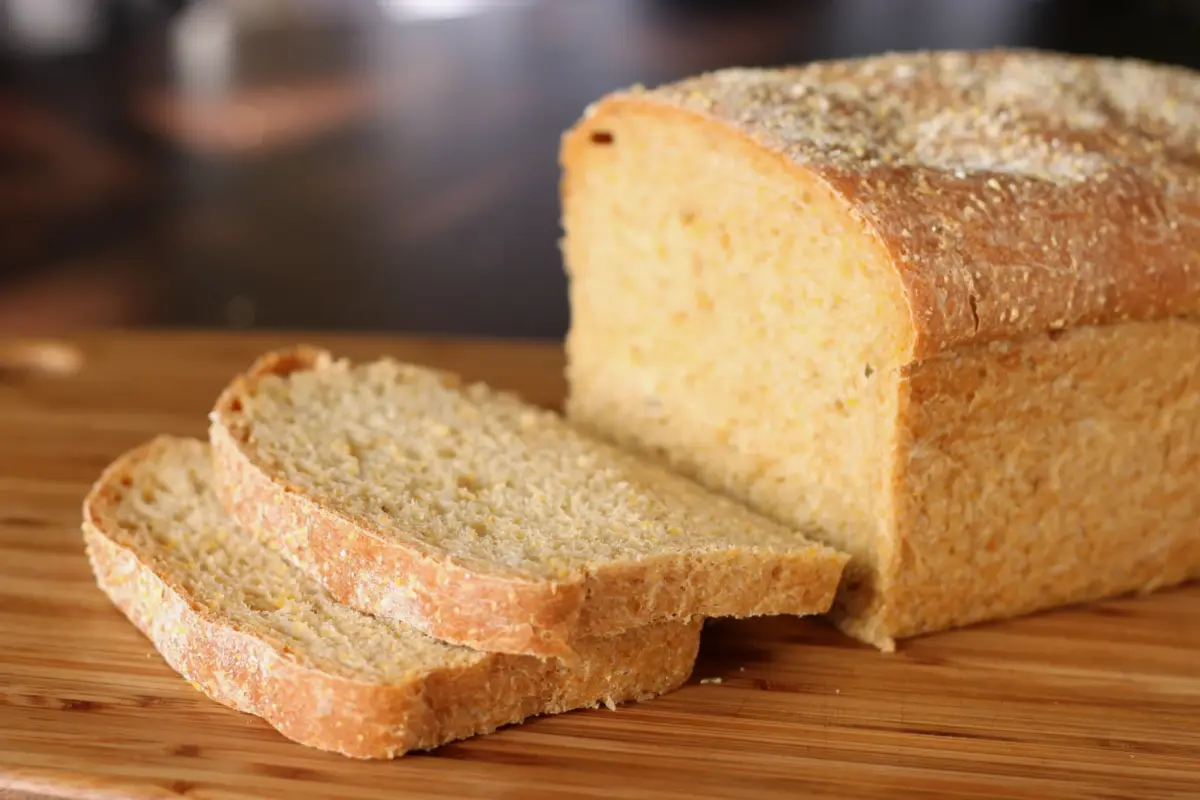
Once the banana loaf has cooled down completely, it’s time to serve and enjoy! You can either slice it into thick, generous pieces or cut it into smaller, bite-sized portions. Serve it as a delightful breakfast or snack option, or even as a dessert with a dollop of whipped cream or a scoop of your favorite ice cream.

If you have any leftovers, store them in an airtight container at room temperature for up to 3 days. Alternatively, you can refrigerate the banana loaf for up to a week. Just make sure to bring it back to room temperature before serving to enjoy its full flavor and texture.
Now that you know how to bake a delicious nut-free banana loaf and how to properly cool and serve it, you can enjoy the flavors of this classic treat without any worries about nuts. So go ahead, give this recipe a try and savor every bite of your homemade banana bread!
Conclusion
Now that you have all the information you need, you can confidently make a delicious nut-free banana loaf. This recipe is perfect for anyone with nut allergies or simply those who prefer their banana bread without nuts. By following the steps outlined in this article, you can create a moist and flavorful loaf that will satisfy your cravings.
Remember to choose ripe bananas and measure your ingredients accurately to ensure the best results. Feel free to get creative with optional flavor variations to personalize your banana loaf. Once baked, allow the loaf to cool before slicing to retain its moisture and enjoy it as a breakfast, snack, or dessert option.
Leftovers can be stored in an airtight container at room temperature or refrigerated for future enjoyment. With this nut-free recipe, you can indulge in the classic taste of banana bread without any worries. So go ahead and give it a try – your taste buds will thank you!


