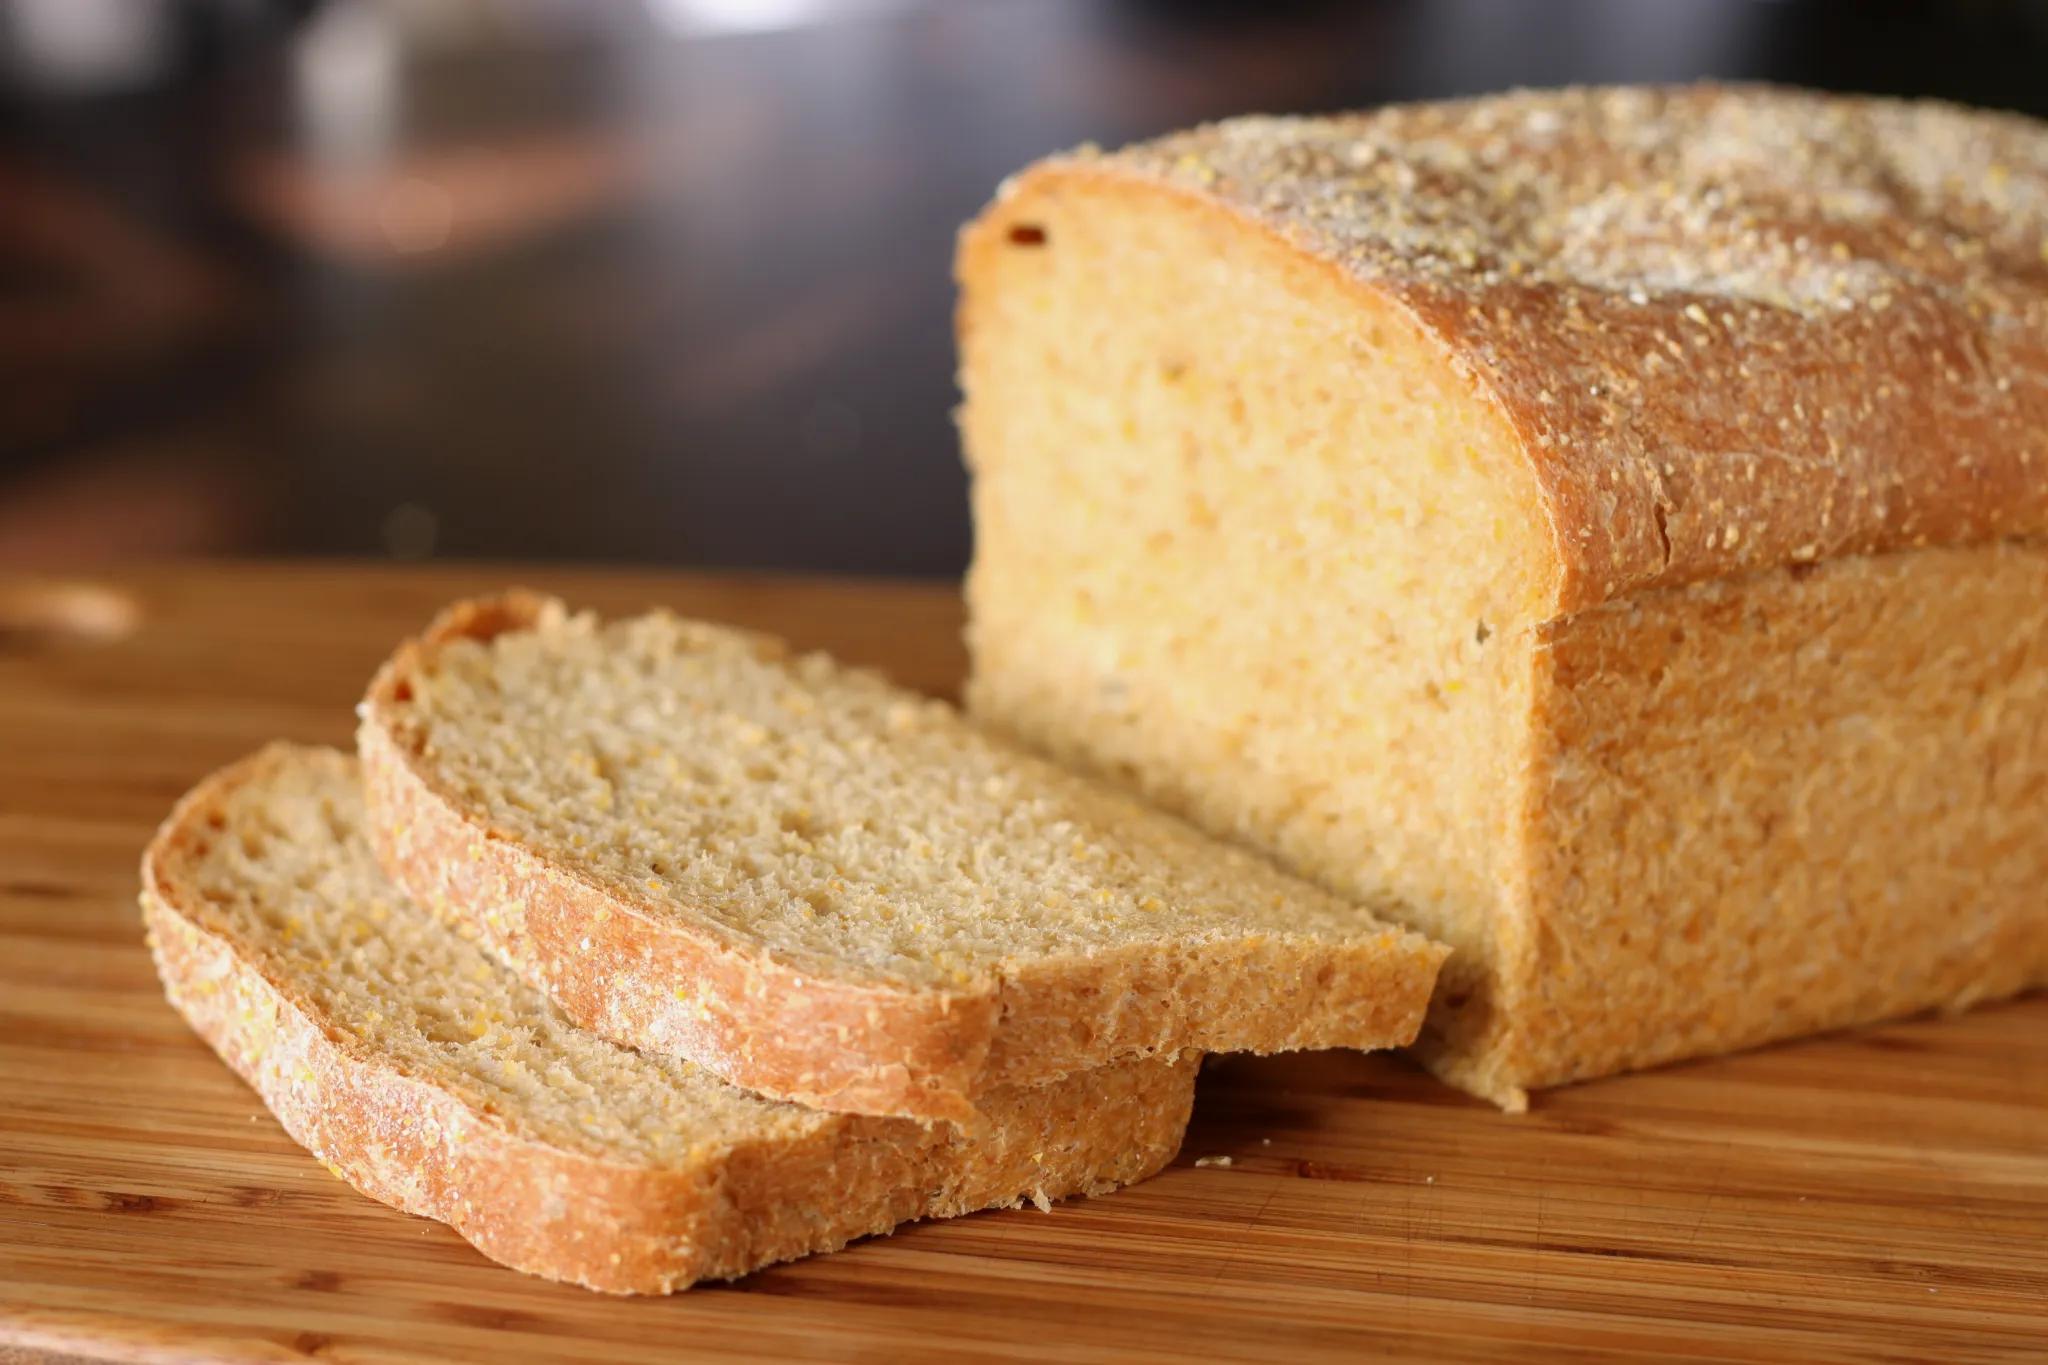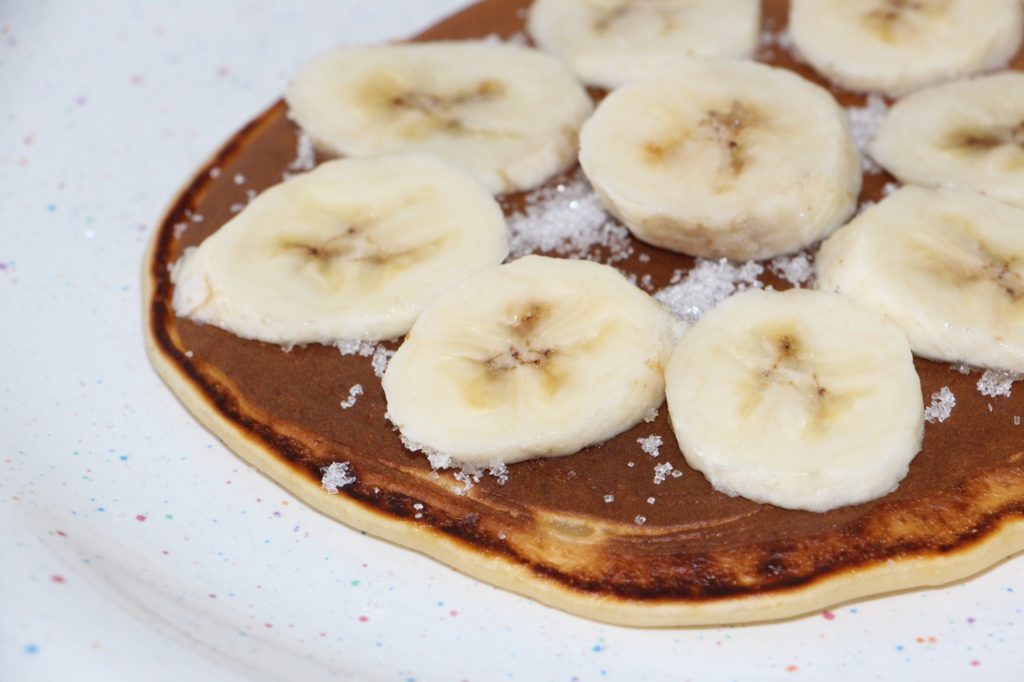
Are you craving a delicious and moist banana bread? Look no further! In this article, I’ll share with you a fantastic banana bread recipe that uses self-raising flour, making it super easy to whip up. Whether you’re a seasoned baker or a beginner in the kitchen, this recipe is perfect for anyone looking to satisfy their sweet tooth. So grab your apron and get ready to bake up a batch of mouthwatering banana bread!
Banana bread is a classic treat that never fails to impress. With this recipe, you’ll be able to enjoy a homemade loaf of banana bread in no time. The secret ingredient? Self-raising flour! This versatile flour contains baking powder, which helps the bread rise beautifully while adding a light and fluffy texture. Say goodbye to the hassle of measuring out separate ingredients – with self-raising flour, it’s all conveniently combined for you. Get ready to savor every bite of this delightful banana bread!
Benefits of Using Self-Raising Flour in Banana Bread

When it comes to making banana bread, using self-raising flour can be a game-changer. Not only does it save you time and effort, but it also ensures a perfect rise and texture in your loaf. Let’s explore the benefits of using self-raising flour in banana bread.
1. Convenience
One of the biggest advantages of using self-raising flour is the convenience it offers. With self-raising flour, you don’t need to worry about measuring and adding baking powder separately. It’s already included in the flour mix, making your baking process a breeze. You can simply grab a bag of self-raising flour and get started on your banana bread recipe without any extra steps.
2. Consistent Results
Another benefit of using self-raising flour is the guarantee of consistent results. The precise amount of baking powder in self-raising flour ensures that your banana bread will rise evenly and have a light and fluffy texture. This eliminates the risk of ending up with a dense or undercooked loaf. So, whether you’re a seasoned baker or a novice in the kitchen, using self-raising flour can help you achieve delicious and foolproof banana bread every time.
3. Time-Saving
Using self-raising flour in your banana bread recipe can save you precious time. Instead of measuring and sifting multiple ingredients, you can rely on the convenience of self-raising flour. This means less time spent in the kitchen and more time enjoying the aroma of freshly baked banana bread wafting through your home.
4. Versatility
Self-raising flour is not only suitable for banana bread but can also be used in a variety of other baked goods. From muffins to cakes, self-raising flour can be your go-to ingredient for a quick and easy rise. So, if you have some leftover self-raising flour after making banana bread, you can explore different recipes and experiment with your baking skills.
Ingredients needed for Banana Bread with Self-Raising Flour
If you’re a fan of banana bread, you’re in for a treat! Today, we’re going to share with you a delicious recipe for banana bread that uses self-raising flour. This simple ingredient swap will make your baking experience even easier and ensure a moist and fluffy loaf every time.
To make this banana bread, you’ll need a few key ingredients:
1. Ripe Bananas – The star of the show! Make sure your bananas are nice and ripe, as they will provide natural sweetness and a beautiful flavor to your bread.
2. Self-Raising Flour – This is the secret ingredient that takes this banana bread to the next level. Self-raising flour already contains baking powder, so you don’t have to worry about measuring and adding it separately. It’s a time-saving and convenient option that guarantees a perfect rise and texture.
3. Eggs – Eggs add moisture and help bind the ingredients together. They also contribute to the structure of the bread, giving it a light and airy texture.

4. Sugar – A touch of sweetness is essential to balance the flavors. You can use white or brown sugar, depending on your preference. Brown sugar adds a lovely caramel note to the bread.
5. Butter – Butter adds richness and flavor to the bread. Make sure to use unsalted butter and let it soften before incorporating it into the batter.
6. Vanilla Extract – A splash of vanilla extract enhances the overall taste of the bread and adds a warm and comforting aroma.
7. Optional Mix-ins – Feel free to get creative and add some extra goodies to your banana bread. Chopped nuts, chocolate chips, or even a sprinkle of cinnamon can take this recipe to the next level.
Now that you have all the ingredients ready, it’s time to dive into the recipe and create a delicious loaf of banana bread with self-raising flour. Stay tuned for the next section where we’ll guide you through the steps to make this mouthwatering treat.
Step-by-step Instructions for Making Banana Bread with Self-Raising Flour
Now that you have all the ingredients ready, it’s time to dive into the process of making delicious banana bread with self-raising flour. Follow these step-by-step instructions to ensure a successful baking experience:

- Preheat the oven to 350°F (175°C) and grease a loaf pan with butter or cooking spray. This will prevent the banana bread from sticking to the pan.
- In a large mixing bowl, mash the ripe bananas with a fork until they are smooth and creamy. The riper the bananas, the sweeter and more flavorful your bread will be.
- Add the softened butter to the mashed bananas and mix until well combined. The butter adds richness and moisture to the bread.
- Crack the eggs into the banana mixture and beat them lightly with a fork. This will help incorporate air into the batter, resulting in a lighter texture.
- Add the sugar and vanilla extract to the bowl and mix until the ingredients are fully incorporated. The sugar adds sweetness, while the vanilla extract enhances the overall flavor.
- Sift the self-raising flour into the bowl. Sifting helps to remove any lumps and ensures an even distribution of the flour. Fold the flour into the wet ingredients until just combined. Be careful not to overmix, as this can lead to a dense and tough bread.
- At this point, you can get creative and add any optional mix-ins you desire. Popular choices include chocolate chips, chopped nuts, or dried fruits. Gently fold in the mix-ins until they are evenly distributed throughout the batter.
- Pour the batter into the greased loaf pan, spreading it out evenly. Give the pan a few gentle taps on the countertop to release any air bubbles.
- Place the pan in the preheated oven and bake for 45-55 minutes, or until a toothpick inserted into the center comes out clean. The exact baking time may vary, so keep an eye on the bread towards the end to prevent overcooking.
- Once the banana bread is done, remove it from the oven and allow it to cool in the pan for a
Tips for Perfecting Your Banana Bread
« Delicious Banana Pudding Recipe with Vanilla Wafers
Easy and Delicious Homemade Banana Horse Treats: Step-by-Step Recipe Guide »
Now that you have the basic recipe for banana bread using self-raising flour, let’s dive into some tips and tricks to help you perfect your loaf. These tips will elevate your banana bread game and ensure that you end up with a mouthwatering and delicious treat every time.
Use Overripe Bananas
The key to a moist and flavorful banana bread is using overripe bananas. The more brown spots on your bananas, the better. Overripe bananas are sweeter and have a stronger banana flavor, which will shine through in your bread. So don’t throw away those spotty bananas – they’re perfect for baking!
Don’t Overmix the Batter
When it comes to mixing the batter, less is more. Overmixing can lead to a dense and tough loaf. Instead, gently fold the ingredients together until just combined. This will ensure a tender and fluffy texture in your banana bread.
Add Some Mix-ins
While banana bread is delicious on its own, you can take it to the next level by adding some mix-ins. Consider throwing in a handful of chopped nuts, such as walnuts or pecans, for added crunch and flavor. You could also add a handful of chocolate chips or dried fruit for a touch of sweetness. Get creative and experiment with different combinations to find your favorite mix-ins.
Adjust Baking Time
Every oven is different, so it’s important to keep an eye on your banana bread as it bakes. Start checking for doneness around the 45-minute mark by inserting a toothpick into the center of the loaf. If it comes out clean or with a few moist crumbs, your bread is ready. If not, continue baking for a few more minutes and check again. Remember, the baking time may vary depending on the size and shape of your loaf pan.
Let it Cool Before Slicing
As tempting as it may be to dive right into your freshly baked banana bread, it’s crucial to let it cool completely before slicing. This allows the loaf to set and ensures clean slices without crumbling. Patience is key here, so resist the urge and give it some time to cool on a wire rack.
Conclusion
You now have a fantastic banana bread recipe that uses self-raising flour. This recipe offers convenience, consistent results, and versatility. By using self-raising flour, you eliminate the hassle of measuring separate ingredients and ensure a perfect rise and texture every time. It saves you time in the kitchen and can be used in a variety of other baked goods.
To make this delicious banana bread, simply follow the step-by-step instructions provided in the article. Remember to use overripe bananas for a moist and flavorful loaf, avoid overmixing the batter for a tender and fluffy texture, and feel free to add mix-ins like nuts or chocolate chips for added flavor. Adjust the baking time based on your oven and let the bread cool completely before slicing for clean slices.
With this recipe, you’ll be able to enjoy a delicious and moist loaf of banana bread with a light and fluffy texture. So go ahead and give it a try – you won’t be disappointed! Happy baking!


