Banana pudding with vanilla wafers is one of those timeless desserts that always brings a smile. It’s creamy, comforting, and layered with just the right amount of sweetness. Growing up, this was a staple at family gatherings, and it never lasted long once it hit the table. There’s something magical about the combination of ripe bananas, velvety pudding, and those perfectly soft-yet-crunchy wafers.
Ingredients
As someone who spends her days among banana trees and crafting banana-inspired recipes, I can tell you that the secret to an unforgettable banana pudding starts with perfectly ripe bananas and a balance of complementary ingredients. Here’s what you’ll need to make this creamy and comforting dessert:
- 4 large ripe bananas, sliced into even coins
- 2 cups whole milk, for a rich, velvety pudding base
- 1 cup granulated sugar, to sweeten the pudding just right
- 1/3 cup all-purpose flour, to thicken the pudding
- 1/4 teaspoon salt, to enhance the flavors
- 4 egg yolks, beaten
- 1 teaspoon pure vanilla extract, for a warm, aromatic note
- 1 box (12 oz) vanilla wafers, for that iconic layered crunch
- 1 1/2 cups heavy whipping cream, whipped to soft peaks, for topping
- 2 tablespoons powdered sugar, to lightly sweeten the whipped cream
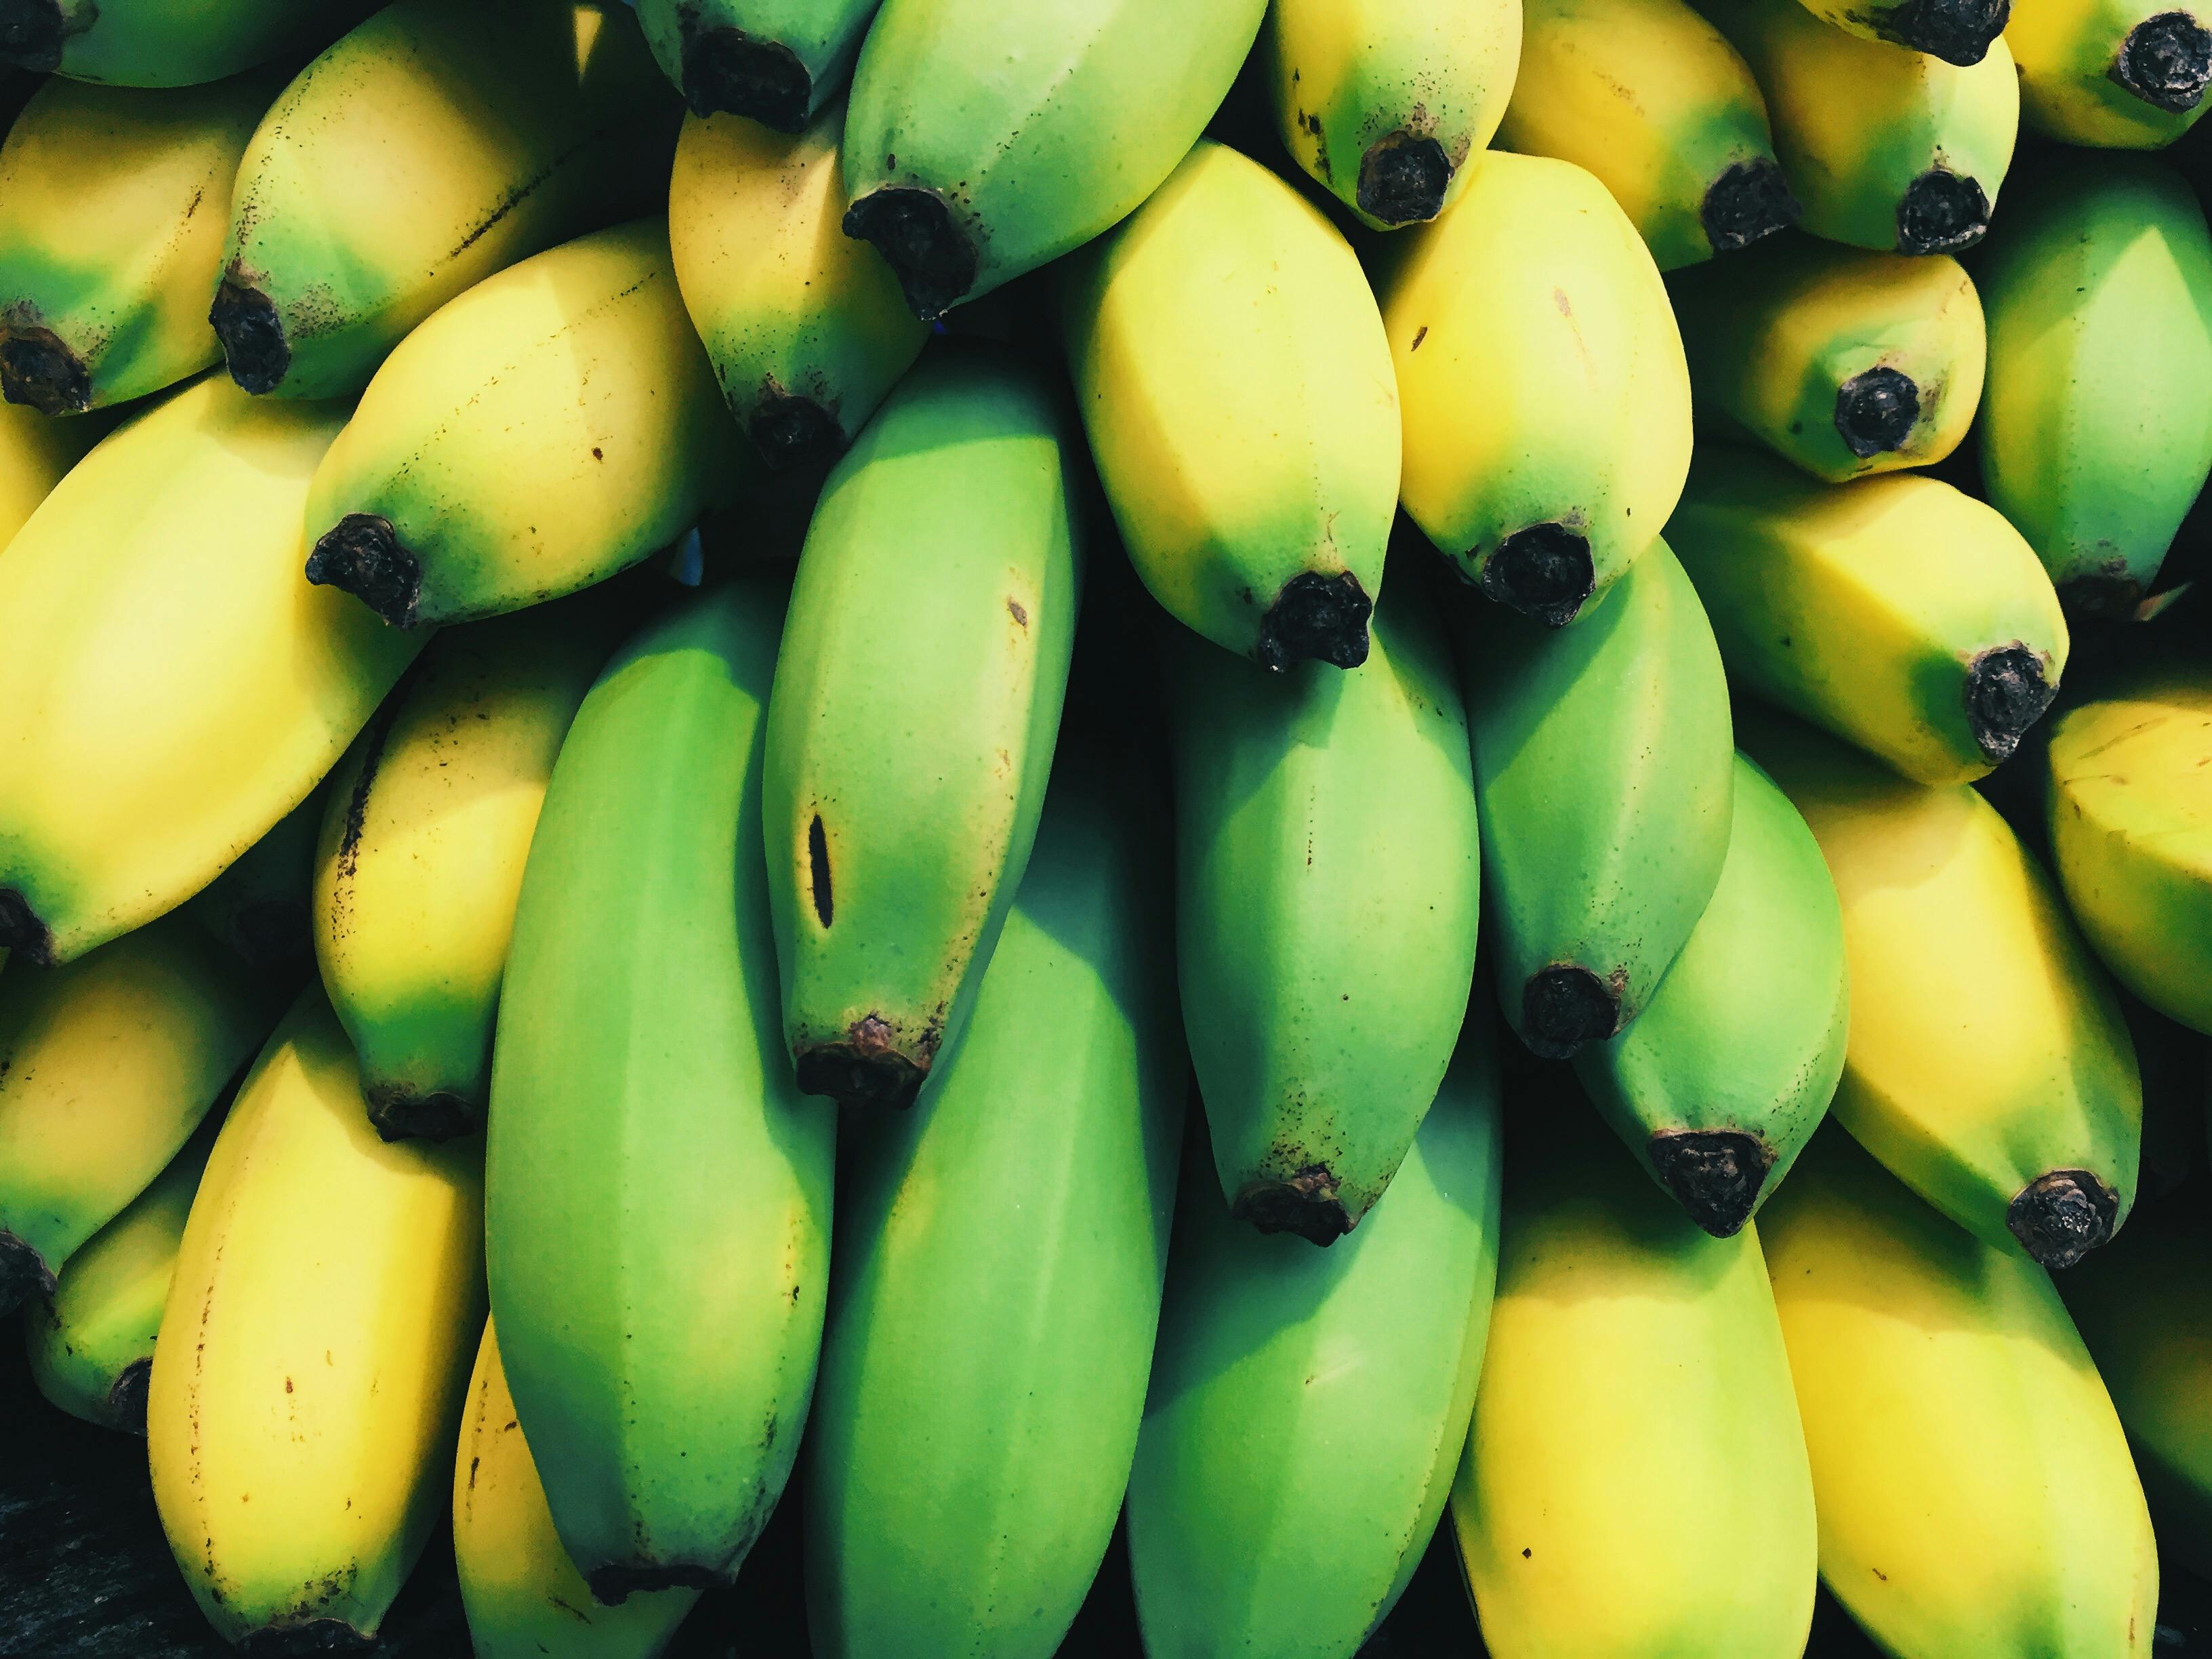
Using fresh, golden bananas at their peak ripeness ensures the best flavor and sweetness for this recipe. I personally like to use bananas when the peel has just a few freckles of brown—they’re soft, but not overly mushy, and their natural sugar content is at its prime. Keep these ingredients handy, and we’ll layer the love together.
Tools And Equipment

To make the banana pudding with vanilla wafers, you’ll need a few essential tools that keep the process smooth and stress-free. Over the years, I’ve learned that having the right equipment not only simplifies the recipe but also ensures beautiful results every time. Here’s what I always grab from my kitchen when making this banana-filled classic:
- Mixing Bowls: Use a large mixing bowl for combining and whisking the pudding ingredients. A medium bowl is handy for whipping the cream.
- Whisk: A sturdy whisk is essential for blending the pudding mixture to a velvety consistency. I recommend one with a comfortable handle for extended use.
- Measuring Cups and Spoons: Precision is key when working with ingredients like sugar and flour, so ensure your measuring tools are accurate.
- Saucepan: A medium-sized, heavy-bottom saucepan helps cook the pudding evenly without scorching it.
- Rubber Spatula: Perfect for scooping and spreading the pudding into your serving dish without leaving any behind.
- Knife and Cutting Board: Use these to neatly slice the ripe bananas. A sharp knife ensures even slices, highlighting their natural beauty in layers.
- Electric Mixer or Hand Mixer: Whipping the cream for that light, fluffy finish is much easier with an electric mixer.
- 8×8-inch Glass or Ceramic Dish: The clear glass dish showcases the lovely layers of banana slices, wafers, and pudding—making it visually stunning.
- Plastic Wrap: This is for covering the pudding while it chills to prevent a skin from forming on the surface.
I’ve collected these tools over years of experimenting with all kinds of banana recipes in my kitchen. I love how they streamline the process and allow me to focus on creating the best possible flavors.
Directions
Making banana pudding with vanilla wafers is a simple, rewarding process that lets the flavors of perfectly ripe bananas shine. Follow these steps for a creamy, comforting dessert layered with love.
Prep The Ingredients
Before diving in, I always start by getting everything in place.
- Slice 3 ripe bananas into even rounds, about ¼ inch thick, and set them aside.
- Measure out all the ingredients for the pudding to ensure a smooth process.
Pro-tip from my banana-growing experience: Always use bananas that are yellow with a few brown specks – they’re full of flavor without being overly soft!
Make The Pudding Mixture
The secret to luscious homemade pudding is patience and consistent whisking.
- In a medium saucepan, whisk together ⅓ cup granulated sugar, 2 tablespoons all-purpose flour, and a pinch of salt.
- Gradually pour in 2 cups whole milk, stirring until combined. Heat the mixture over medium heat.
- In a separate bowl, whisk 3 egg yolks until smooth. Temper the yolks by slowly adding about ½ cup of the warm milk mixture while whisking.
- Pour the tempered yolks back into the saucepan, stirring continuously.
- Cook the pudding mixture until it thickens, about 5 to 7 minutes. Once it coats the back of a spoon, remove it from the heat.
- Stir in 1 ½ teaspoons vanilla extract and set the pudding aside to cool slightly.
There’s something deeply satisfying about watching the pudding thicken, knowing it’ll pair beautifully with those banana slices later.
Layer The Banana Pudding
Here’s where it all comes together—a symphony of bananas, pudding, and vanilla wafers!
- In an 8×8-inch glass or ceramic dish, start with a layer of vanilla wafers (about 20 wafers to cover the bottom).
- Add a layer of sliced bananas on top of the wafers.
- Pour about ⅓ of the pudding mixture over the bananas, spreading it evenly with a rubber spatula.
- Repeat the layering process twice more, finishing with pudding on top to seal in all that banana goodness.
My tip: Make sure the bananas are evenly spaced—each bite should have a perfect balance of creamy pudding, sweet banana, and crunchy wafer!
Chill The Dessert
Cover the dish with plastic wrap, pressing it gently onto the surface of the pudding to prevent a skin from forming. Refrigerate the banana pudding for at least 4 hours, or overnight if you can wait.
Make-Ahead Tips

As someone who adores bananas and knows their magic in desserts, I always encourage planning ahead when making banana pudding with vanilla wafers. This dessert only gets better after resting, so a little prep in advance can result in a flavor-packed treat that delights everyone.
Preparing the Pudding in Advance
The pudding base is perfect for making ahead. Cook it as detailed in the recipe, ensuring it reaches that thick, silky consistency. Once it’s done, transfer it to a container and press plastic wrap directly onto the surface of the pudding to prevent a skin from forming. This can be stored in the refrigerator for up to 2 days. Trust me, the flavors deepen beautifully during this time.
Slicing Bananas at the Right Moment
Ripe bananas with a few brown specks are key to the best banana pudding. While slicing them too early can lead to browning, you can prep your bananas just before assembling or toss them in a light squeeze of lemon juice to keep them fresh if cutting ahead. Store them in an airtight container in the refrigerator for up to 6 hours if needed.
Assembling for Next-Day Enjoyment
If you’re serving the pudding a day after making it, assemble the layers of vanilla wafers, bananas, and pudding a few hours before refrigerating. The wafers will soften slightly as they absorb the pudding’s moisture, creating that traditional mix of creamy and tender texture. I recommend assembling no more than 12 hours in advance for the perfect consistency.
Whipped Cream Freshness Tip
For the whipped cream topping, I suggest whipping it just before serving for that cloud-like freshness. However, if you absolutely need to prepare it ahead, stabilize it with a small amount of powdered sugar. Pipe or spread it over the pudding and refrigerate. It will hold its shape for about a day.
Serving Made Simple
Banana pudding is at its best when served cold. Pull the dish from the refrigerator about 10 minutes before serving, allowing it to soften slightly. This short rest time ensures that every bite highlights the silky pudding, sweet bananas, and ever-so-slightly softened vanilla wafers.

Serving Suggestions
« Banana Cream Pie Recipes: How to Make the Perfect Homemade Dessert Everyone Will Love
Banana and Caramel Tart Recipe That Will Impress Everyone and Satisfy Your Sweet Cravings »
When it comes to banana pudding with vanilla wafers, serving is all about presentation and adding those little touches that make it extra special. As someone who grows their own bananas and loves all things banana-related, I enjoy showcasing the beauty and flavor of this fruit in creative ways.
Garnish With Banana Slices and Wafers
Right before serving, I like to slice up a couple of fresh bananas for a vibrant garnish. Arrange the slices on top of the pudding along with a few whole or crumbled vanilla wafers. The contrast of creamy pudding, golden bananas, and the crisp texture of the wafers is visually stunning and undeniably delicious.
Serve in Individual Portions
For a fun and personal touch, you can serve the banana pudding in individual dessert glasses or mason jars. Layer the pudding, banana slices, and wafers just as you would in a larger dish. This makes for an elegant and easy-to-serve option, perfect for dinner parties or casual get-togethers.
Add a Whipped Cream Topping
A generous dollop of freshly whipped cream on top takes this dessert to the next level. I love to pipe the whipped cream in pretty swirls and sprinkle a bit of crushed vanilla wafer or even grated chocolate on top for contrast. It’s a simple way to elevate the dish.
Pair With Fresh Fruits
Since I grow bananas, I often dress up banana pudding with additional fruits from my garden. Sliced strawberries, blueberries, or a sprinkle of passion fruit pulp can balance the creamy richness with a hint of tartness, adding both flavor and color to your presentation.
Serve Cold for Maximum Flavor
Banana pudding always tastes best after it has chilled thoroughly. I like to serve it straight from the fridge, letting it sit for a few minutes to remove just a bit of the chill. This way, the bananas are juicy and the pudding base is velvety, making every spoonful a perfect bite.
Use Family-Style Serveware
For casual gatherings, I dish up the pudding in a family-style trifle bowl, showing off all the lovely layers. There’s something delightful about letting everyone grab a spoon and dig in. It feels cheerful and comforting, the way banana pudding should be enjoyed.
As a banana enthusiast, I believe each detail of serving should celebrate the humble banana. Whether it’s the elegance of individual cups or the rustic charm of a shared bowl, this dessert always shines.
Conclusion
Banana pudding with vanilla wafers is more than just a dessert—it’s a warm hug in a bowl. It brings together simple ingredients and transforms them into something truly special. Whether you’re making it for a family gathering or just treating yourself, it’s a recipe that never fails to deliver joy.

I love how this dessert combines nostalgic charm with delicious flavors, and I hope it brings as much happiness to your table as it does to mine. So grab your ingredients, take your time layering, and enjoy every creamy, banana-filled bite.

